Introduction
Landtiles is a RezMela App that gives you landscaping objects, including click-to-place terrain tiles, hills, trees and other plants, rocks, etc. Also included is a Theme Changer, which gives you the ability to make instant changes to the textures of objects in a scene.
Because Landtiles is a RezMela App, you may want to consult the guide First Steps with RezMela for information about how to use RezMela Apps in general.
This guide assumes that you know the basics of creating scenes in a RezMela App. Here, we discuss the variety of objects that are available to you in a Landtiles App, and how to use them.
Using the Landtiles App
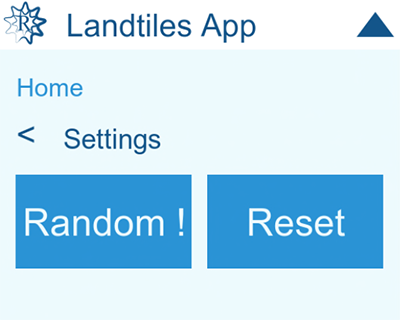
When you rez the App, it looks like this:
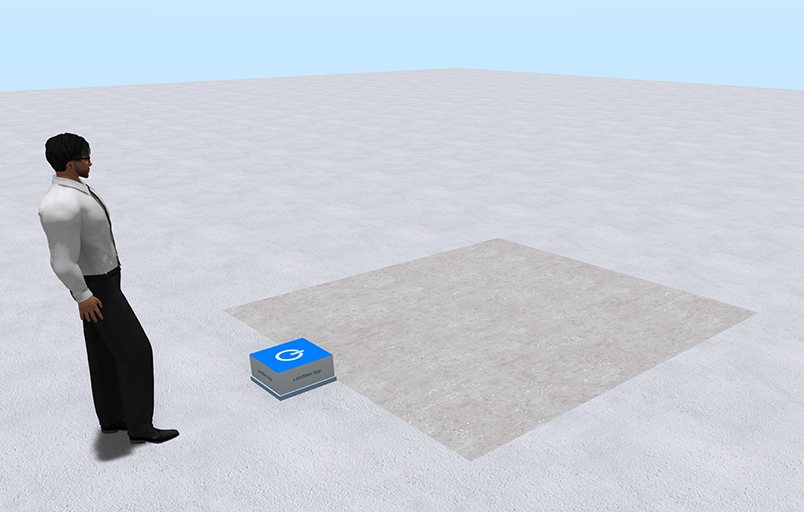
When you click the blue square (or beacon) to sign in, looks like this:
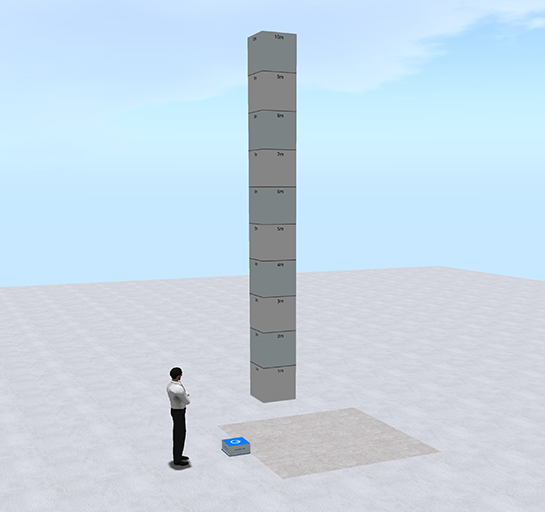
A large column with 1-metre gradations appears. This column is only visible while you’re signed into the App, and will not be visible at other times.
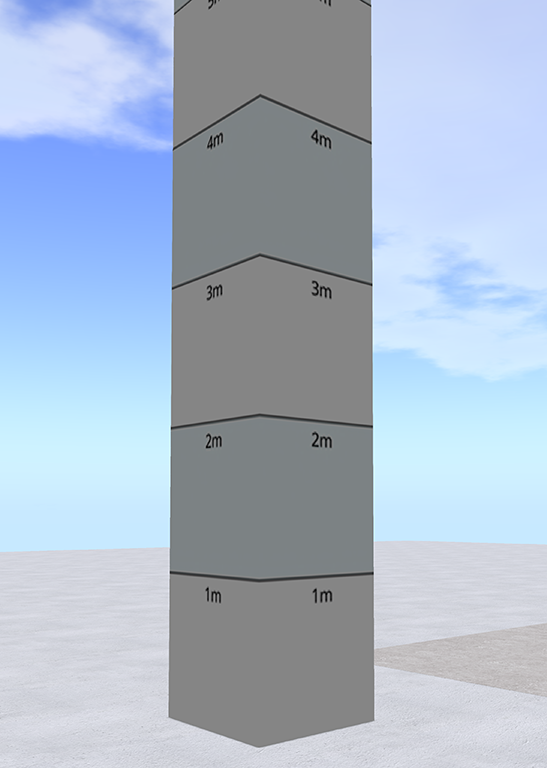
The purpose of this scale is to make it easy to set the height of land and other objects relative to your region’s terrain height, water height, etc. You don’t have to use it; it’s only there in case you need it.
Apart from the vertical scale, the App is otherwise a normal RezMela App. So let’s look at the objects that come with the App.
Landtiles Objects
Here is the Create menu in Landtiles:
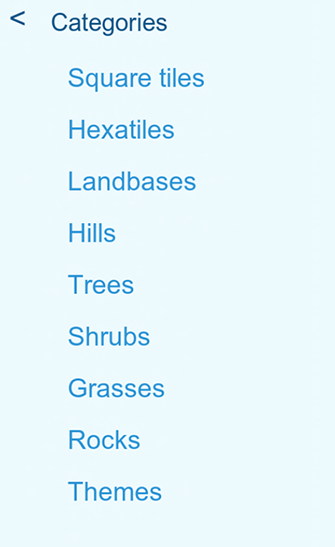
The categories contain various objects with different purposes. Some of these objects are themable; that is, their appearance (texture) can be changed easily by using the Theme Changer object. We’ll look into this in more detail in the section Using the Theme Changer
Square tiles
Basic square land shapes, plus a grid to help with placement.
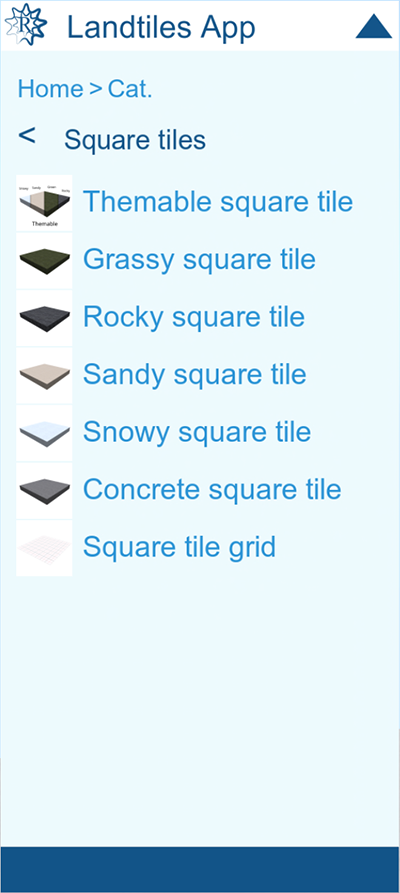
We’ll look at using these objects in the section Placing Landtiles.
The first tile is Themable – that is, if you use the Theme Changer, its appearance will change according to the theme you choose. The other square tiles have fixed textures that will always stay the same.
The last object in the list, the square tile grid, is used when placing landtiles, and we’ll discuss that soon.
Hexatiles
A selection of hexagonal land tiles which interlock easily.
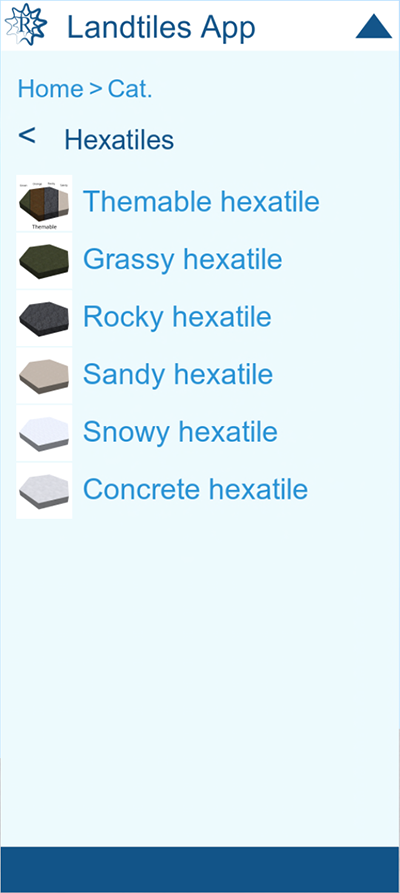
As with the Square Tiles, the first object is themeable.
We’ll look at using these objects in the section Placing Landtiles.
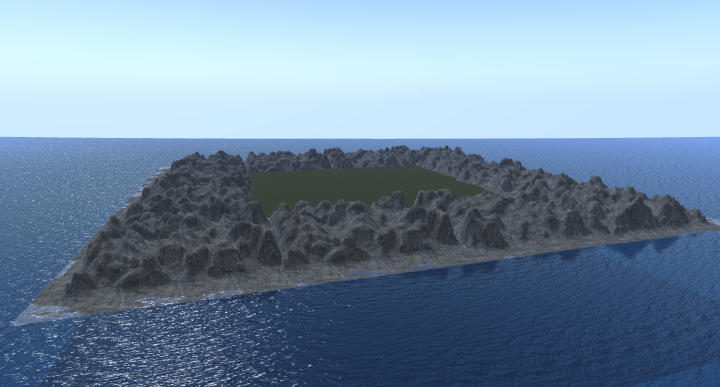
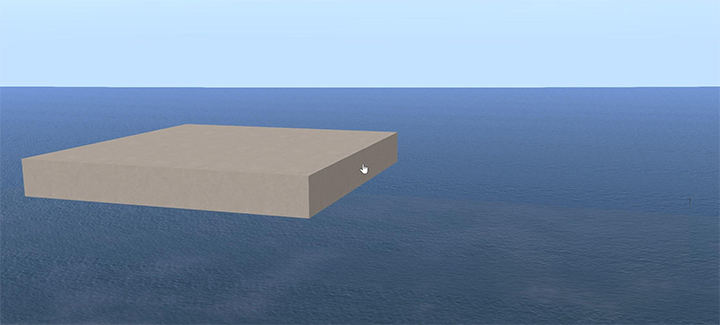
Landbases
Larger bases for your build (256m x 256m) and “sim-surround” mountains.
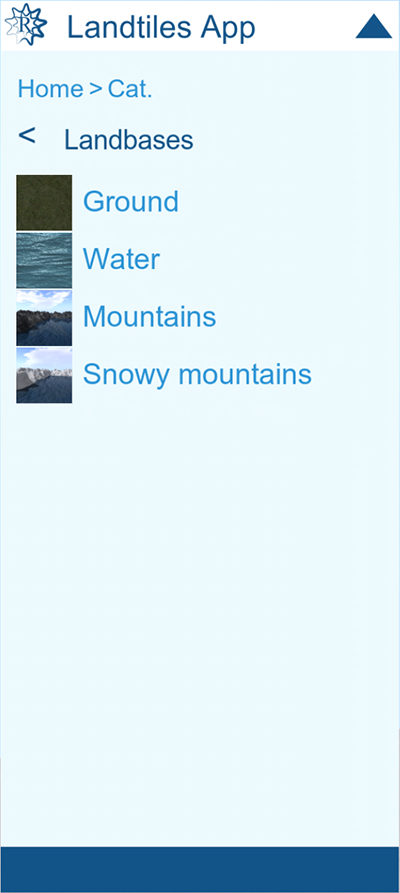
These objects are very large. The Ground and Water objects are 256m x 256m, the size of a standard OpenSim region. The two mountains objects are even larger, designed to surround a standard region.
The Ground Landbase is themable; the other objects here are not.
All these objects are placed precisely in the centre of the region when you create them. The point where you click to place them only affects their height (the vertical scale is useful for this).
Note: due to their size and complexity, the mountain objects are a special type of RezMela object called a “detached” object. This means that they cannot be selected (to rotate, resize, etc), nor can you place other objects on them.
Hills
Rounded, hill-shaped land pieces.
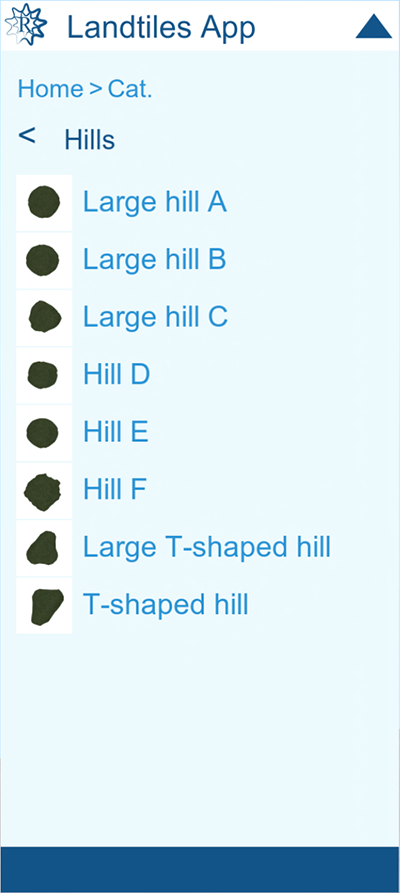
These are all themable.
Trees
A variety of trees of different shapes and species.
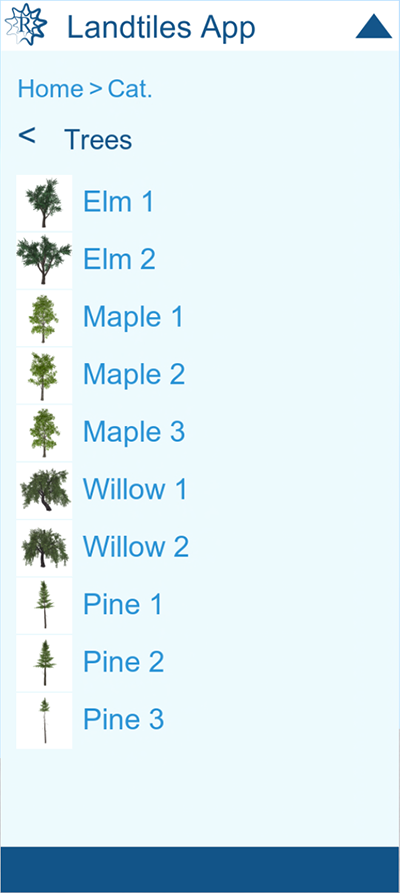
All trees are themable. Note, however, that the pine trees don’t have yellow, red or orange varations (such as used by the Autumnal theme), because they are an evergreen species. The other trees all have a wide variety of colour, and leafless variants.
Shrubs
A couple of small bushes.
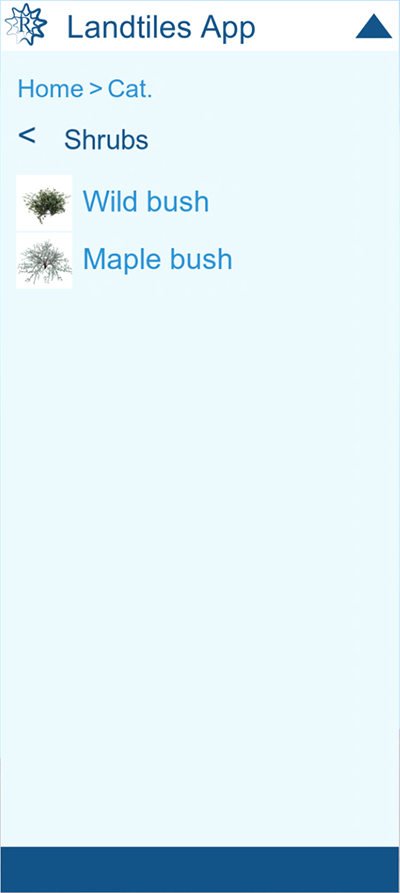
These are both themable.
Grasses
A selection of patches of grass.
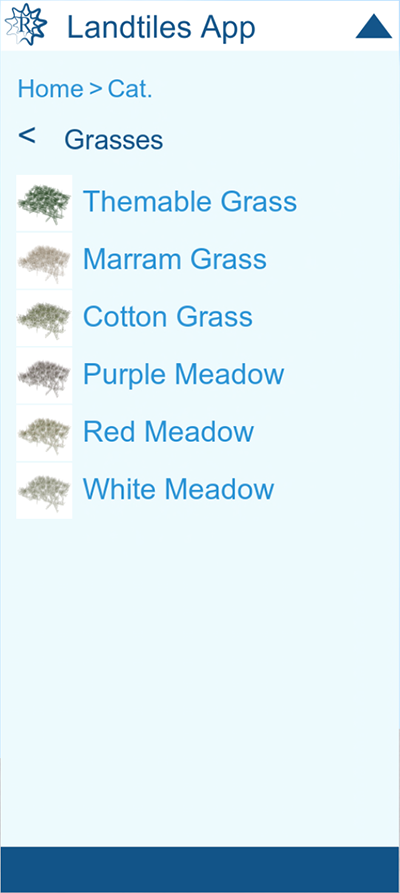
The Themable Grass object is the only one that is themeable.
Rocks
Several different shapes of rocks.
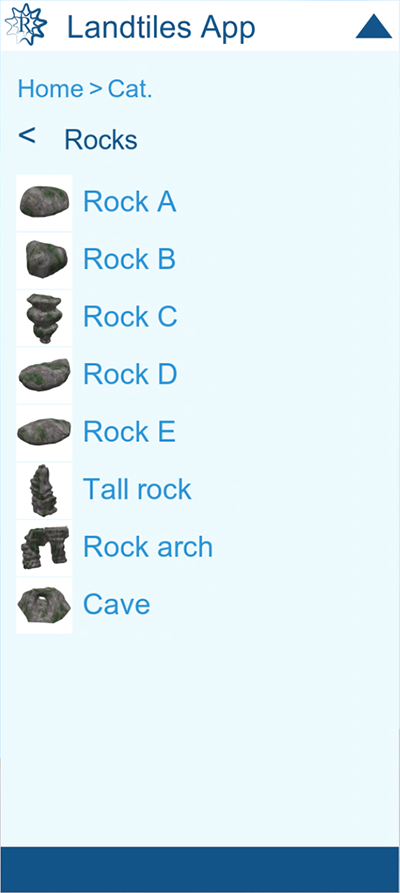
These are all themable, with subtle variations between seasonal appearances.
Themes
An interactive object that lets you customise the appearance (textures) of your scenes.
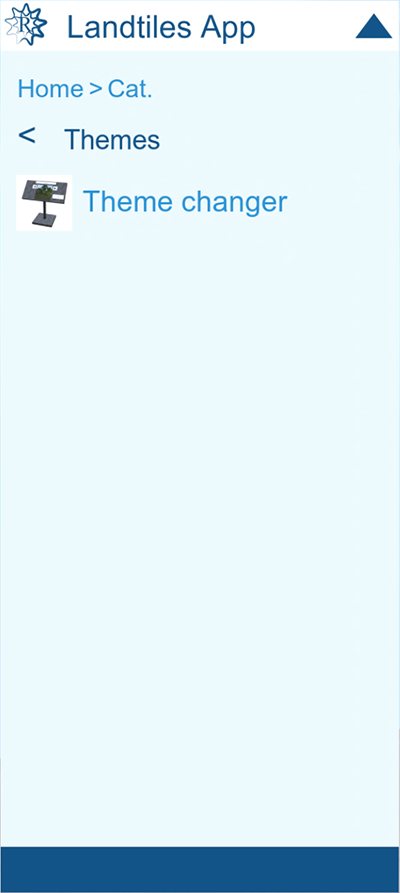
Only one object in this category. We’ll look at this in the section Using the Theme Changer.
Placing Landtiles
There are two types of Landtiles: Square Tiles and the hexagonal (six-sided) Hexatiles. Both work in a similar way, and can be quickly and precisely placed to create large areas of ground for your scenes.
Take care when mixing Square Tiles with Hexatiles in a group. Due to their different shapes and sizes, they don’t fit together precisely. All Square Tiles will fit with each other, though, and likewise Hexatiles.
There are two ways to place Square Tiles. One is to use the Square Tiles Grid. This is a very large (256m x 256m) square that is used to lay Square Tiles precisely.
Note that (like Ground and Water Landbase objects), this grid is always placed in the center of the region. When you click to place the Square Tiles Grid, only the height of your click is taken into account (you can use the vertical scale to do this).
Once the grid is placed, Square Tiles can be laid on top of it and they will always align exactly to the lines on the grid.

Another way to place Square Tiles next to each other precisely doesn’t involve the use of the grid object. You can fit any Square Tile to another by clicking on the side of the object.
To illustrate, let’s place a Rocky Square Tile next to an existing Sandy Square tile.
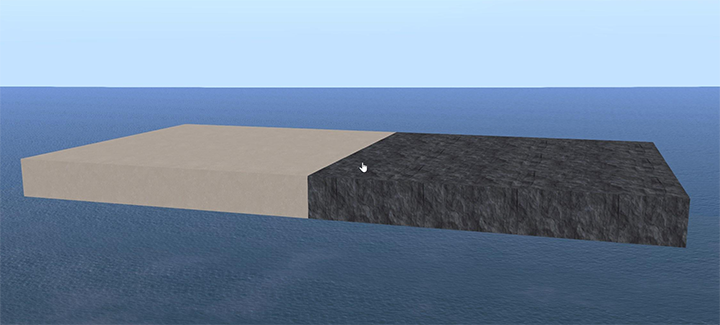
You can do that on any of the four edges of the Square Tiles, repeatedly if necessary, to quickly build up an area of land.
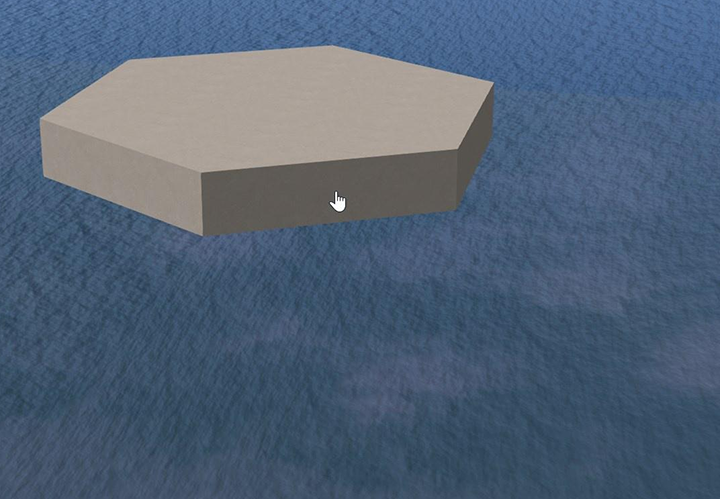
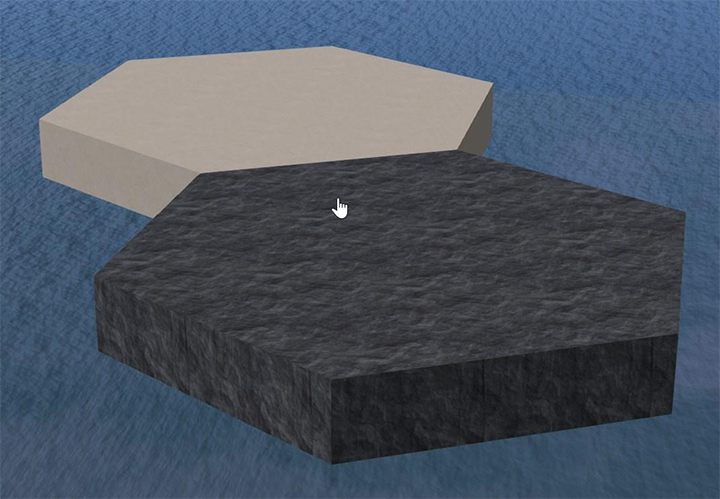
Hexatiles work in exactly the same way (except you now have six edges, of course):
Once you’ve placed your Landtiles, it’s easy then to place other objects on top of them
Trees, rocks, grasses, etc
The objects such as trees, shrubs, rocks and hills can all be used to build up a natural-looking scene. As with any RezMela App, just select the object you want to place on the HUD, and click to place it.
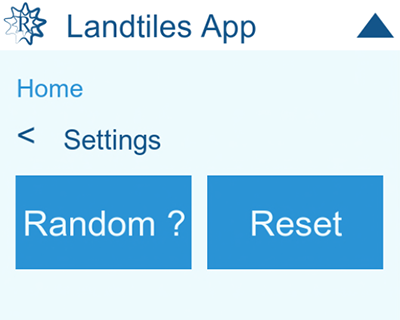
You can introduce variation into your scene very easily by using the Random function of the HUD, which is under the Settings menu. This is a “toggle”: if you switch it on, it will apply to any appropriate objects that you create until you select the option again to turn it off.
To illustrate how much difference this makes, compare these two scenes, both using three “Elm 2” trees:
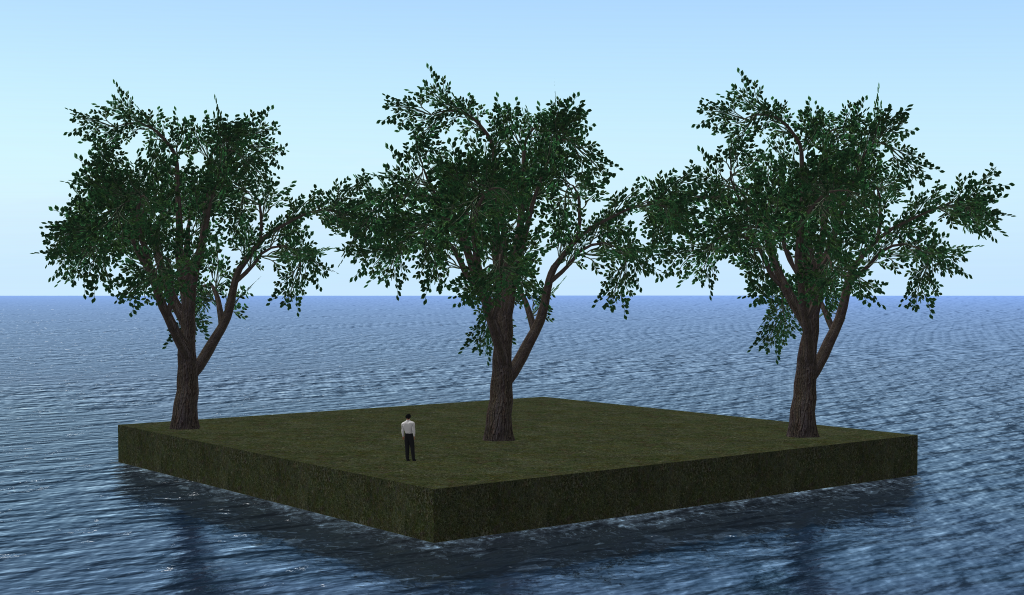
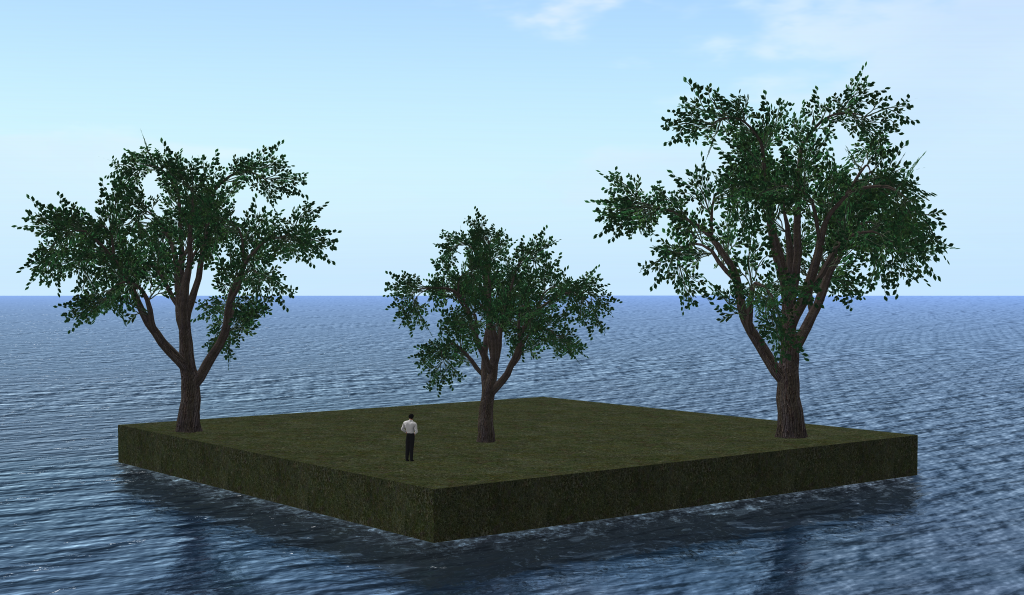
When Random is switched on, any objects that would benefit from it are automatically resized and rotated by random amounts.
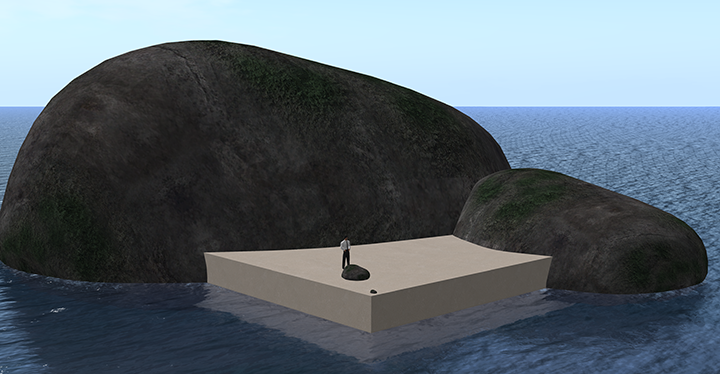
Another useful trick is to use the Resize option on objects such as hills and rocks.
This scene has four different “Rock 1” objects, of vastly different sizes, on a Sandy Square Tile:
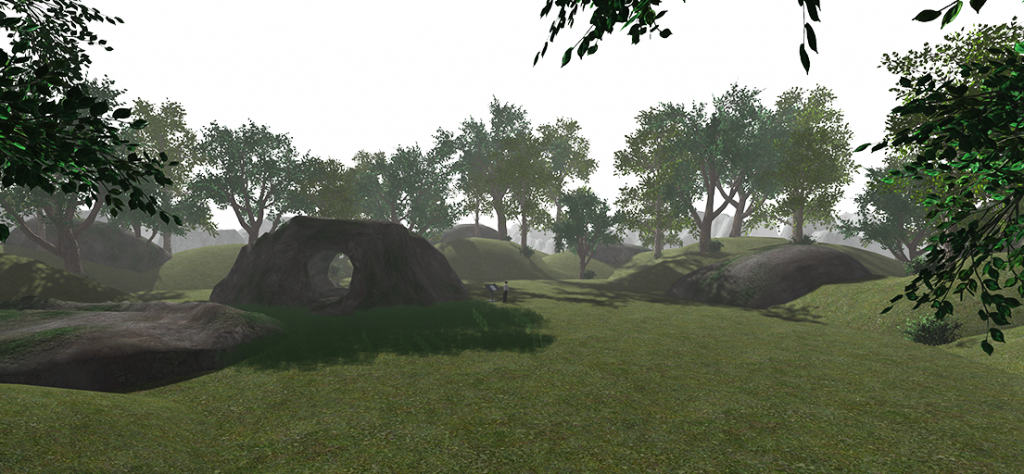
Using these techniques, it’s very easy to build up complex, varied and natural-looking scenes:
Using the Theme Changer
Introduction
The Theme Changer is an object you can include in your scenes which can alter the appearance of most of the objects in the Landtiles App.
The Theme Changer contains the following themes:
Green – a Spring/Summer appearance, with green foliage, grass, etc.
Autumnal – a variety of foliage colors, suitable for Autumn (Fall) scenes
Snowy – snow-covered ground, deciduous trees lacking leaves, etc
Rocky – rocky ground with a variety of foliage colours
Drought – sandy ground, dead-looking trees, good for desert scenes
Red – a red color for all plants
Orange – similar, but with an orange color
Yellow – similar, but with a yellow color
Selecting and applying a Theme
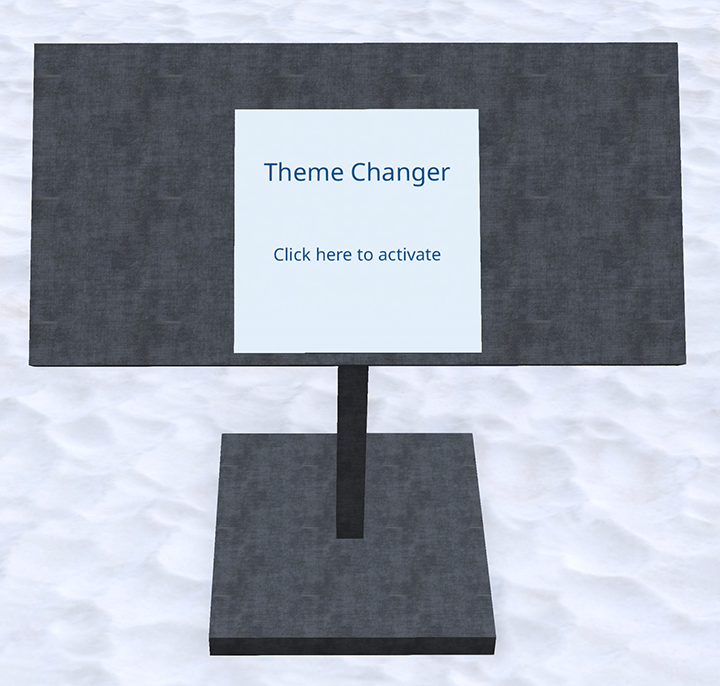
When you first create a Theme Changer, it will be in standby mode to conserve system resources. It will revert to standby mode after five minutes of inactivity.
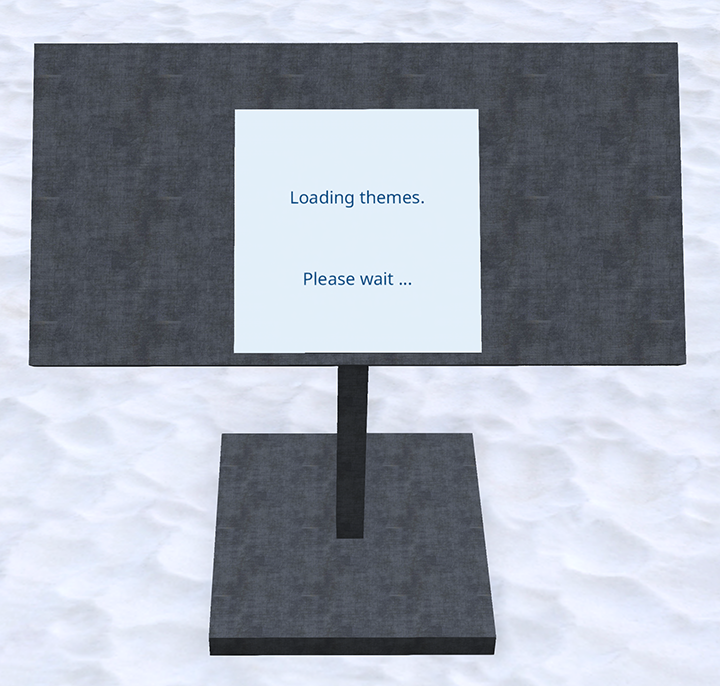
When you click the sign, it will start to load the themes data:
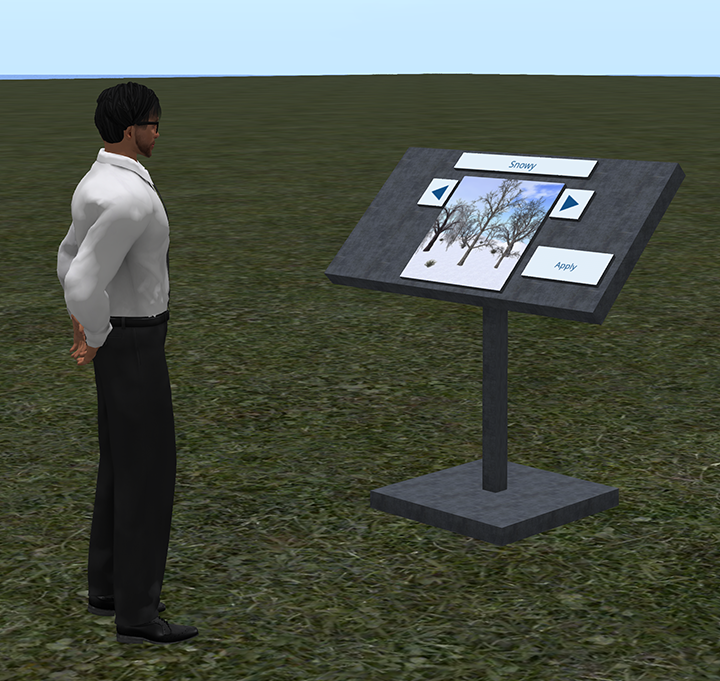
and after a few seconds, the first theme (Green) will be shown:
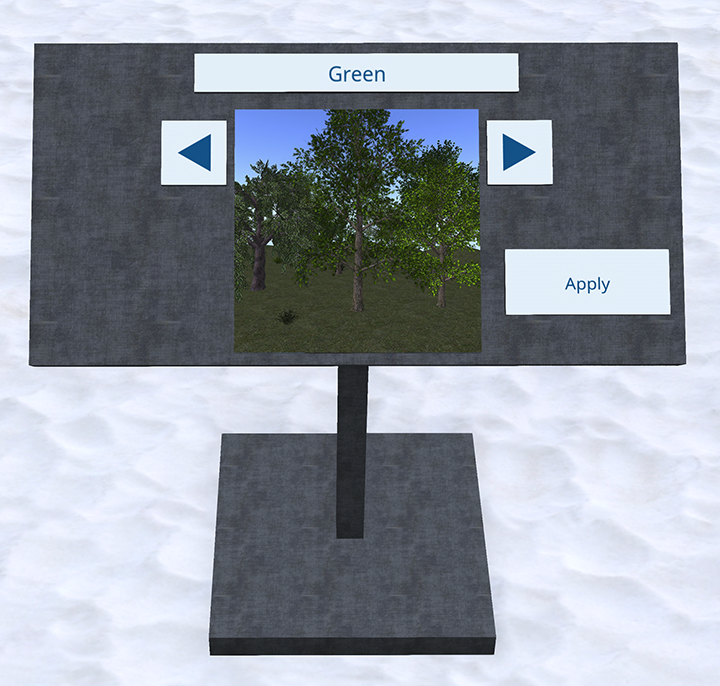
The Theme Changer is now ready for use.
Let’s look at the various parts of the Theme Changer:
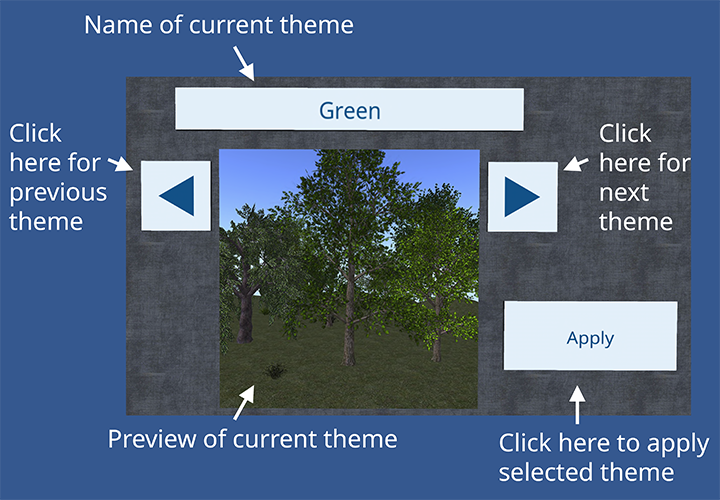
As you click the arrow buttons, the name and preview will change to reflect the current theme.
Clicking Apply will use the current theme to alter the appearance of your scene.
An example in action
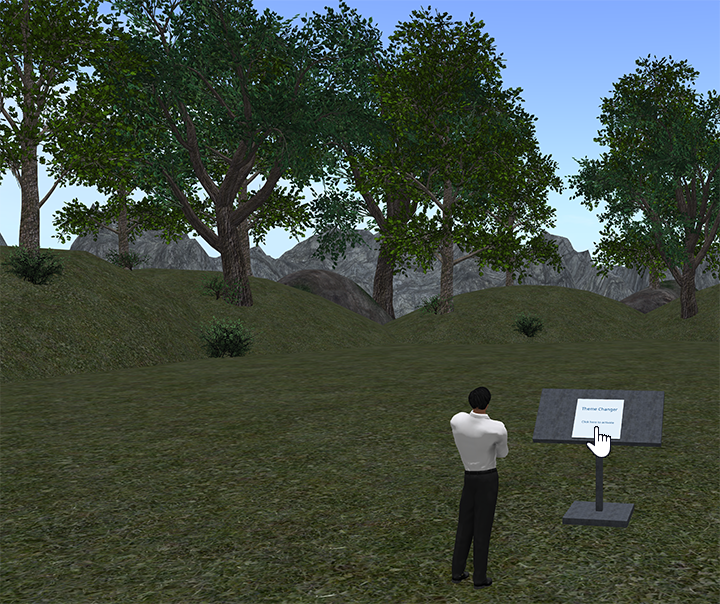
Let’s look at an example of using the Theme Changer on a scene.
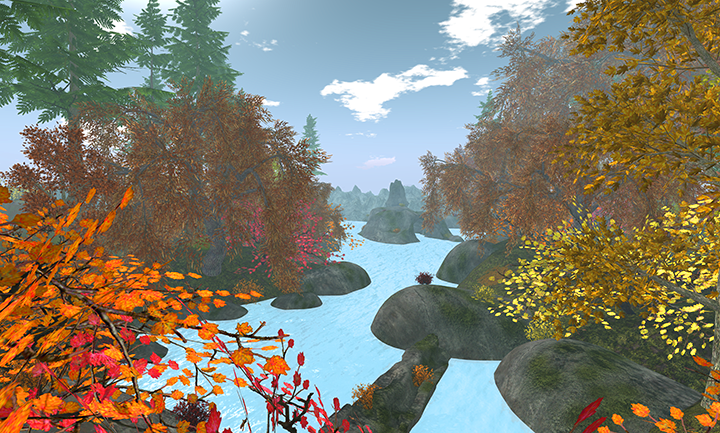
Here’s our scene, which currently has the Green theme:
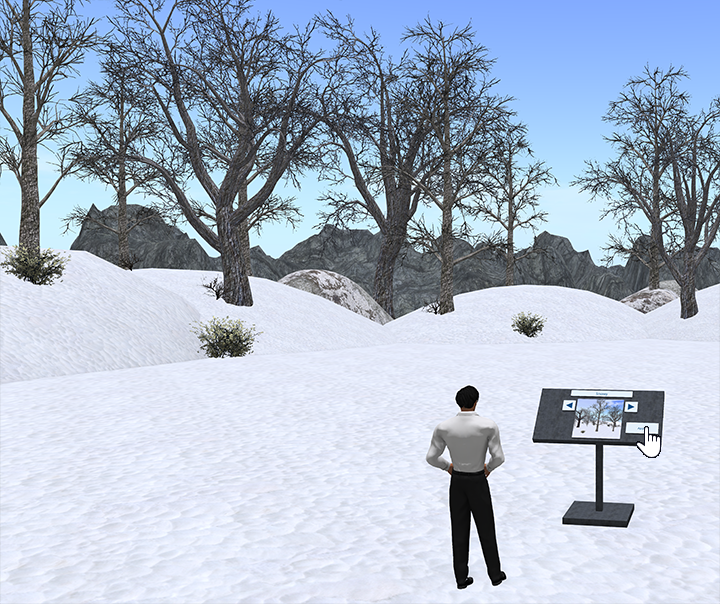
Having loaded the themes, let’s use the right arrow button to go to the Snowy theme:
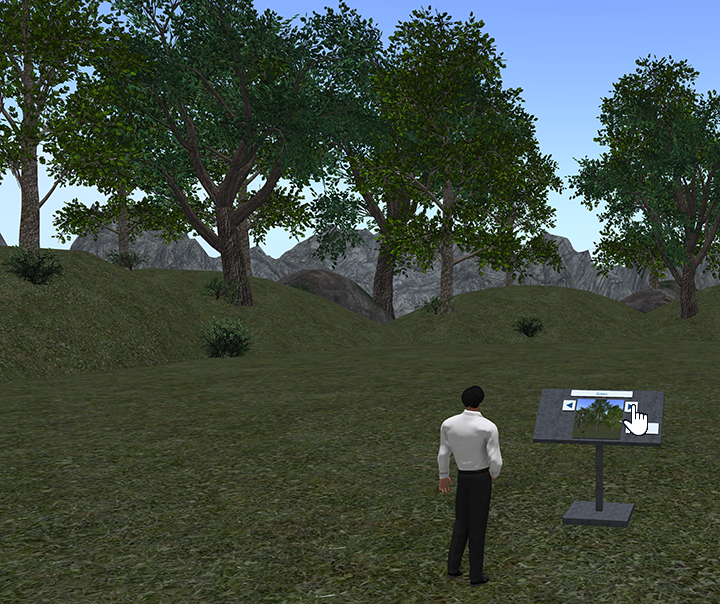
We click the right arrow button twice to show the Snowy scene, then click Apply:
We now have our Snowy scene.
Some notes on the Theme Changer
- Once a theme is selected in a scene, any new objects created will have that theme applied. This might take a second or two, so for example if you add a new tree to a snowy scene you see it as green briefly before the Theme Changer has the chance to apply your theme.
- If you leave the Theme Changer object in the scene, and save the scene, when you next load the scene the Theme Changer will automatically apply the selected theme. Again, there might be a very short delay before this happens, as the Theme Changer makes its changes in batches to conserve system resources.
- If you remove the Theme Changer object from the scene, the current theme will be retained for existing objects, but new objects will have the default green theme. Also, if you save and load your scene, the original green theme will be loaded.
- Some themes have multiple textures for the same type of object. For example, the Elm and Maple trees have orange, red, and yellow textures, all of which might be used in the Autumnal theme. Which tree gets which texture is randomized, so you might notice variations when you save and load a scene.
- The objects supplied have a green theme when you first create them, very similar to the Green theme. However, using the Theme Changer to apply the Green theme will introduce more variations, especially in the trees.
Included examples
An example scene, called “Demo”, is included with your Landtiles App, and can be accessed by using File -> Load from the main HUD menu.
Other example scenes are included in a folder within your Landtiles App folder in your inventory, and can be imported into your App with the Import feature.
Note that because many of these scenes span whole regions, it is best to position your app in the centre of your region (at 128,128 for single regions) before loading these scenes.
You must be logged in to post a comment.