In this guide, we’ll be using an App called “Formal Garden”, but you can use whichever App you like as we go through the basic principles that apply to all RezMela Apps.
Getting started
NOTE: Due to restrictions in OpenSim software, your RezMela Apps can only work on Worlds that either (1) you own or (2) for which you are the Estate Manager. Attempting to use an App in a World in which neither of these is the case will result in error messages. There is currently no way round this. However, any visitor will be able to use an App that satisfies those requirements.
First, rez your App. It will possibly look something like this:
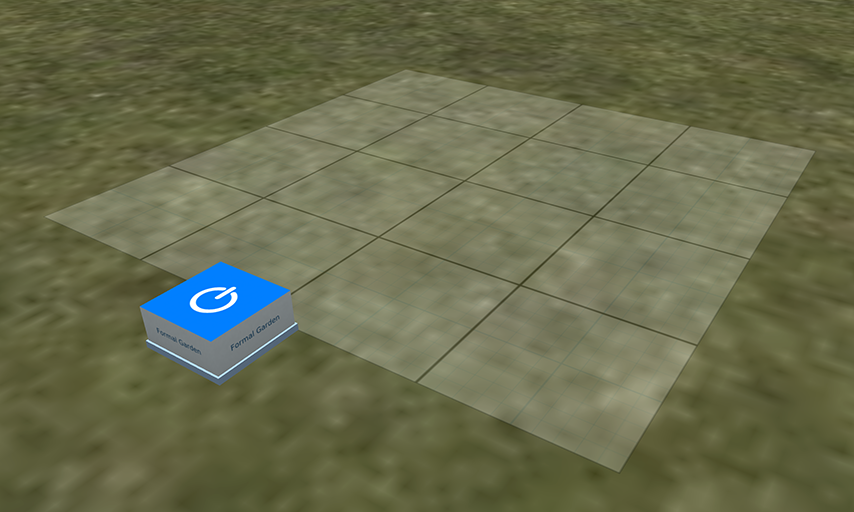
The blue and white button is the place you can use to sign in and out of the App. While signed in to the App you can add objects and make changes to the scenes you create.
In our case, we’ve rezzed the Formal Garden App. The name of the App appears on the sides of the sign-in button.
Now click the button to sign in. If this is the first time you’ve used a RezMela App, the App will give you a HUD which will appear on the top left of your screen. You can safely leave this HUD attached, and when you’ve signed out it will only show as a small, unobtrusive square.
Give it a few moments to load, and the HUD will then display its options:
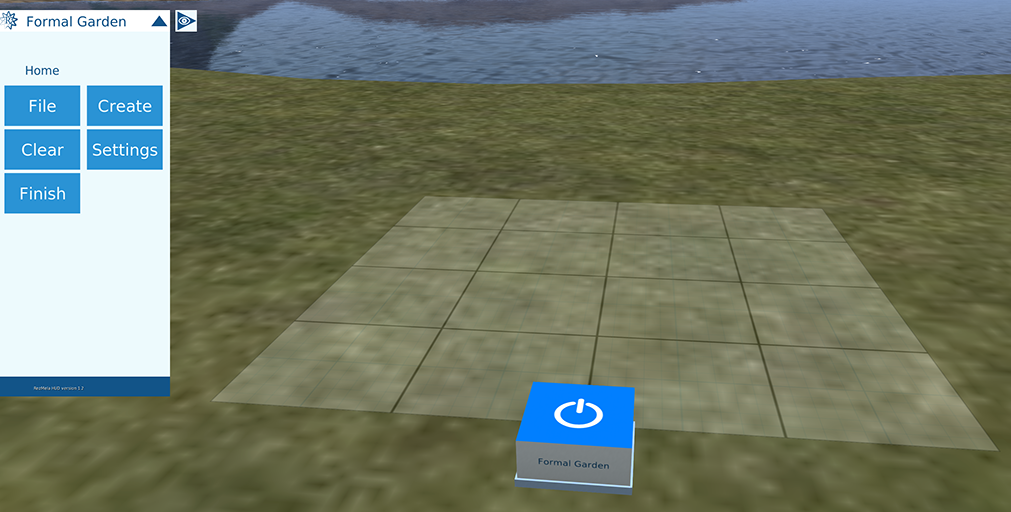
You are now ready to start creating your scene by placing objects.
Creating objects
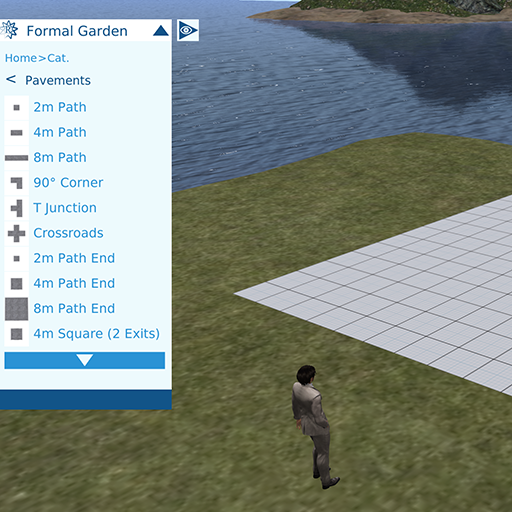
Click the blue “Create” button on your HUD. You will now see the HUD display a list of categories of objects that you can place:
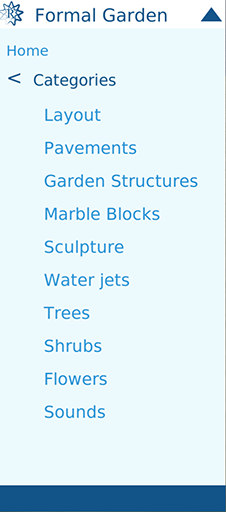
You can see here broad categories of objects related to the Formal Garden App we’re using here. If you’re using a different App, the categories you see will be different, and related to the purpose of your App.
The top category, “Layout”, is present in most Apps, and gives us a variety of surfaces we can use to extend the square base and provide a platform upon which we can place our objects.
Let’s click “Layout” to get started. From here, we see two sub-categories (your App might differ):
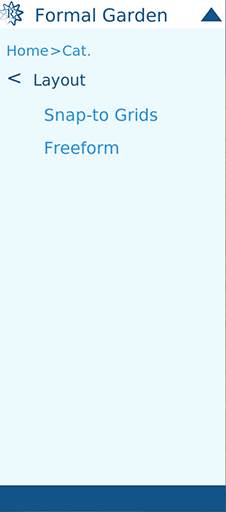
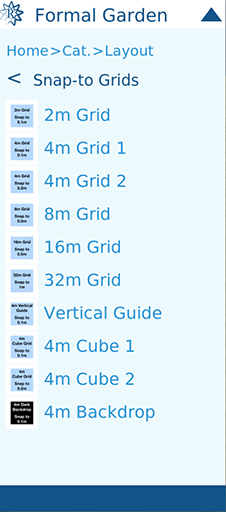
Selecting “Snap-to Grids” gives us a list of the available objects in this category, each with a thumbnail picture:
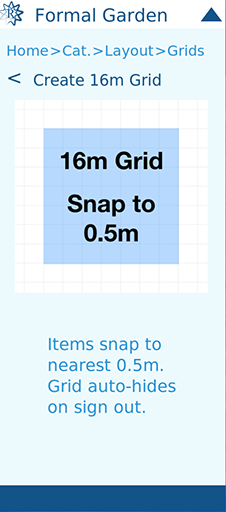
For now, we just choose the 16m grid. The HUD will change to show more details about this object:
At this time, we are able to place the 16m grid on the base square by clicking the base in-world.
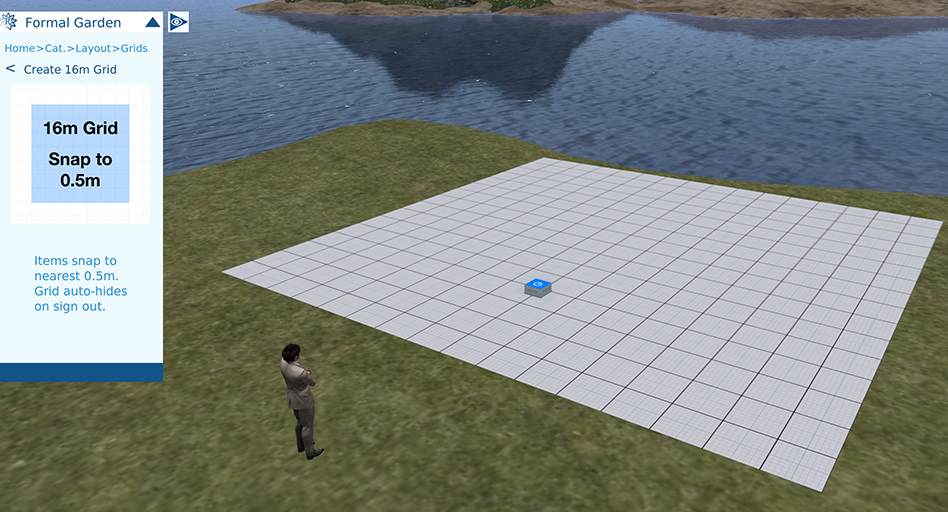
You can see that the 16m grid covers the base square, and considerably extends the area on which you can build.
Now let’s place some other objects on the grid.
Navigating the HUD
First, though, it’s time to look a bit closer at the HUD, and how to get to where you want to go.
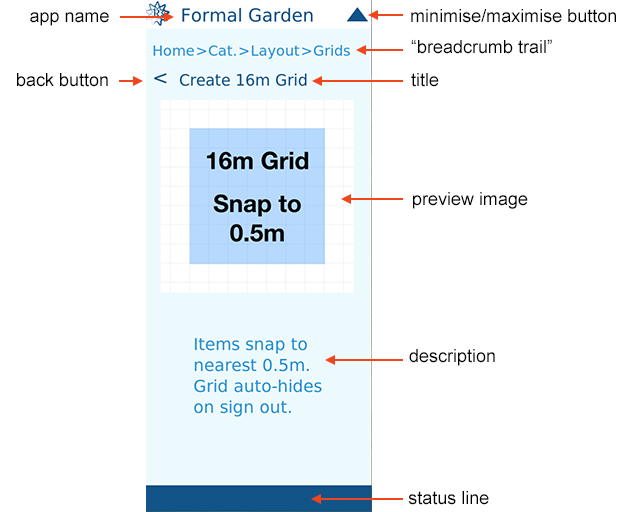
The different parts are:
- app name — The name of the App you’re signed into.
- min/max button — You can use this to shrink the HUD to give you more screen space, or expand it again.
- “breadcrumb trail” — This shows the path you took from the main menu. You can click any of the parts of this path to go back to that point, similar to many web pages.
- back button — You can click this to go back to the previous level.
- title — The title of the page you’re on.
- preview image — An image of the object.
- description — Information about the object.
- status line — Various items of information, depending on what you’re doing.
So far, we’ve followed a path from the main HUD page, clicking “Create” (which lists the categories), clicking “Layout Tools” (which lists the grids, etc) and then selecting the 16m grid.
So, to create our next object, we’ll probably want to go back to the “Categories” list that we saw when we first clicked “Create” on the main menu.
You can do this by clicking “Cat.” (short for “Categories”) on the breadcrumb trail, or by clicking the back button to return to the “Layout Tools” list, and then again to return to the “Categories” list.
So we’re back here:
For this tutorial, we’re looking at the Formal Garden App. If you’re using a different App, feel free to choose categories and objects that are supplied with your App. For now, it’s probably best to stick to small objects that are easy to manipulate on the 16m grid.
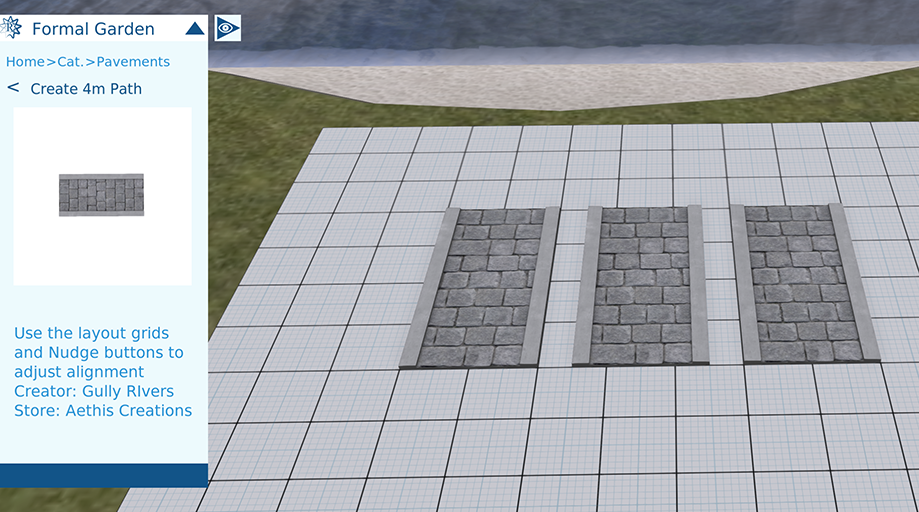
I’m going to use the “Pavements” category here, which gives us these sections of paved paths:
I’ve selected “4m Path” from that list.
Now I can click on the 16m grid object in-world a few times to place some path sections on it.
Note that you can only place objects on other objects within the same App (or the App itself, such as the base square).
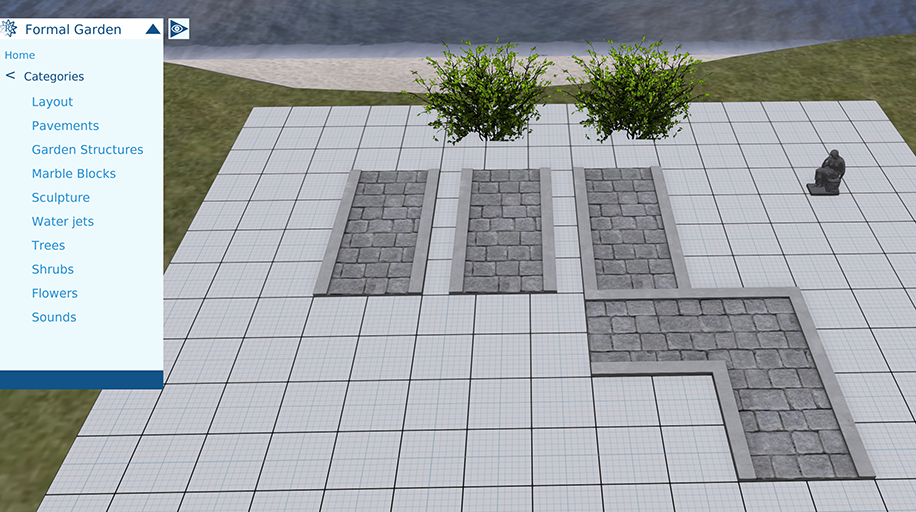
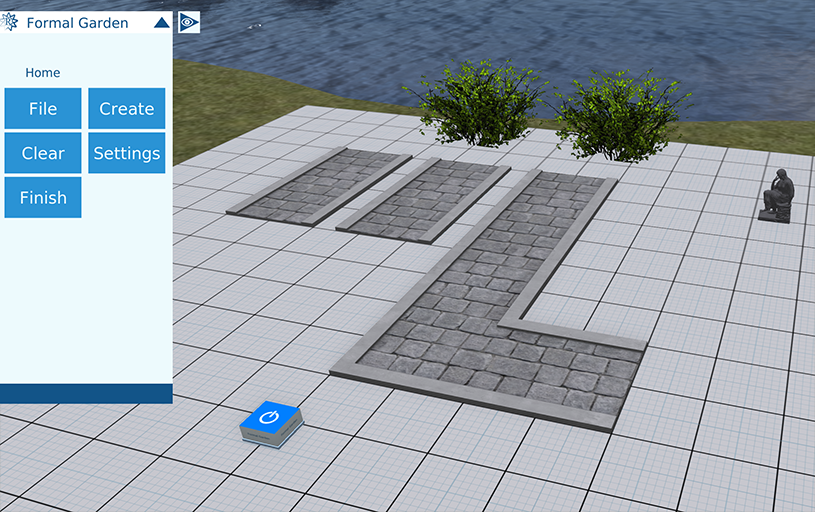
As long as you’re in the “Create” page for a particular object, you can keep placing objects by clicking. If you want to place different types of objects, just click the back button and navigate to the objects you want to place. In my case, I’ve chosen Green Shrub 1 from the Shrubs category and added a couple of those. I also added a statue from another category. My scene now looks like this:
You can continue to place objects in this way as you please, within any limits there might be on the number of objects you can put into a scene (the status line at the bottom of the HUD should show any such limit).
Notice how the path sections in this example are precisely placed to line up with the gridlines on the 16m “Snap-to Grid” Layout object. That Layout object, like some other RezMela objects, causes objects placed on it to align precisely.
The dimensions of the grid in this case are shown in the preview in the Create screen for the grid:
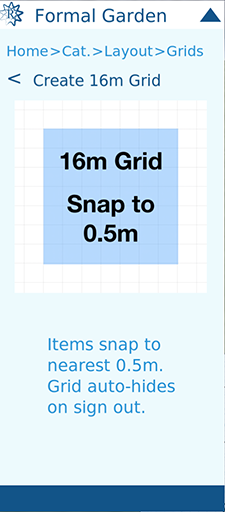
As you can see, the grid here has squares 0.5m apart. The gridlines shown on the surface are 1m apart.
Changing the objects you’ve created
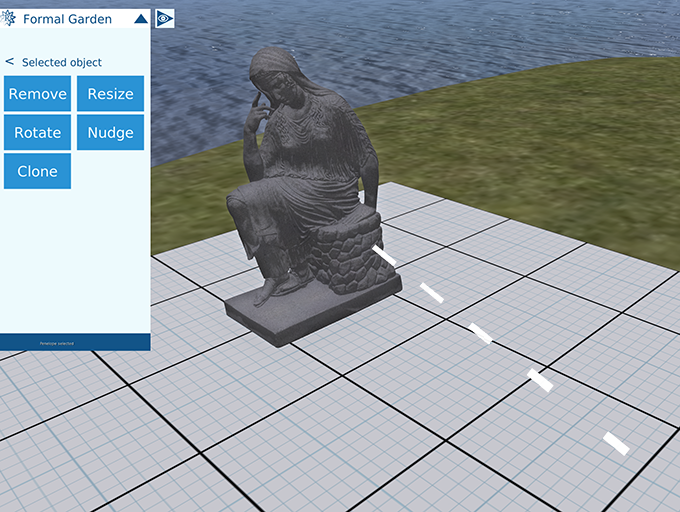
But what if you want to alter the objects you’ve created, or remove them?
You can select an object to work on it by long-clicking on it. This means holding the left mouse button down for a second or so when you click. If you short-click (click and immediately release), a new object will be created as before, but a long click selects an existing object.
When you select an object, it will glow slightly, and you will see a stream of white particles going between the object and your avatar.
To deselect the object, simply short-click it, or long-click another object to select it instead. The object will stop glowing, the particles will go away, and you’ll be returned to where you were before in the HUD.
Now let’s look at some of the things you can do with an object once you’ve selected it.
Moving objects by clicking
You can simply move an object to a different place by clicking the new position. The object will swiftly move the its new location and will remain selected.
Note that as with creating objects, you can only place objects on the App itself or on other objects within the same App.

Notice, however, that we have a new set of options on the HUD now that we’ve selected an object. Let’s quickly look at each of these options.
Resizing objects
If you click “Resize”, you will see a set of options related to resizing objects. Feel free to experiment.
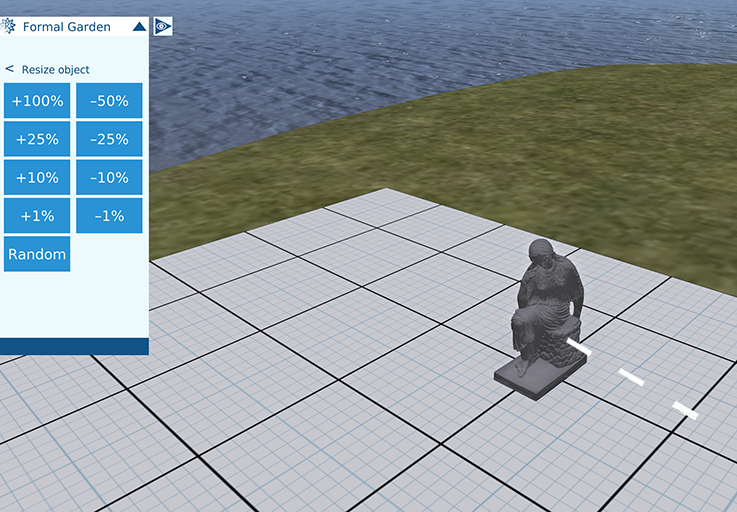
These options can make an object larger or smaller, or even make it a random size.
Use the back button to return the the “Selected object” menu.
Rotating objects
Note that this option is not available in some Apps, such as Melablocks, where objects are always aligned.
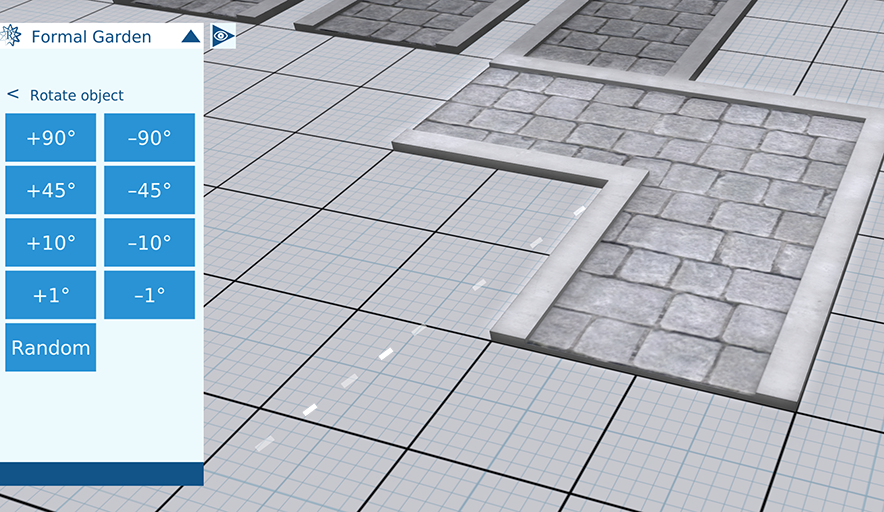
Click the “Rotate” option. This gives you a list of variation rotations in both forward (clockwise) using the positive numbers and backward (anti/counterclockwise) directions using the negative numbers. There is also a random rotation. Experiment with rotating your object to see what effect this has.
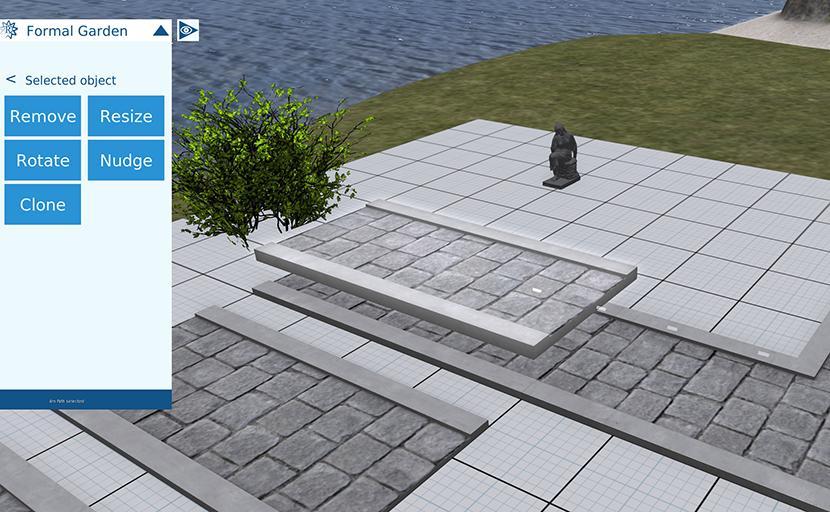
I’m going to rotate the L-shaped path section (called 90° corner) here:
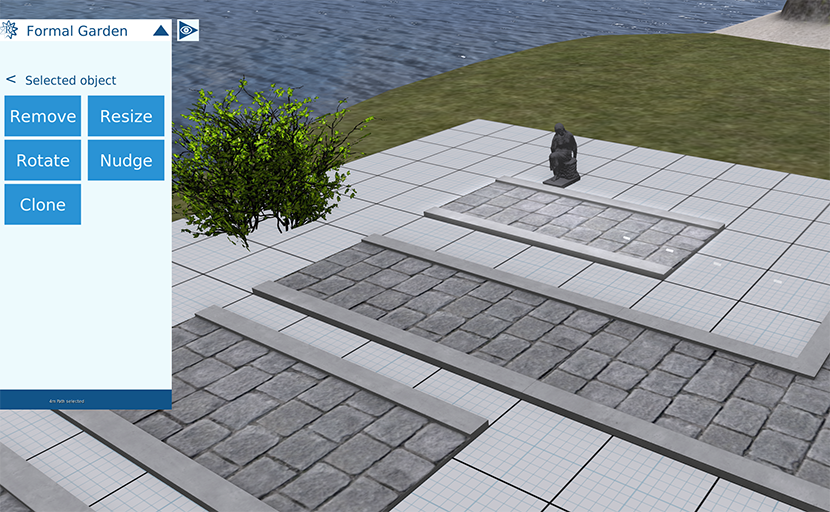
After rotating twice by +90°, it lines up nicely thanks to the grid layout:
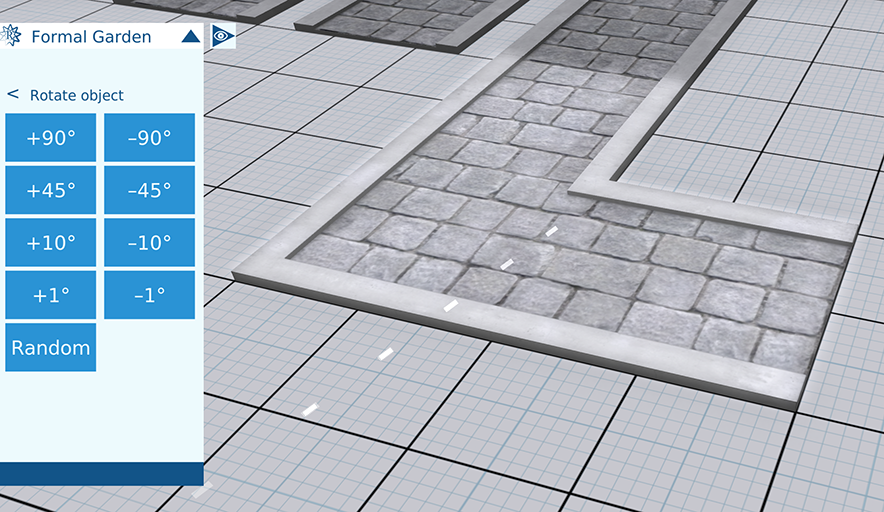
The positive numbers gives clockwise rotations, and the negative numbers anticlockwise.
Technical note for those who want it: rotations are only around the axis perpendicular to the surface the object is placed upon. In this case, rotations are horizontal only.
Again, click the back button on the HUD to return the the “Selected object” menu.
Moving objects by nudging
In addition to moving a selected object by clicking a new place, you can also move it by using the “Nudge” option. This allows for fine-tuning the position of an object, and also allows you to move the object away from the base as far as you like (within any restrictions).
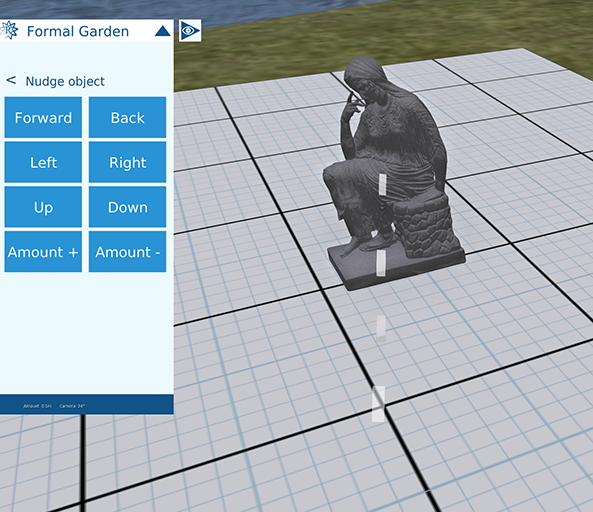
The directions “Forward”, “Back”, “Left”, “Right” relate to your point of view. So to move an object in a particular specific direction, place your avatar accordingly.
“Up” and “Down” simply raise and lower the object.
The “Amount” buttons control how by much the object is moved each time you nudge it. You can see the amount in metres on the status line at the bottom of the HUD. You’ll also see the current camera angle (the direction you’re looking in) there, displayed in degrees to help you get precise movements.
Cloning objects
You can “clone” a select object to make an identical copy of it, including its size and rotation.
When you click “Clone”, the identical copy appears above the original, and is automatically selected:
Now you can place the copy wherever you like:
In fact, you can repeatedly do this to quickly make copies of an object.
Saving, clearing and loading your scene
One of the key features of RezMela is the ability to save and recall scenes that you create.
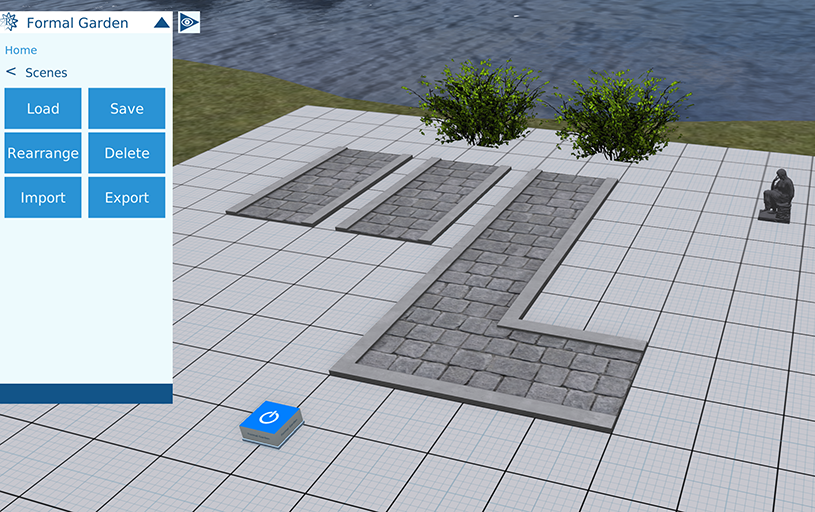
Let’s go back to the main menu.

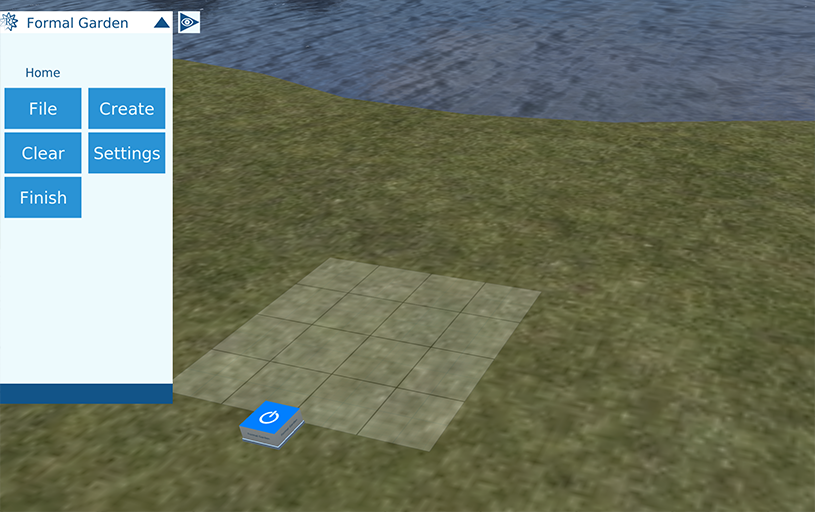
Now, click “File” to show options related to the saving, loading, etc of Rezmela Scenes:
Saving
Now click “Save”:
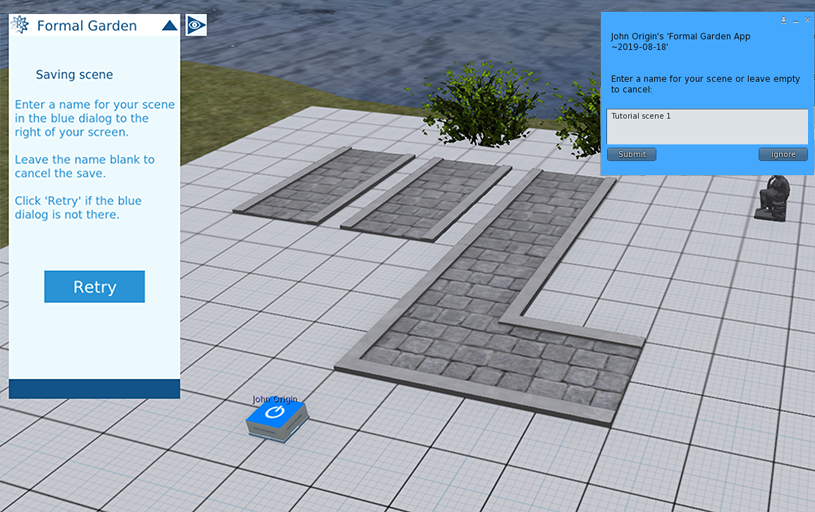
You’ll see a blue menu pop up on the right for you to type in a name for the saved scene, in this case “Tutorial scene 1”, then click the “Submit” button below. If you decide you don’t want to save after all, just leave the name blank and click “Submit”.
The scene will be saved, and you’ll be returned to the main menu. You can save as many times as you like. If you use the same name as an existing save, it will be overwritten.
Clearing the scene
Another option in the main menu is “Clear”. If you click that, you will be warned that you’re about to remove all objects from the scene. This is fine – we’ve just saved the scene and in a moment we’ll be reloading from the save.
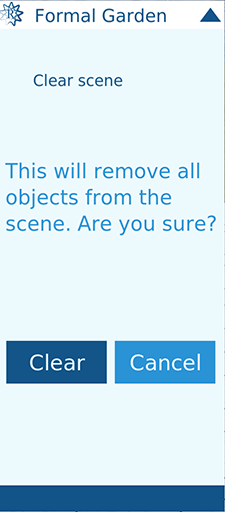
Click “Clear” on this menu, and the objects will disappear from your scene, leaving you with just the basic App.
Loading a saved scene
On the main menu, click “File” and then “Load”. RezMela will now show you a list of your saved scenes:
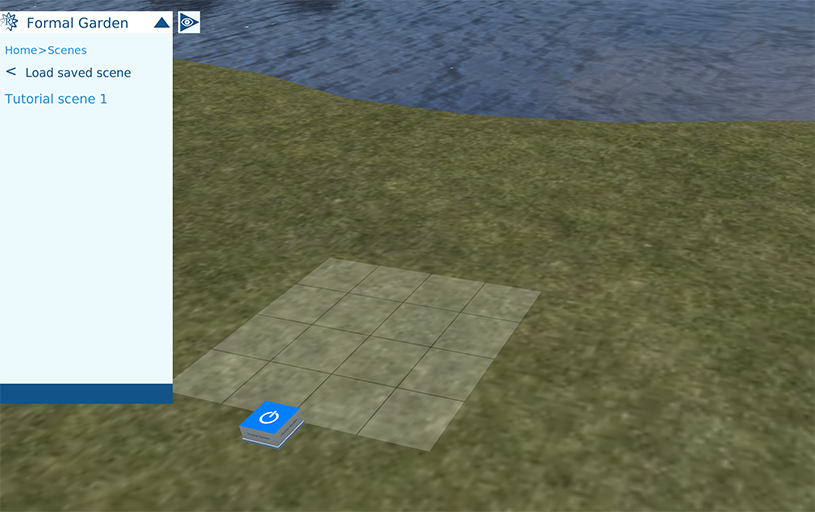
In this case, we only have the scene we recently saved. If we click on that, we get a warning:

We do want to load the scene, so we click “Yes” and the scene is quickly loaded:
Signing out of the App
To sign out of the App, just click the square blue face again, or select “Finish” from the main menu on the HUD. Layout objects will go transparent.
If you log out of OpenSim, or move to a different region, you will be automatically signed out.
Using beacons to sign in
Sometimes you might find that your scene obscures the blue square, making it difficult to find and click. In this case, you can make use of the “beacon” feature of the HUD.
When you’re signed out, you can find any nearby Apps by clicking the HUD icon with the RezMela logo on the top left:
Note: At the time of writing, some earlier RezMela Apps don’t have this feature. If your HUD doesn’t have button shown, contact RezMela for an update.
This will search the area nearby for apps, and any that are found will display a tall, colored beacon, like this:
Clicking a beacon will activate the App that produced it, at which time all beacons will disappar again.
The colors are random, but each copy of an App will always give a beacon of the same color, helping to identify which is which.
Here’s an example where two Apps that have been buried by a large hill object can be identified and signed in by using their beacons:
Note that due to OpenSim limitations, only Apps within 96 metres can be activated in this way. Also, if you have a lot of Apps or other scripted objects within that radius, some Apps might not be detected.
If the beacon doesn’t disappear when you click it, ensure that there is nothing invisible between you and the beacon – for example, try clicking further up the beacon.
End note
This concludes the introduction to RezMela Apps.
What we’ve covered here is only the basics needed to use the system. There is a lot more to RezMela than this, and we will look at the more advanced features in separate tutorials.
You must be logged in to post a comment.