Introduction
This guide covers two sets of objects which can display text in your scenes:
- Text Tools (from the Multimedia module)
- Framed Text Signs (from the Framed Signs module)
Both work in very similar ways, and the differences are mostly cosmetic.
Depending on the RezMela Composer modules you have, you might have one or both of these sets of objects.
Let’s have a quick look at them both before we describe how to use them.
Text Tools
Text Tools objects available are: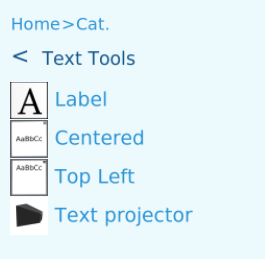
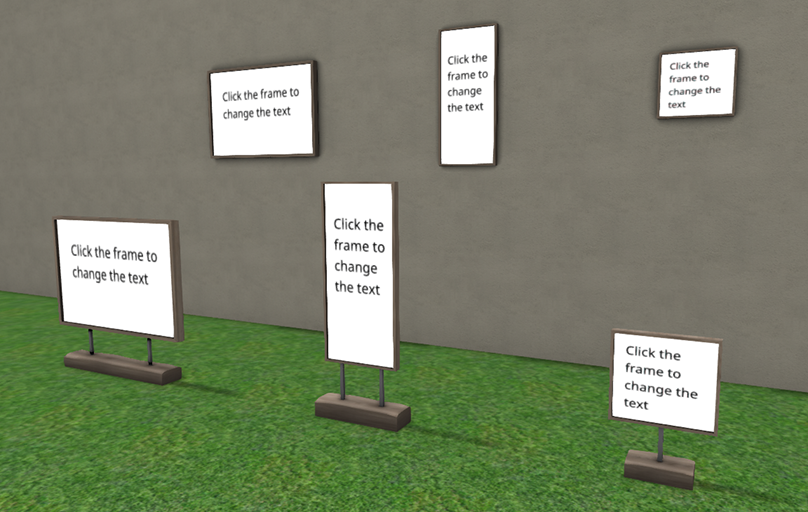
Here are examples of the four Text Tools objects, placed against a wall:
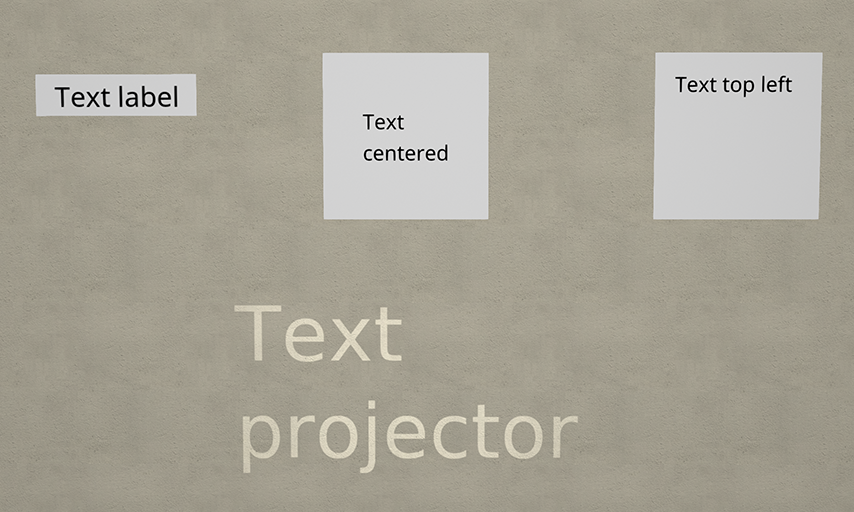
All four objects work in a very similar way: you tell it what text to display, and the object displays the text. The differences between the four are in how the text is presented.
Let’s briefly look at the differences in each type, and then we can look at the features they all have.
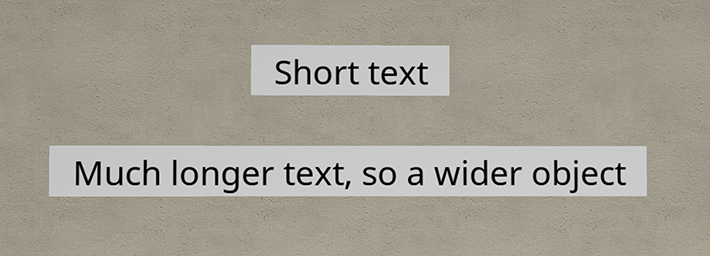
Label
This is for a single line of text. The object is a rectangle that expands or contracts horizontally in size to fit the text.
Centered
This is a square object. If the text becomes too big for the space available, instead of the object changing size (as with the Label), the size of the text is adjusted instead:
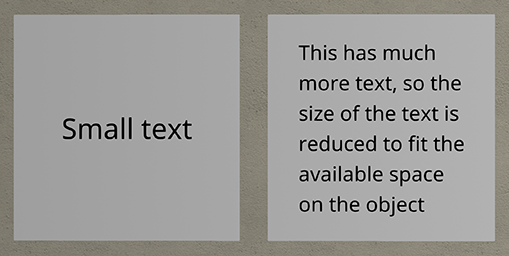
As the name implies, the text is aligned with the centre of the object.
Top Left
This is almost identical to the Centered object. The only difference is that text is aligned with the top left of the space.
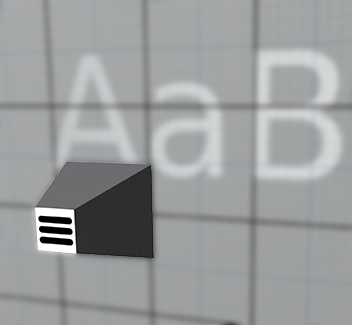
Text Projector
This object is a small projector that shines the text onto any surface in front of it.
You can see the projector itself to the left of this image:
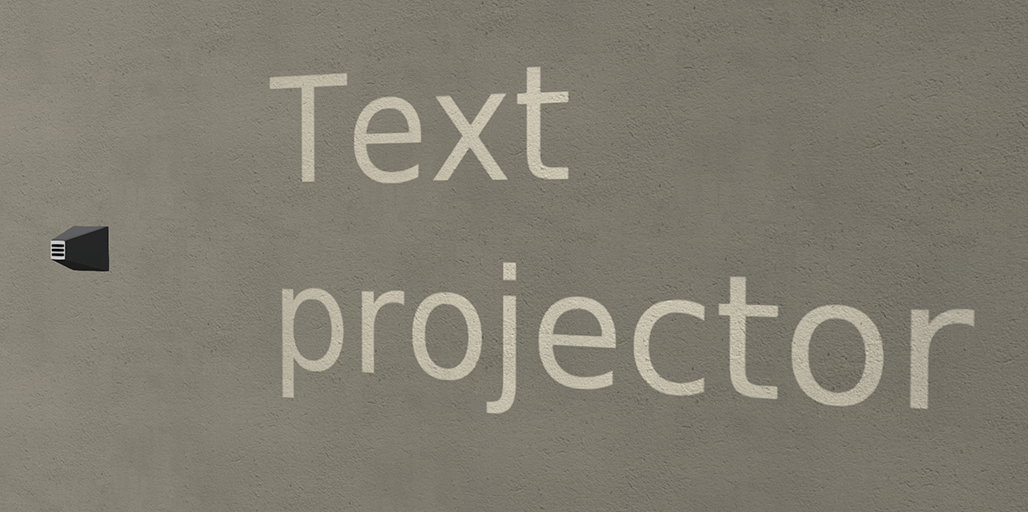
Note also how the text merges with the texture of the wall.
To see the text from a Text Projector, it is essential that both “Atmospheric shaders” and “Advanced Lighting Model” are checked in the viewer Preferences (Ctrl+P):

When you place the Text Projector by clicking on a surface, the project object itself will be about 4m in front of that surface. You can select it and use the Nudge feature to move it closer to, of further from, the surface. The longer the distance between the projector and the surface, the larger the text becomes – but also, the fainter the text image.
Note that when any of these objects is first created, the text will default to “AaBbCc” (unless this has been changed by the App creator).
Text Signs
Text Signs objects available are:
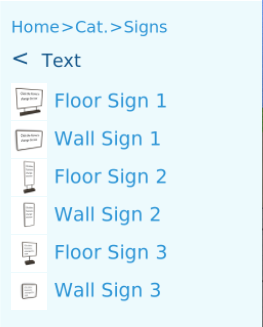
Here’s what they look like. Wall signs are best placed on a vertical surface, and the floor signs on horizontal surfaces:
Using Text Tools and Text Signs
Getting a menu
All these objects – Text Tools and Text Signs – are controlled by a similar menu. The way to get the menu differs between the two types.
Text Tools menu
In order to get the menu, you will need to be signed in to the App. While you’re signed in, you will see a “hamburger” icon (three parallel horizontal lines) on the top right of the Label, Centered and Top Left objects:
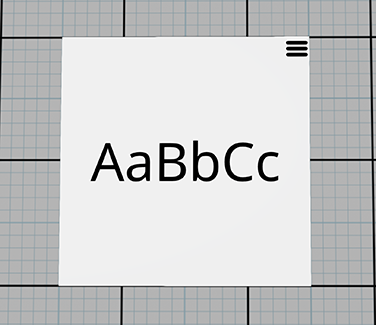
In the case of the Text Projector object, the projector itself will become visible (it’s normally invisible), and the hamburger is visible on the back of the object:
If you click the hamburger, you will get the menu.
Framed Text Signs menu
For Framed Text Signs, you can get the menu by clicking on the frame surrounding the object:
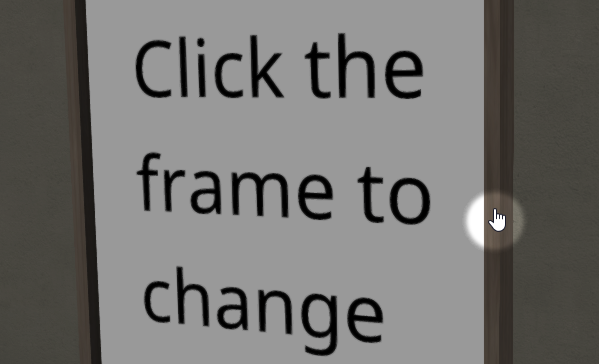
or by clicking the base.
You can do this at any time, whether or not the App is activated.
Using the Menu
This section covers both sets of objects, Text Tools and Framed Text Signs.
Using the menu, you are able to interact with the objects and set up:
- The text to be displayed
- The font to be used (except for Label Text Tools objects)
- The size of the font (except for Label Text Tools objects)
- The color of the text
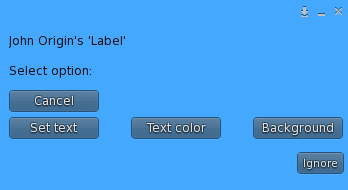
- The color of the background
The menu looks like this for Label objects in the Text Tools set:
and this for all the others:
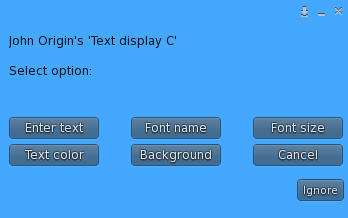
Let’s go through these options one by one.
Enter text
This option lets you specify what text the object will display.
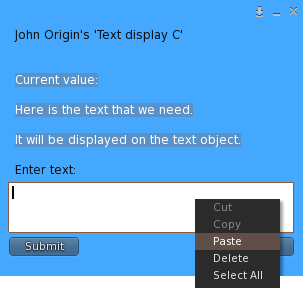
If you click this button, you will see this menu pop up:
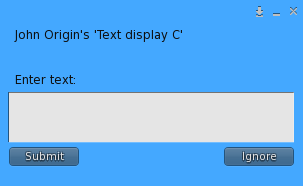
To set the text, click inside the white rectangle and type in the text you want:
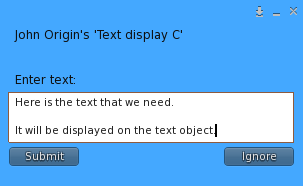
You can use the normal keyboard keys for editing your text at this point: arrow keys, Home/End, etc. The Return key will give you a new line so you can break your text up into paragraphs.
When you’ve done that, click “Submit” and your text will be displayed.
Editing the text
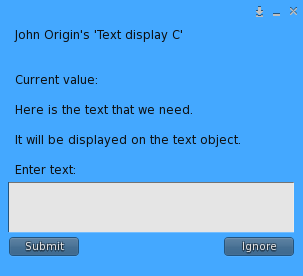
If you want to change the text after setting it, use the same option again. The previous text will be shown above the input rectangle:
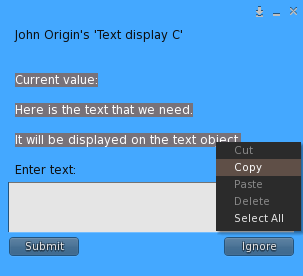
Unfortunately, it’s not technically possible for RezMela to put the text into the input rectangle to be edited (this is a limitation of SL/OpenSim). However, you can use the mouse to click and drag to select the text above, then right-click/Copy (or Ctrl+C) to copy it to the clipboard like this:
Then paste the copied text into the input rectangle by clicking there and right-click/Paste (or Ctrl+V) to paste:
You can now edit the text however you like, and hit Submit when finished.
Due to a bug in the OpenSim viewer, it’s possible that on rare occasions you will be unable to select the text to be copied. In that case, open the Nearby Chat window (Ctrl+H) and you will see the text there too:
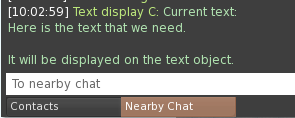
You can then select it and copy in the same way as above.
Font name
(This option is not available in Label objects.)
If you select “Font name” from the main hamburger menu, you will see these options:

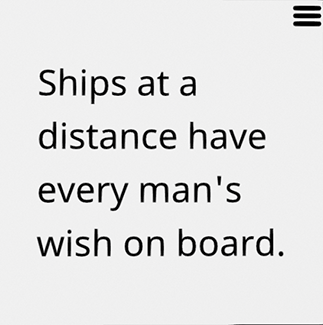
There are three fonts available. The default is Noto Sans (shown here on a “Center” type Text Tools object):
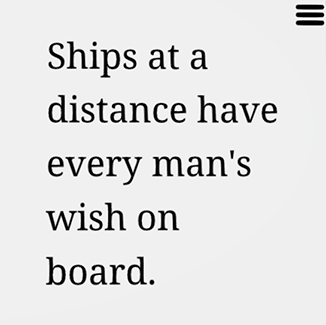
There is also Noto Serif:
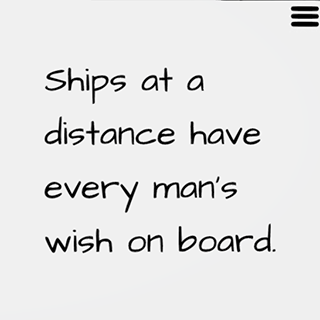
and Architect’s Daughter:
Font size
(This option is not available in Label objects.)
The Font size menu gives you these options:
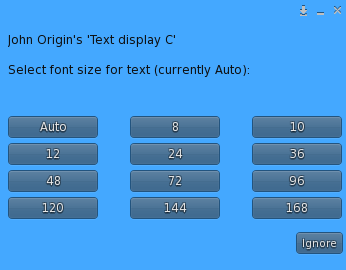
The first option, Auto, is the default. When this is set, the text object will calculate the best font size for the text. The more text there is, the smaller the font size is likely to be.
However, if you have several of these objects with different text, it might be useful to set them all to the same font size for a consistent appearance.
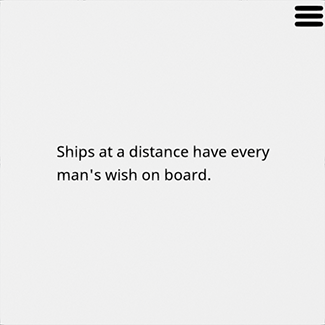
Here’s an example of the sample text with a font size of 24:
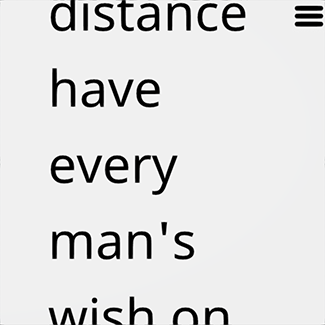
and of 120 (too large to fit the text):
Text color
The Text color menu has the following options:
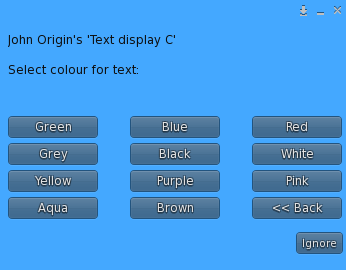
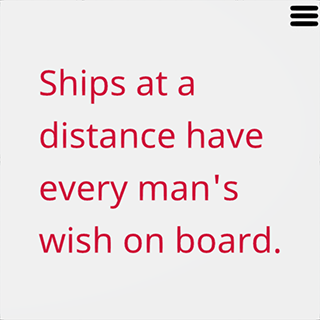
Selecting any of these colors will change the color of the text; selecting << Back will return you to the main menu.
Here’s our sample text with the Red color:
Background
This option gives you the following menu:
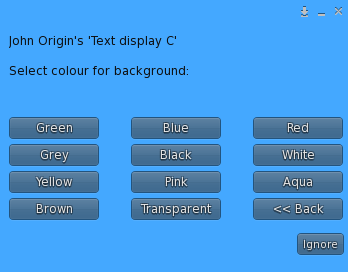
The first ten options will set the background to that color, Transparent will make the background invisible, and << Back returns us to the main menu.
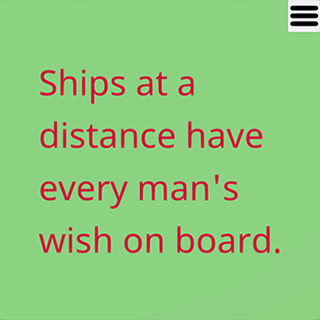
Here’s our sample text with a red text color and a green background:
As an illustration of how the Transparent background can be used, here’s our Text Tools object with that background, placed against a textured wall:
Transparent backgrounds don’t work very well for Text Signs objects, and are best avoided.
Cancel
This closes the menu without making any changes.
You must be logged in to post a comment.