Introduction
Click to View and Click to Jump are features of the RezMela Composer that allow you to (1) view objects easily and (2) move (jump) around your scene easily.
Click to View
When the creator of a RezMela module adds an object to the module, they have the option of defining a specific angle and distance that is the optimal way of viewing that object.
With two easy clicks, you can see the object from that position without having to manipulate your camera (ie your viewpoint) into the correct position.
Click to Jump
In addition to the Click to View position, the module creator can also define an ideal position for the avatar to stand relative to the object.
Again with two clicks, you can have your avatar ‘jump’ to that position instantly, without having to walk or fly there.
Click to View
A simple example
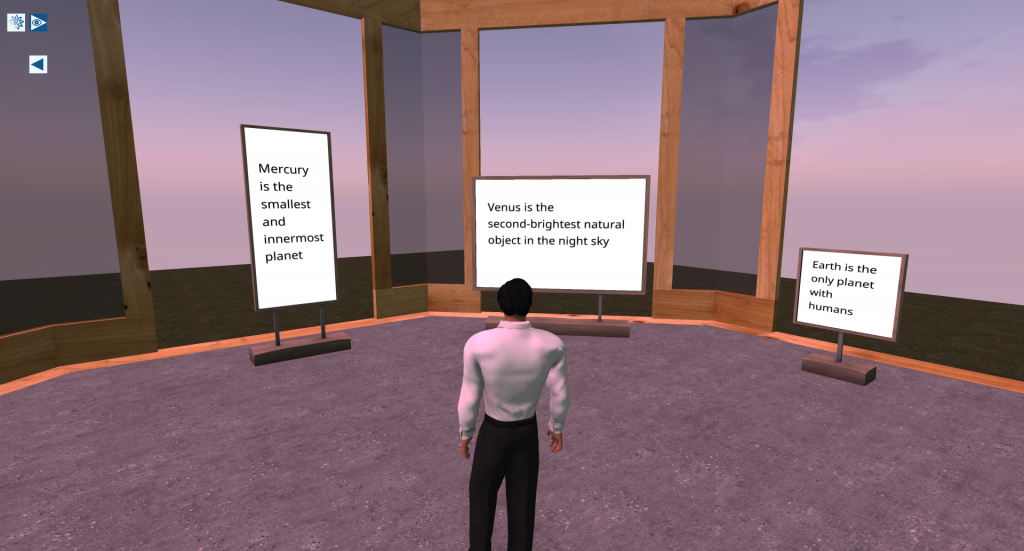
Consider this basic scene, which contains buildings from the Octorooms module and three text display signs from the Framed signs module:
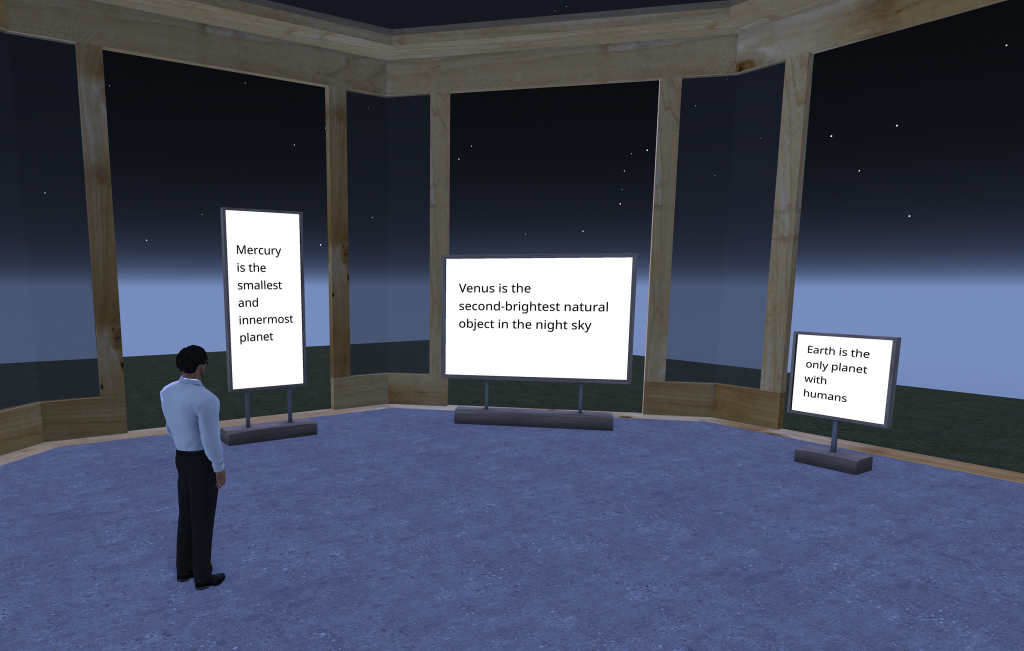
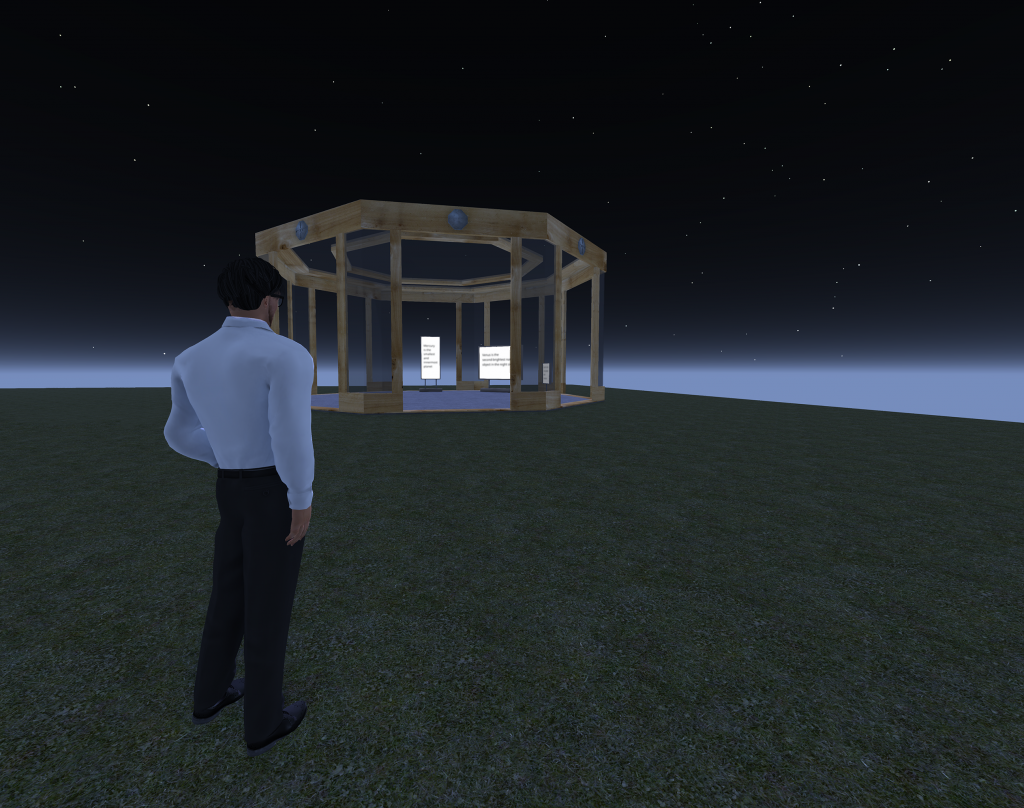
If we were to view those signs from a long distance, it wouldn’t be possible to read the text. Normally, you would have to either walk closer to the signs or use the camera tools in the viewer to manually move your camera to a place where the signs are readable.
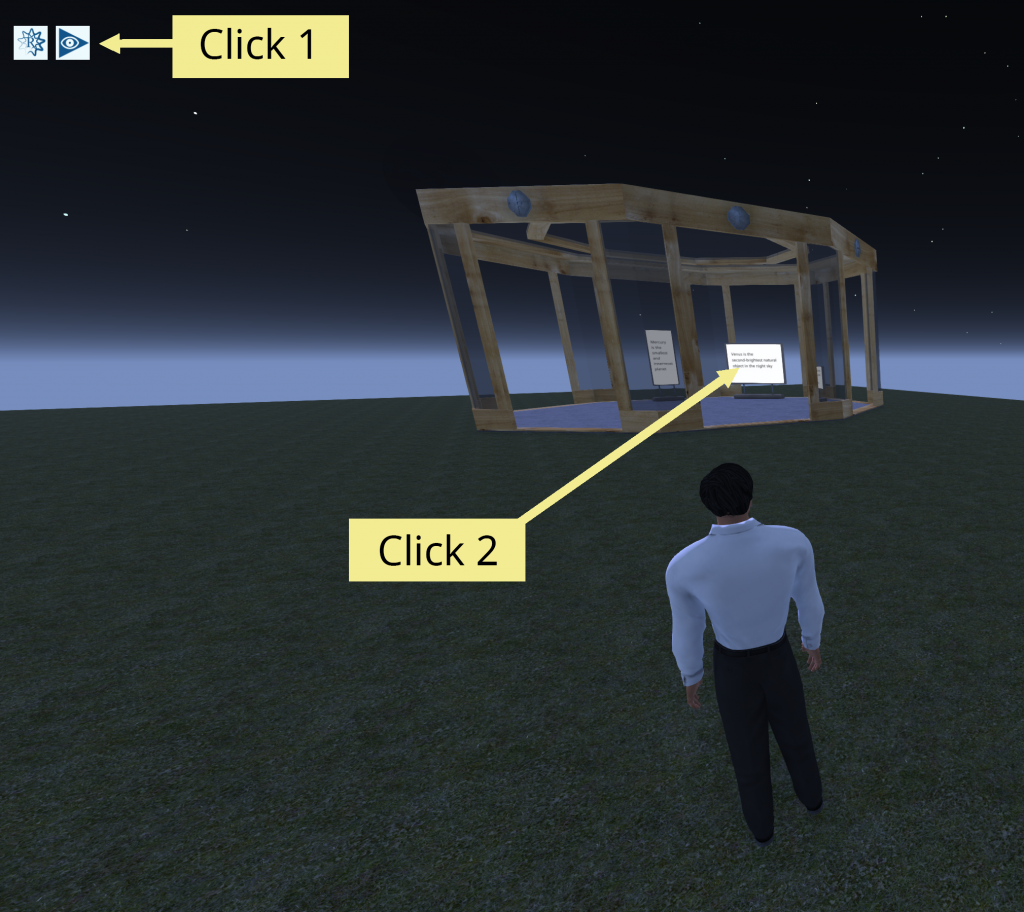
Let’s use the Click to View feature instead. On the HUD at the top left of your screen, you should always have a button that looks like this:

In our example scene, to view a sign up close, we just need to click on that button and then click on the sign we want to look at (in this case, the middle sign):
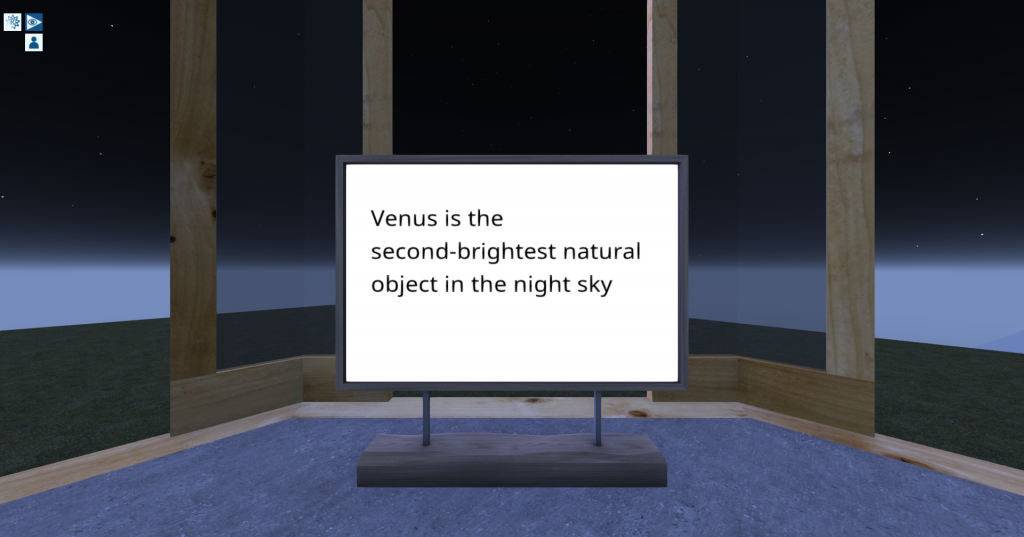
Instantly we see the sign from an ideal position:
Note that this only works for objects such as this sign, which the module creator has configured to work with Click to View.
Note also that if you have moved your camera yourself, for example by using the Camera Controls window in the viewer, or by using Alt + mouse buttons, you will need to press the Esc key to reset the camera before you will see the intended effect.
You will see that the HUD has changed. The button we clicked has changed color, and a new button has appeared below it. The HUD now looks like this:
The reason the upper-right button has changed color is to indicate that it is “on”. It’s a toggle switch, which you can turn on with a click and off again with another click. So while it’s on, we can continue just to click on other objects to see them. Remember to make sure it’s turned off when you want to click on objects for other reasons.
The lower button resets your view to how it was before you used Click to View. When you click that button, the camera returns to its normal position and this button disappears.
Some slightly more advanced features
As stated before, once you have the Click to View button enabled (making it white on a blue background), it stays that way until you click it again. Let’s look at an example where this is very useful.
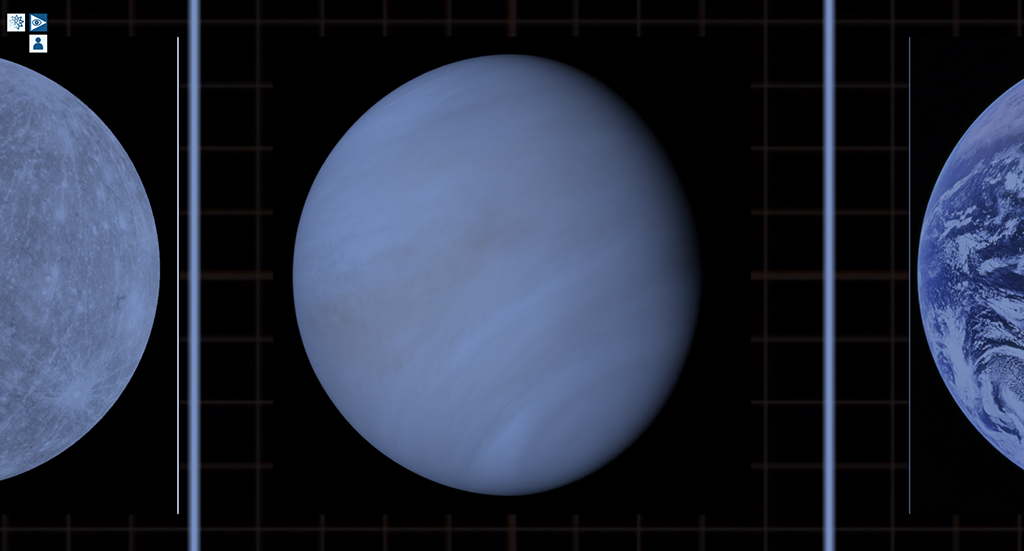
Here’s a simple display of the three innermost planets of our solar system, with each planet having a text display and an image display:
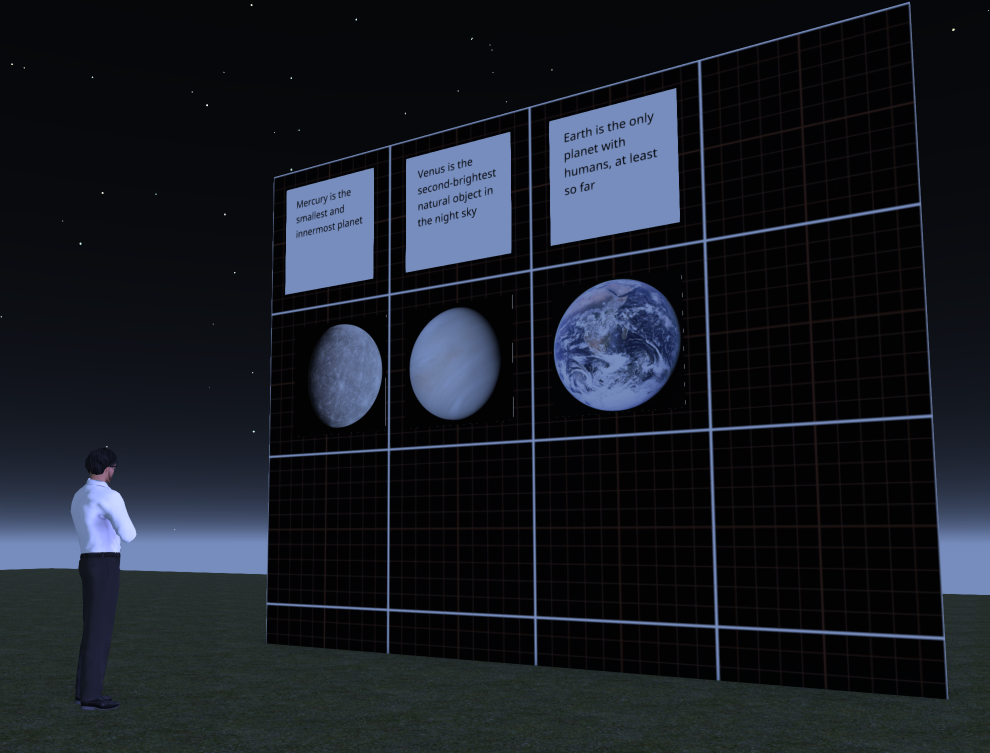
(These are placed against the object “4m Backdrop” from the Layout tools module, which has been placed against the “Vertical guide” object from the same module, then enlarged.)
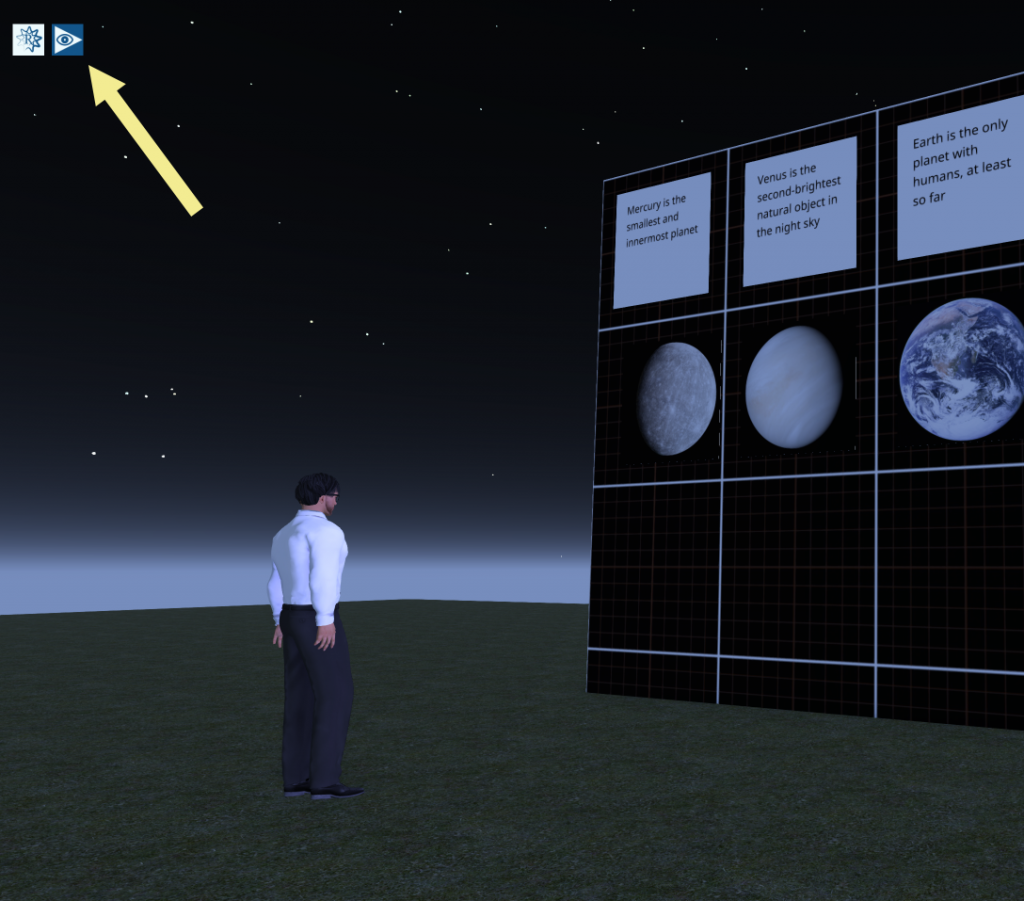
To explore these objects, let’s click on the blue arrow in the HUD to enable Click to View mode:
Now, if we click any of the text or image displays, we’re effectively zoomed in to that display. For example, if we click on the image of Venus (the center image), we see this:
Alternative view positions
These text and image display objects actually have two different view positions. If we click the Venus image a second time, we see it from closer up:
Clicking a third time returns us to the previous zoom level.
Using the background
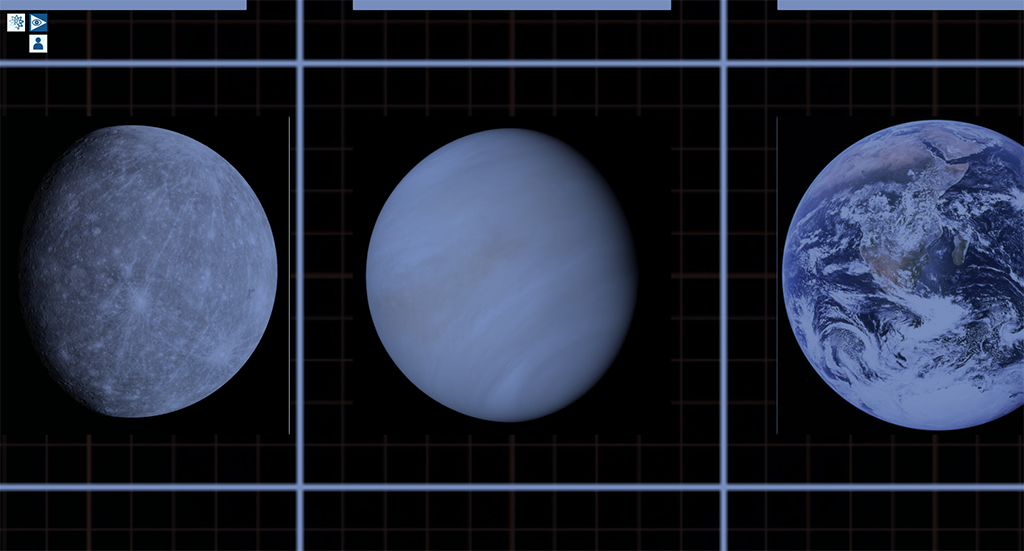
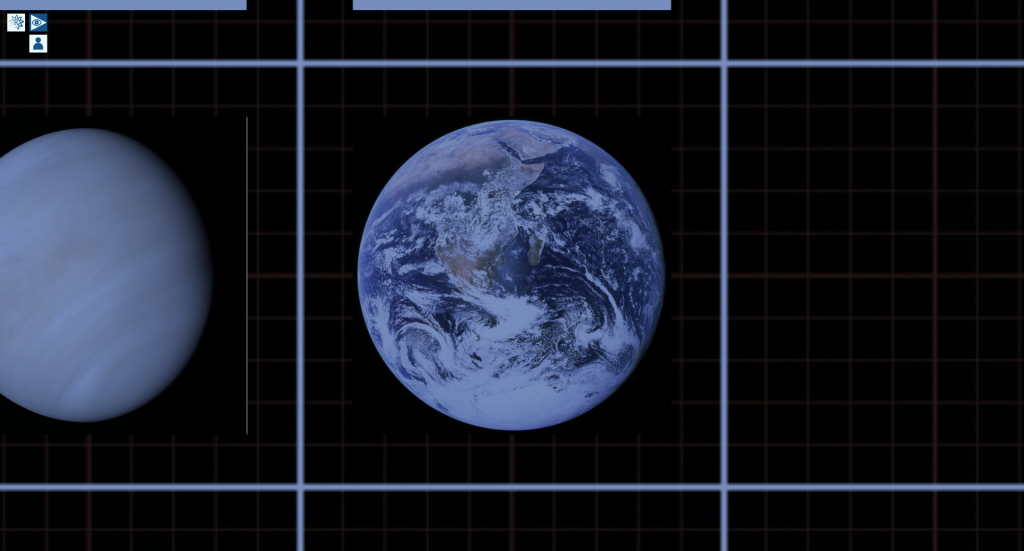
You will notice that when using Click to View in this case, the edges of adjacent text and image objects are visible:
We can click those edges to centre the camera on the clicked object. For example, if we click on the Earth image in that view, our camera is then centered on that image:
So it’s easy to navigate around a scene like this by clicking nearby objects. But what if we want to move further? From our current view of the Earth, it’s not possible to click the image of Mercury on the left because it’s off the left side of the screen.
However, the background object in this scene – the “4m Backdrop” (black surface with gridlines) – also has its Click to View position configured by the creator. So clicking the background, in-between the image and text objects, gives us a view of the whole grid:
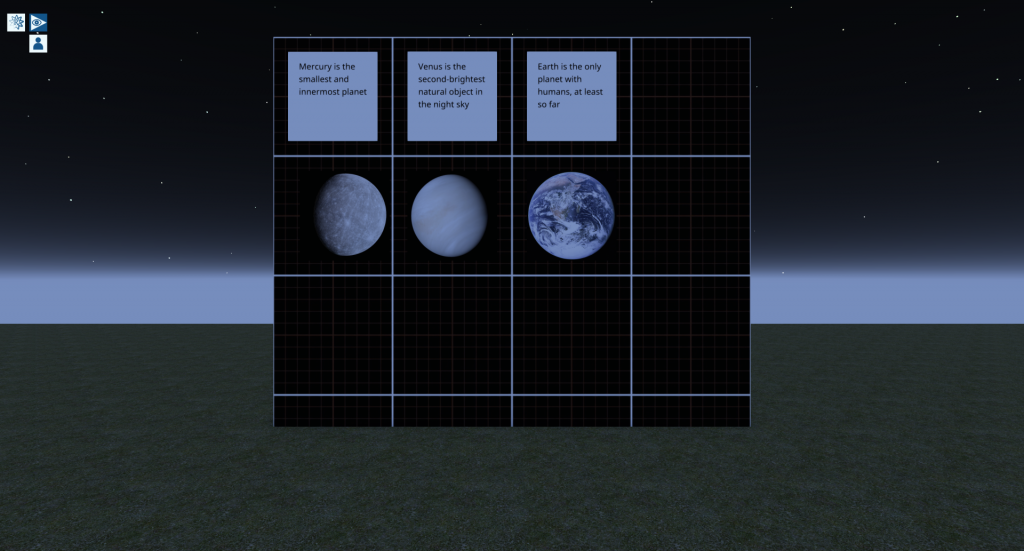
From here, we can click on any of the text and image objects on the grid to zoom into those.
When we’re done, we can click on the “head and shoulders” reset button to return our camera to the normal position:

And we can click on the blue triangle to turn off Click to View.
Now let’s look at the other main feature here.
Click to Jump
As we saw before, this feature is similar to Click to View, except instead of just moving your camera, this will move your avatar.
Let’s look again at the first scene we saw:
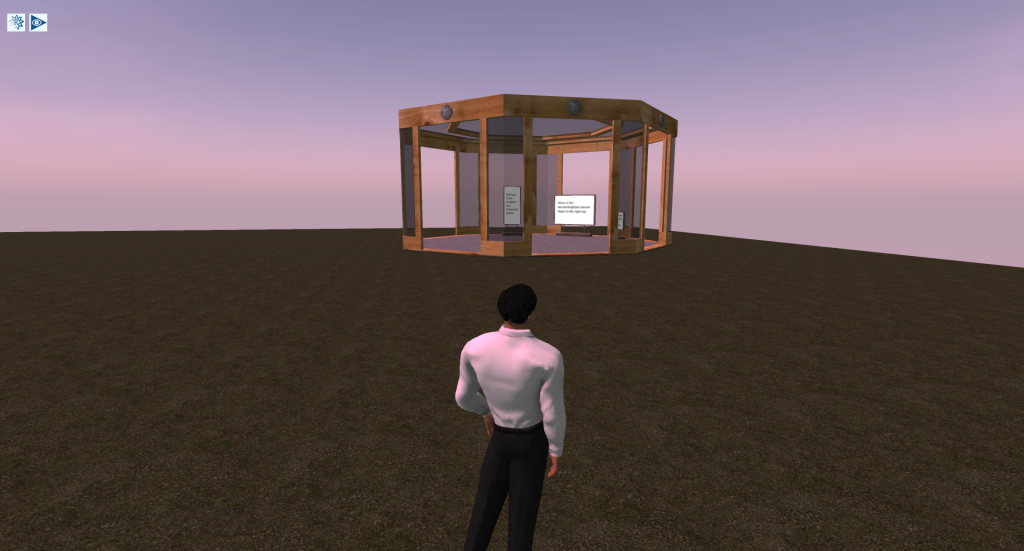
Let’s say we’re interested in a closer look at those signs in the background. We could use Click to View, of course, but we can also jump there.
The method is the same, with one small difference. After clicking on the triangle HUD button to enable it, instead of clicking normally on the sign, we can click and hold (long click) on the sign.
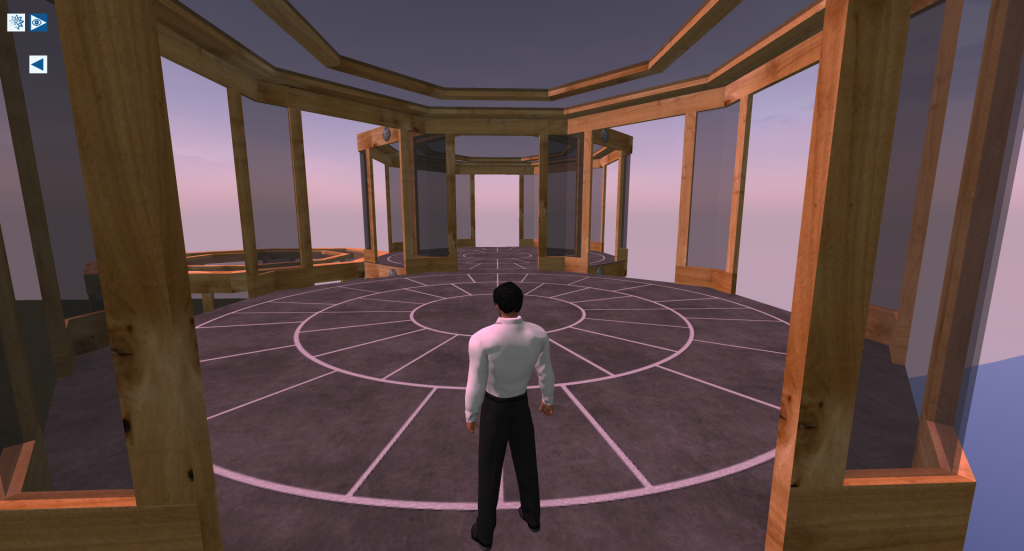
Instantly, we find ourselves jumping to that position:
Notice that we have another new button on the HUD:

This is the “jump back” button, and clicking it will return us to where we were before the jump. You’ll only see this button after a jump.
This is especially useful over longer distances. Here, the octagonal rooms have been extended up into the sky:
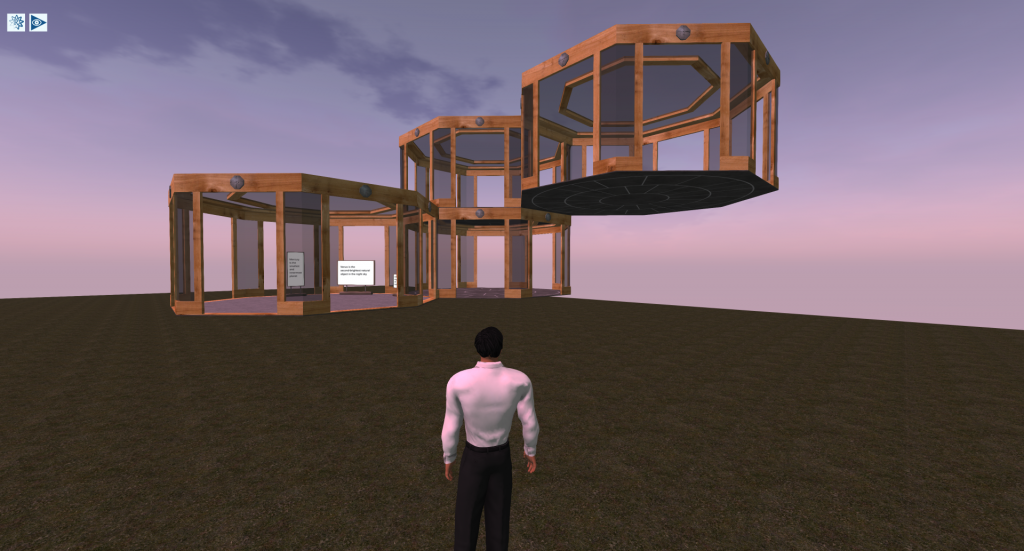
If we want to look at the room at the top right, for example, we can use Click to Jump to go there immediately.
And back again, of course.
Conclusion
Remember, objects only have this feature if the person who added the objects to the App configured them. For many objects, it either doesn’t make sense to have these features, or it’s not considered worthwhile. For example, a table might not support Click to View or Click to Jump because these are simply not needed for that object.
The best way to find out which objects can do this is to try.
But for those objects that do support Click to View and/or Click to Jump, they can be a great saver of time and effort.
You must be logged in to post a comment.