Introduction
The Theme Changer module is a RezMela Composer module that includes a single object. That object lets you change the theme (appearance) of objects in several other modules.
This guide assumes that you know the basics of creating scenes using the RezMela Composer. If you need help on that, consult the RezMela Composer user guide.
The following modules contain objects that can be changed with the Theme Changer:
- Themed plants
- Square tiles
- Hexatiles
- Hills
- Rocks
- Landbases
The Theme Changer contains the following themes:
Green – a Spring/Summer appearance, with green foliage, grass, etc.
Autumnal – a variety of foliage colors, suitable for Autumn (Fall) scenes
Snowy – snow-covered ground, deciduous trees lacking leaves, etc
Rocky – rocky ground with a variety of foliage colours
Drought – sandy ground, dead-looking trees, good for desert scenes
Red – a red color for all plants
Orange – similar, but with an orange color
Yellow – similar, but with a yellow color
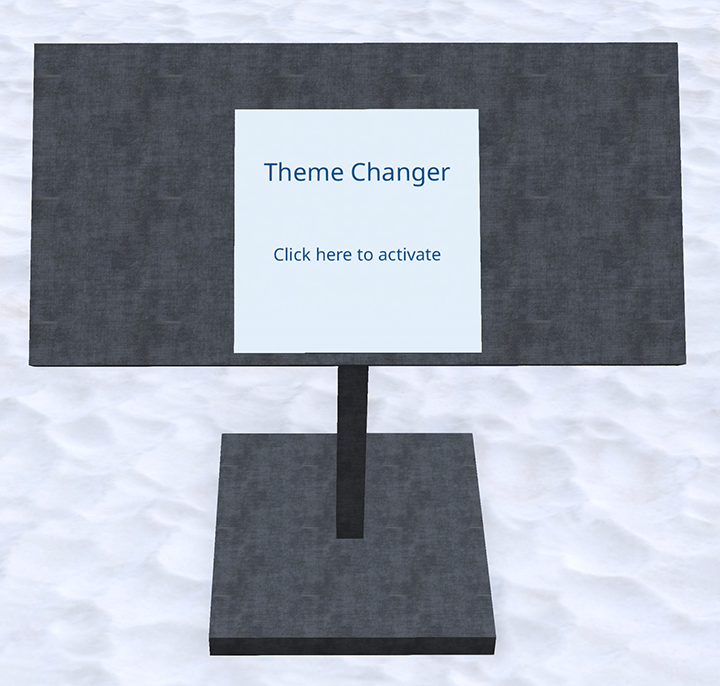
Selecting and applying a Theme
When you first create a Theme Changer, it will be in standby mode to conserve system resources. It will revert to standby mode after five minutes of inactivity.
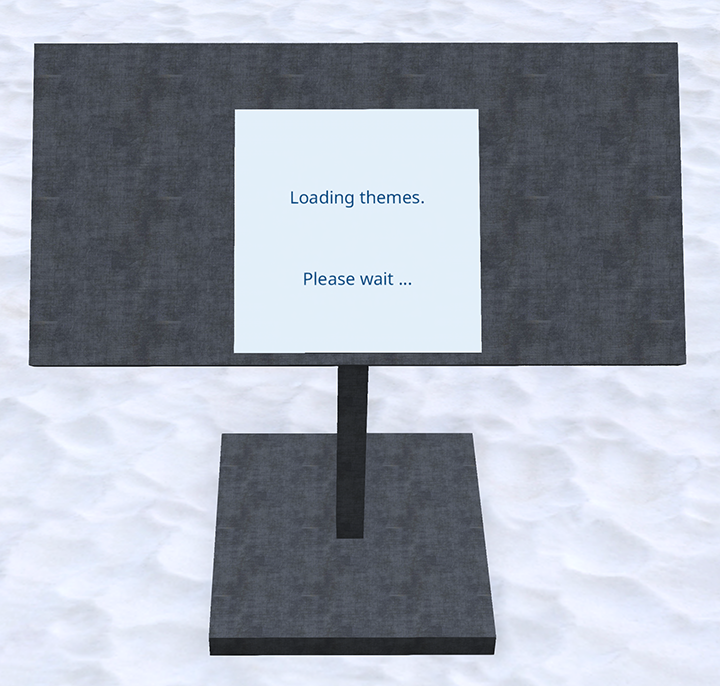
When you click the sign, it will start to load the themes data:
and after a few seconds, the first theme (Green) will be shown:
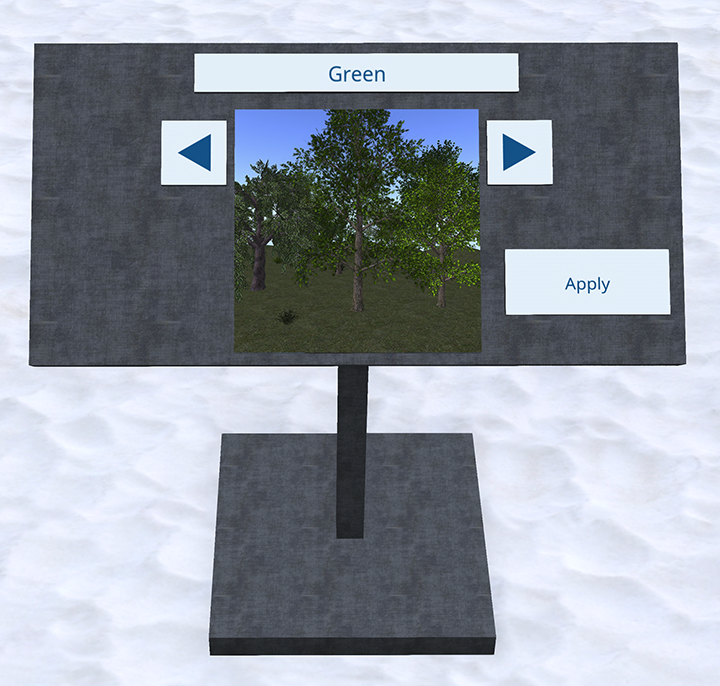
The Theme Changer is now ready for use.
Let’s look at the various parts of the Theme Changer:
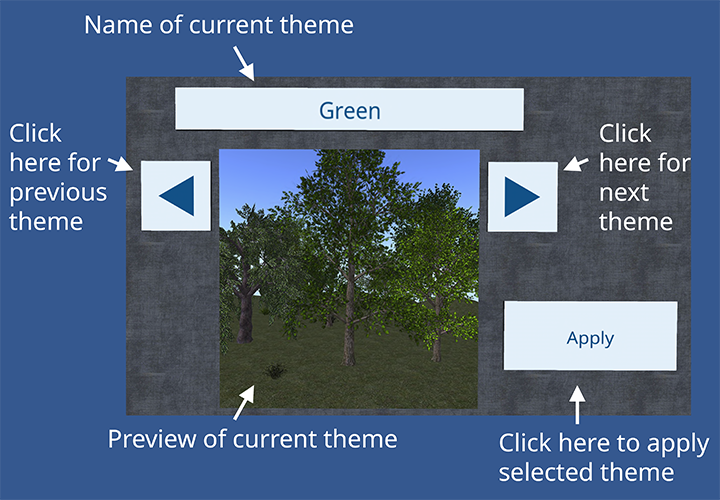
As you click the arrow buttons, the name and preview will change to reflect the current theme.
Clicking Apply will use the current theme to alter the appearance of your scene.
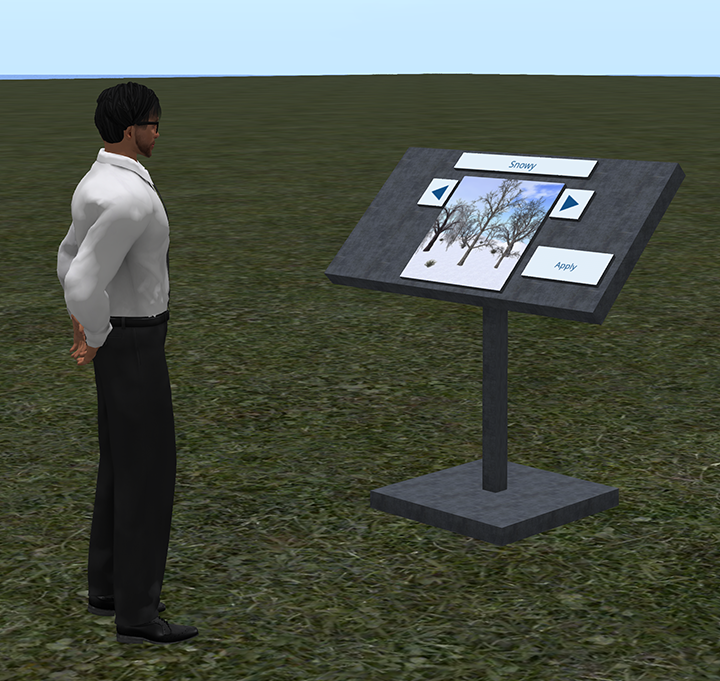
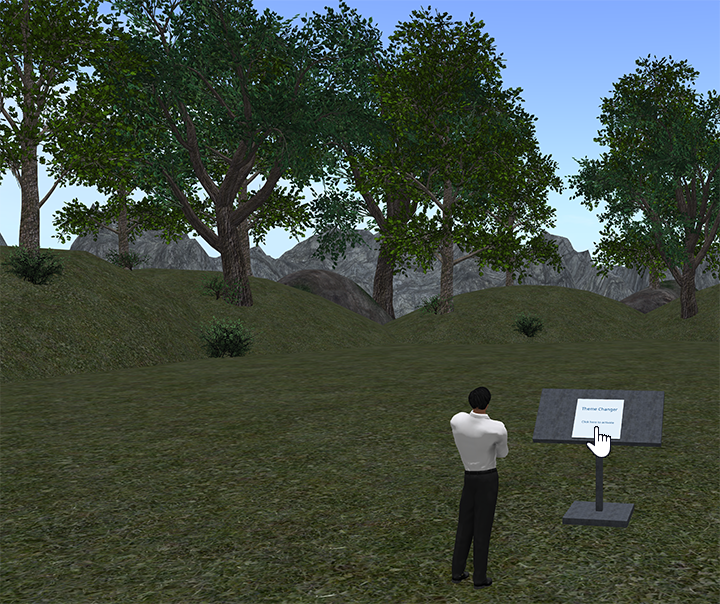
An example in action
Let’s look at an example of using the Theme Changer on a scene.
Here’s our scene, which currently has the Green theme:
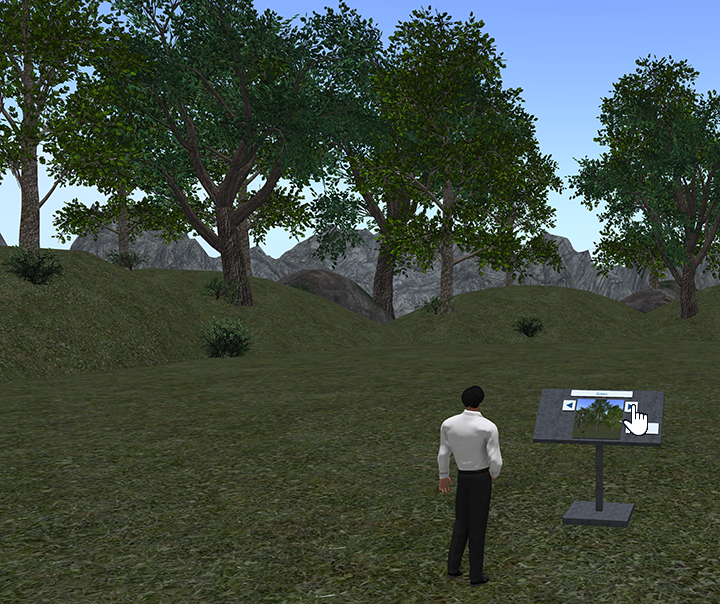
Having loaded the themes, let’s use the right arrow button to go to the Snowy theme:
We click the right arrow button twice to show the Snowy scene, then click Apply:
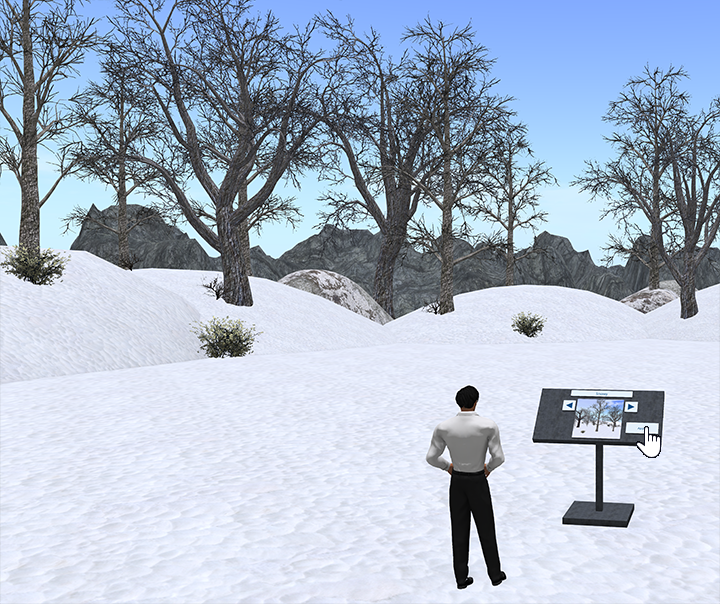
We now have our Snowy scene.
Some notes on the Theme Changer
- Once a theme is selected in a scene, any new objects created will have that theme applied. This might take a second or two, so for example if you add a new tree to a snowy scene you see it as green briefly before the Theme Changer has the chance to apply your theme. The Theme Changer must be part of the scene for new objects to be themed.
- If you leave the Theme Changer object in the scene, and save the scene, when you next load the scene the Theme Changer will automatically apply the selected theme. Again, there might be a very short delay before this happens, as the Theme Changer makes its changes in batches to conserve system resources.
- If you remove the Theme Changer object from the scene, the current theme will be retained for existing objects, but new objects will have the default green theme. Also, if you save and load your scene, the original green theme will be loaded.
- Some themes have multiple textures for the same type of object. For example, the Elm and Maple trees have orange, red, and yellow textures, all of which might be used in the Autumnal theme. Which tree gets which texture is randomized, so you might notice variations when you save and load a scene.
- The objects supplied have a green theme when you first create them, very similar to the Green theme. However, using the Theme Changer to apply the Green theme will introduce more variations, especially in the trees.
You must be logged in to post a comment.