Melablocks is a RezMela App that lets you piece together cubic blocks to quickly build up scenes. Because it’s a RezMela App, you don’t need any knowledge of how to build OpenSim – blocks are selected from an easy-to-use menu and placed precisely with a single click.
Because Melablocks is a RezMela App, you may want to consult the guide First Steps with RezMela for information about how to use RezMela Apps in general.
This guide assumes that you know the basics of creating scenes in a RezMela App. Here, we discuss the variety of objects that are available to you in a Melablocks App, and how to use them.
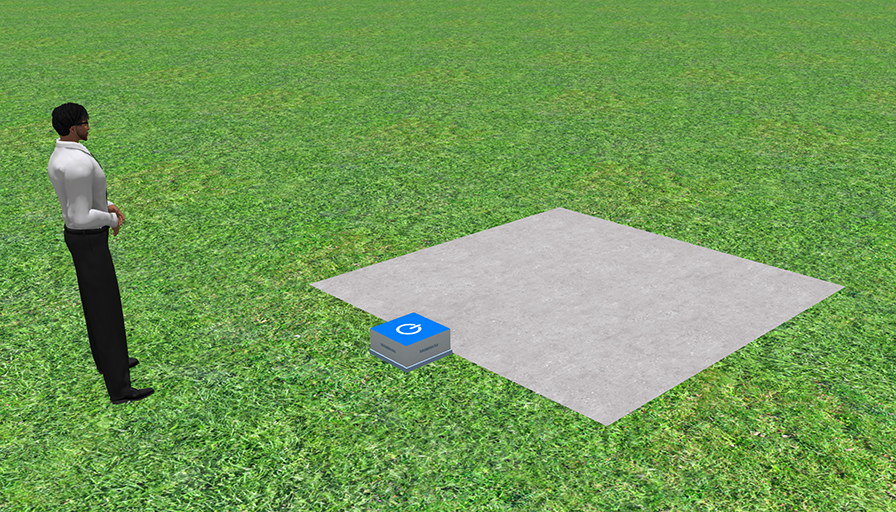
Here is how the Melablocks App looks when first rezzed:
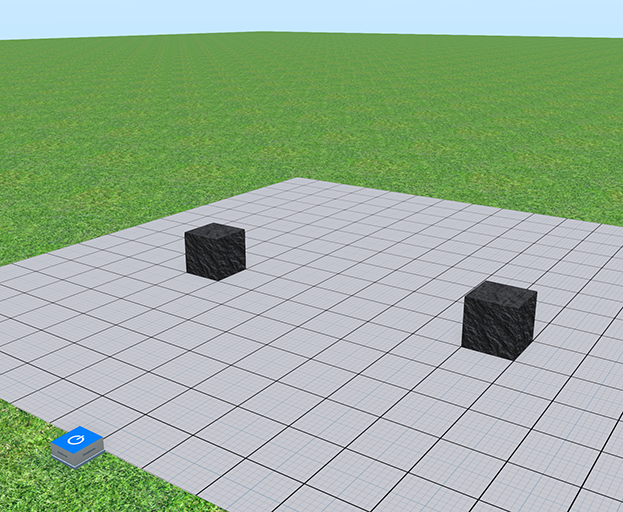
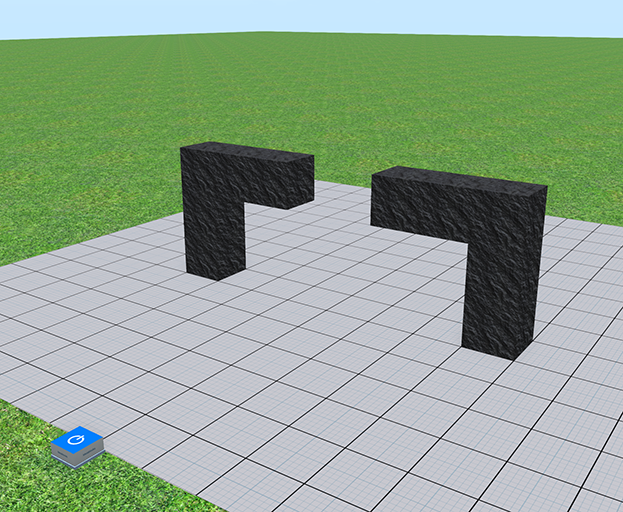
Here’s an example scene (which is included with your App):
Building using Blocks
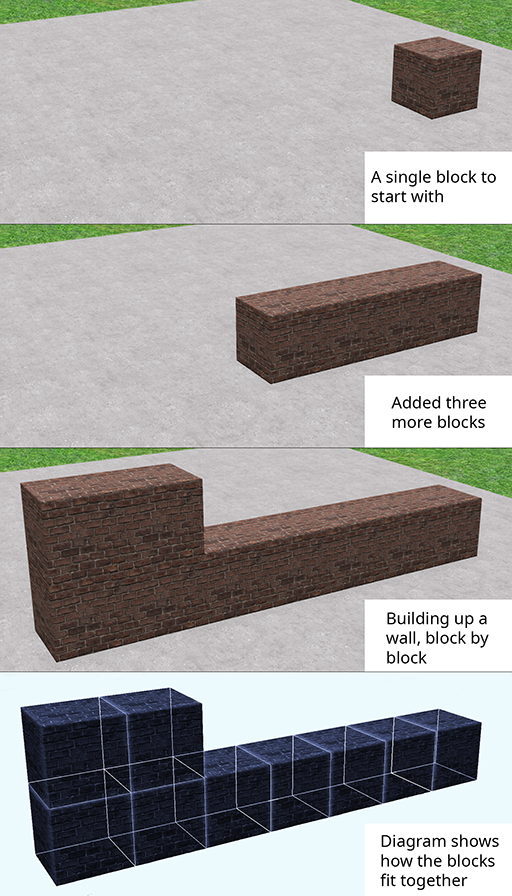
Melablocks fit together like real-life building blocks to form larger structures. Each block is a cube, and other blocks can be placed on any of its six sides (including top and bottom) to add to the structure.
Objects
Blocks
When you select the Create option on the RezMela HUD, the first several categories you will see are groups of different types of blocks.
Blocks in this App are cubic objects that snap together automatically, in a similar manner to the popular videogame Minecraft.
Once you have placed your first block, you can place other blocks onto any of its six faces, and the blocks will be aligned. In this way, you can build up structures using a variety of different blocks.
Some blocks are interactive, and some generate particles such as smoke and steam, but for the most part the only difference between the blocks is in their appearance.
Let’s look at the different categories of blocks. Which categories you see depends on which edition of Melablocks you have:

Basic Edition Smartblocks Edition Standard Edition
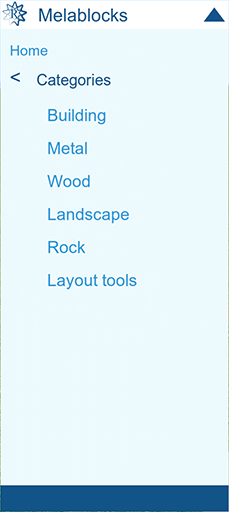

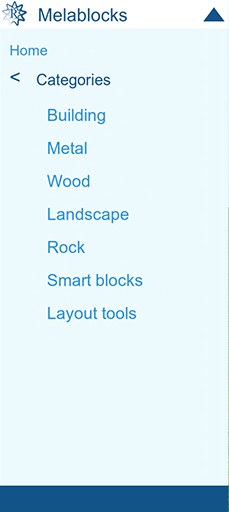
The top six categories (Building, Metal, Wood, Landscape, Rock and Smart Blocks) all contain blocks. We’ll look at each of these in turn.
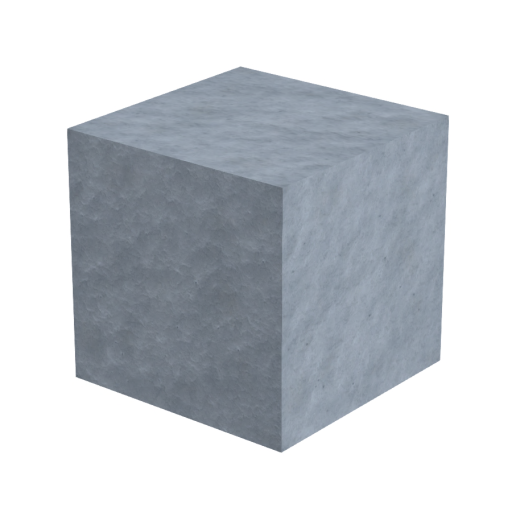
Building
(Not included in Smartblocks Edition)|
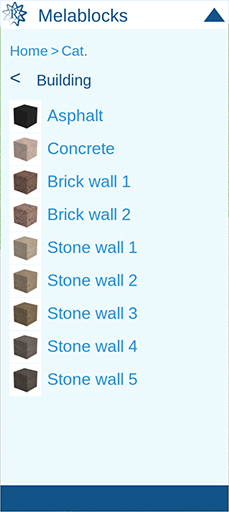
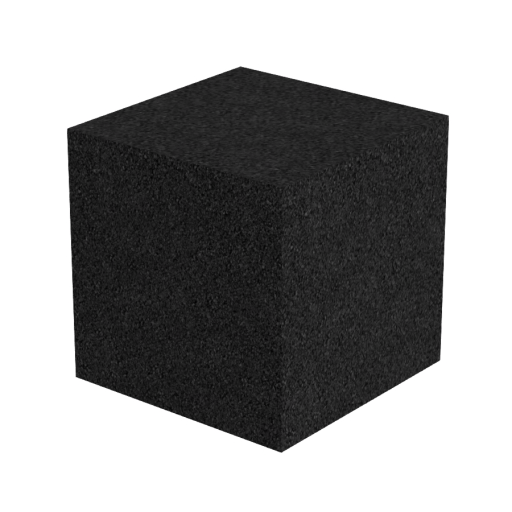
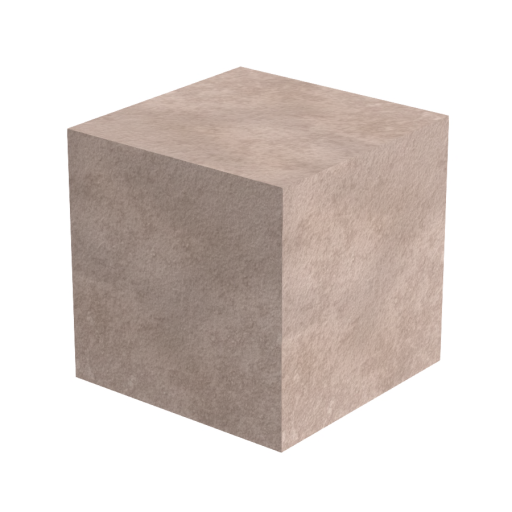
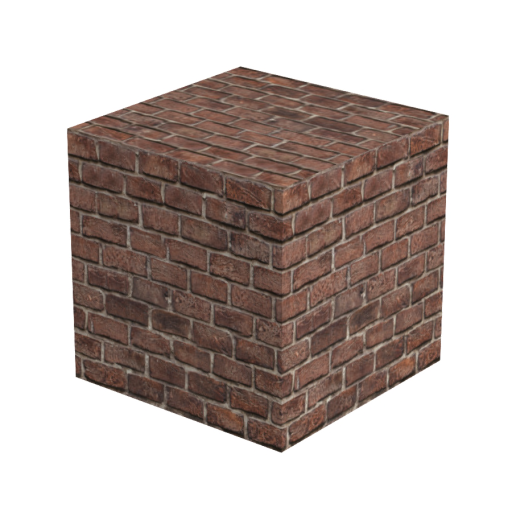
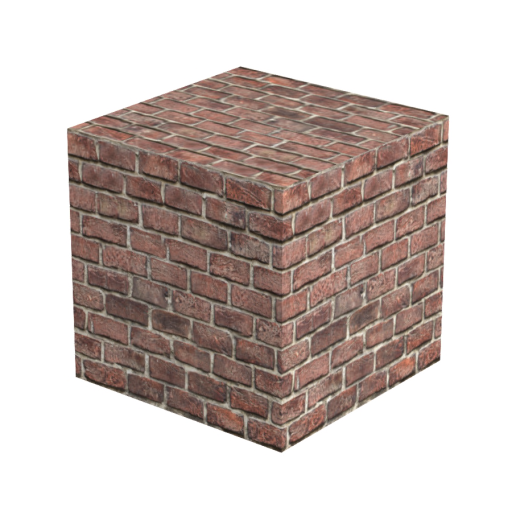
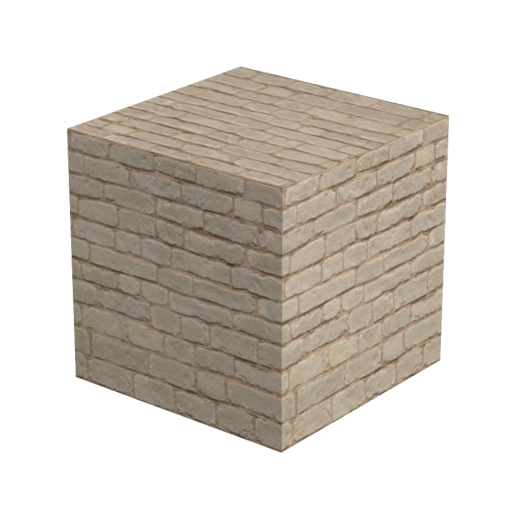
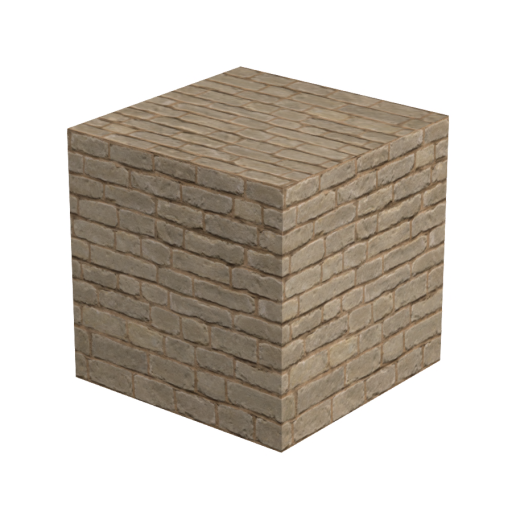
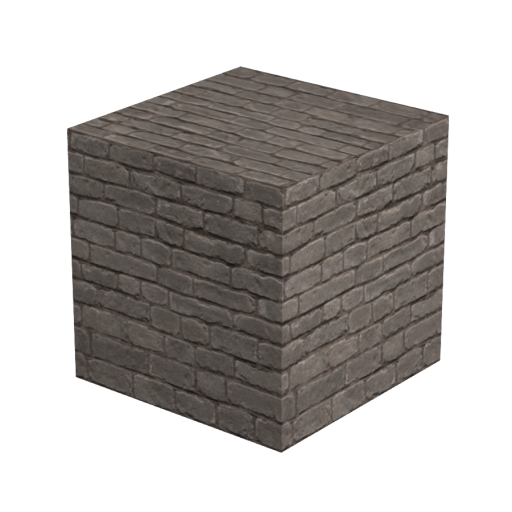
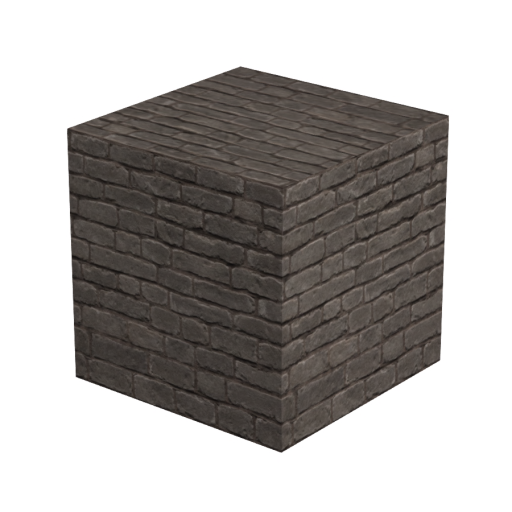
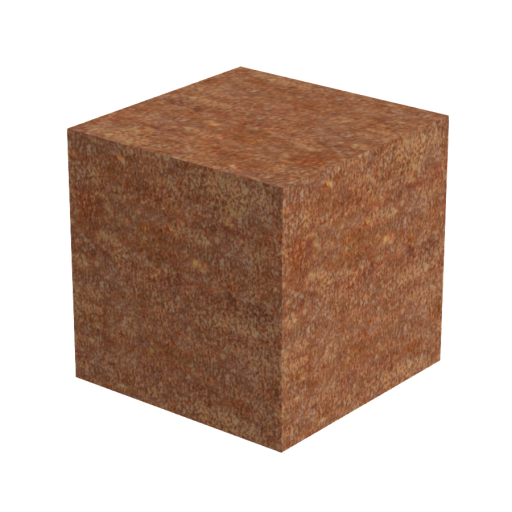
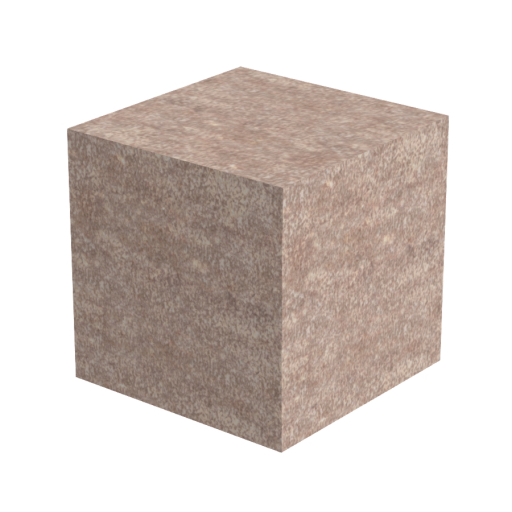
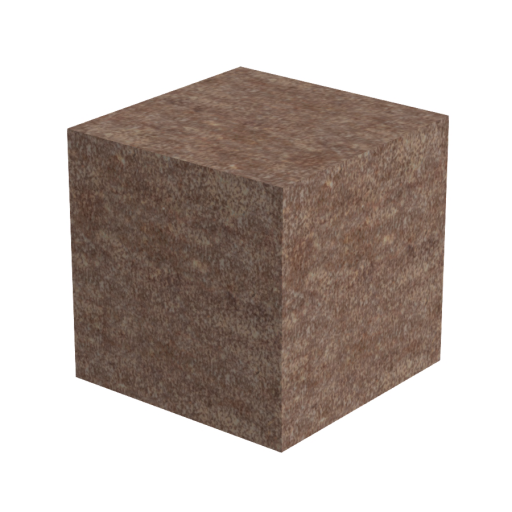
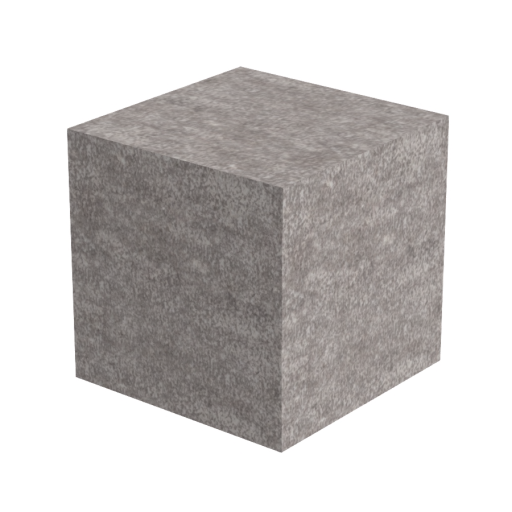
This category contains several blocks that could be useful in constructing buildings, roads, etc. All these are seamless textures, meaning that they fit together perfectly and you cannot see the join.

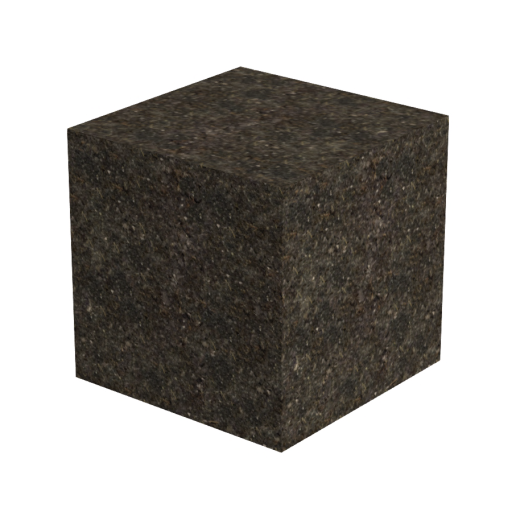
Asphalt Concrete Brick 1 Brick 2 Stone 1 Stone 2 Stone 3 Stone 4 Stone 5

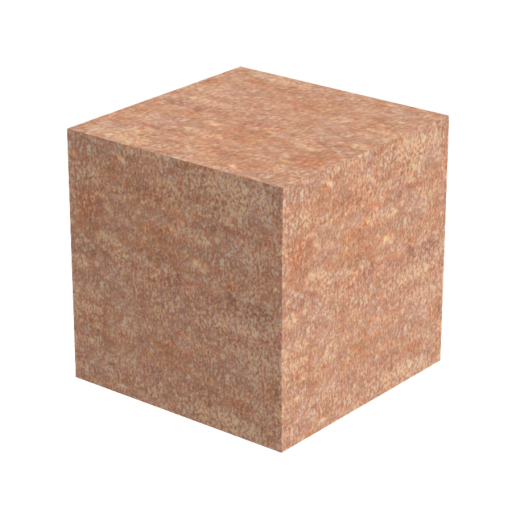
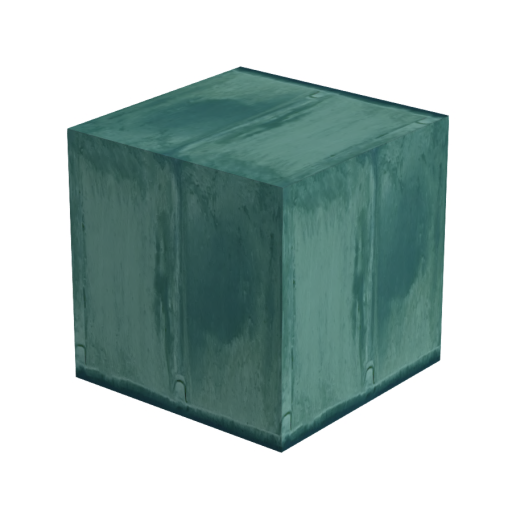
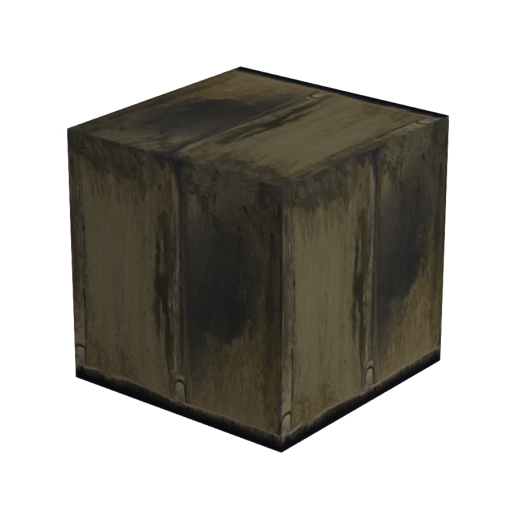
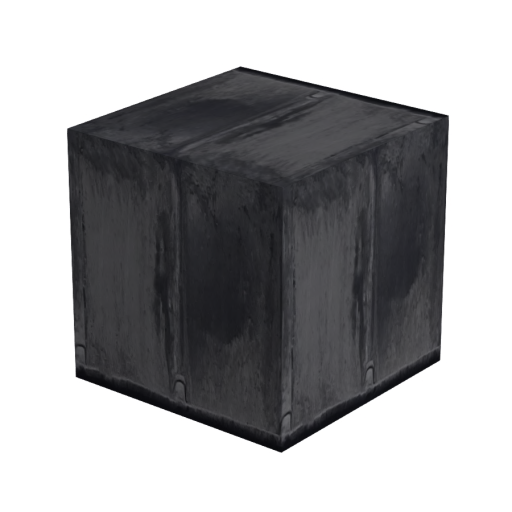
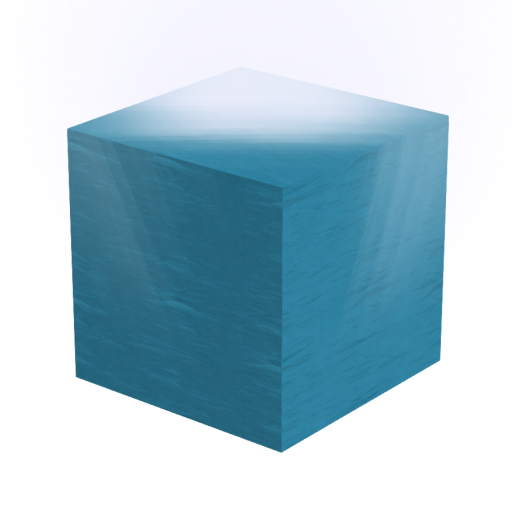
Metal
(Not included in Smartblocks Edition)|
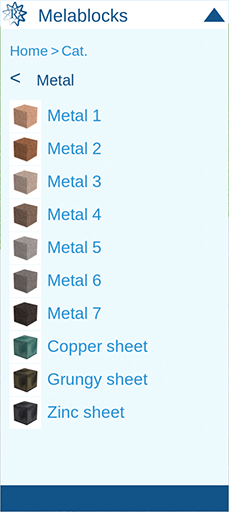
Metal 1 Metal 2 Metal 3 Metal 4 Metal 5 Metal 6 Metal 7 Copper sheet Grungy sheet Zinc sheet

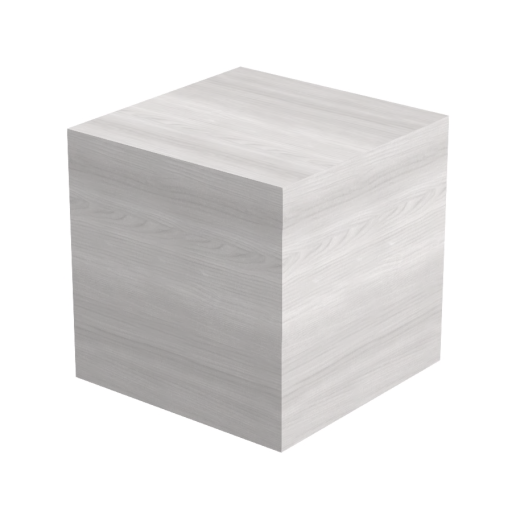
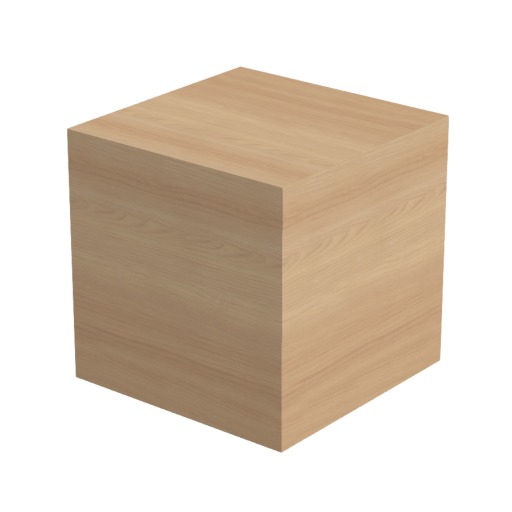
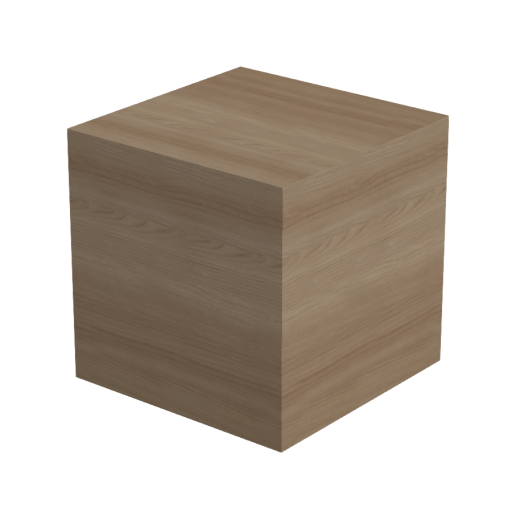
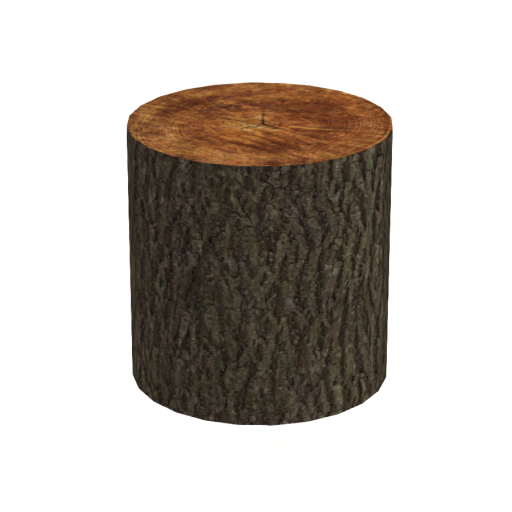
Wood
(Not included in Smartblocks Edition)|
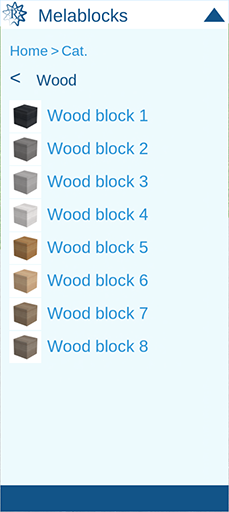
You can use these seamless blocks to create wooden structures using a variety of different types of wood.
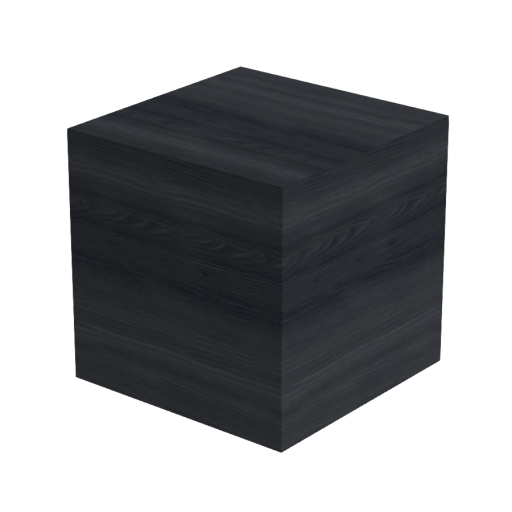
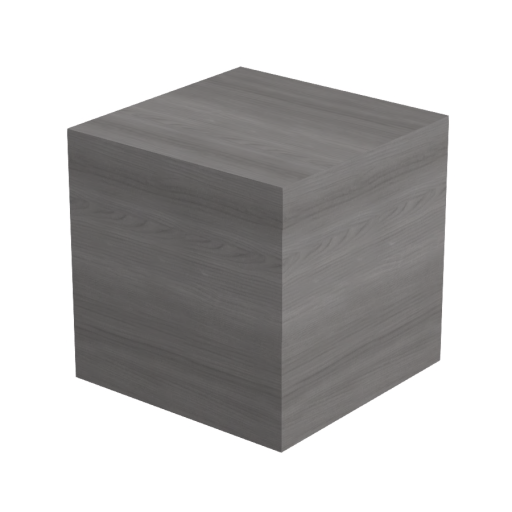
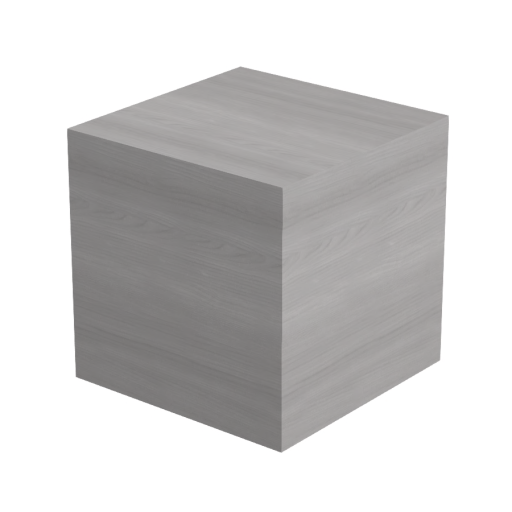
Wood 1 Wood 2 Wood 3 Wood 4 Wood 5 Wood 6 Wood 7 Wood 8


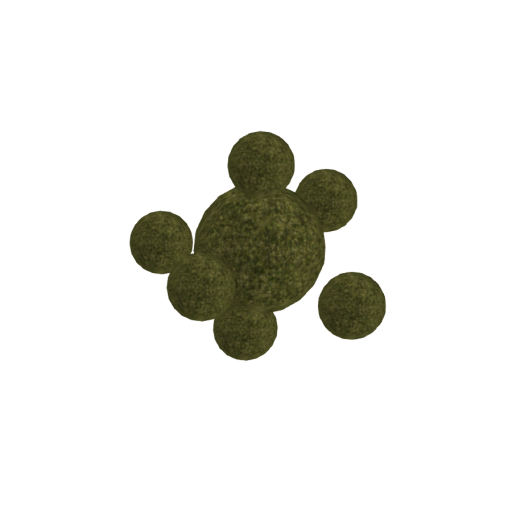
Landscape
(Not included in Smartblocks Edition)|
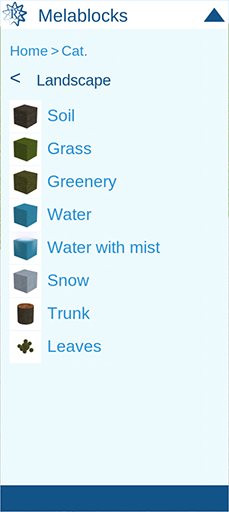
These blocks, mostly seamless, are suitable for creating natural environments.
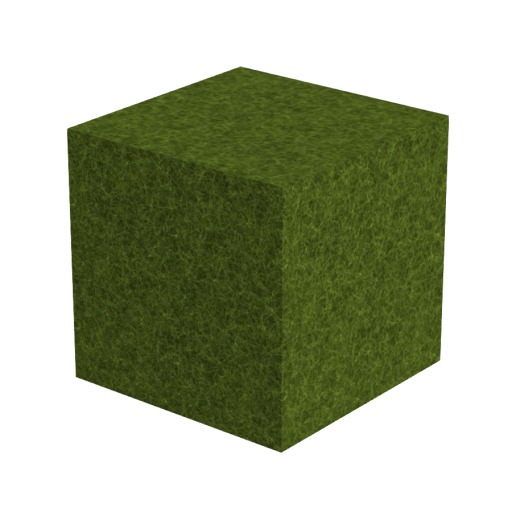
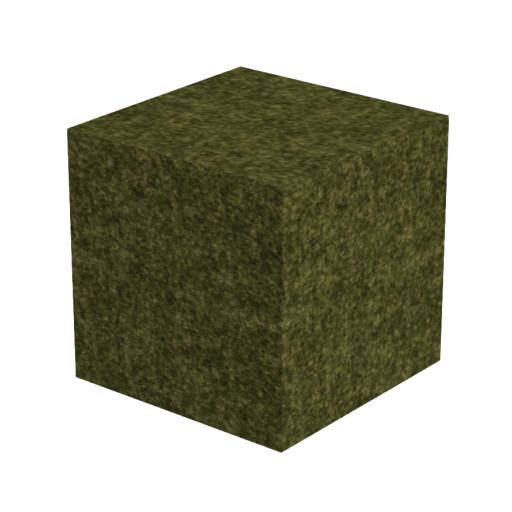
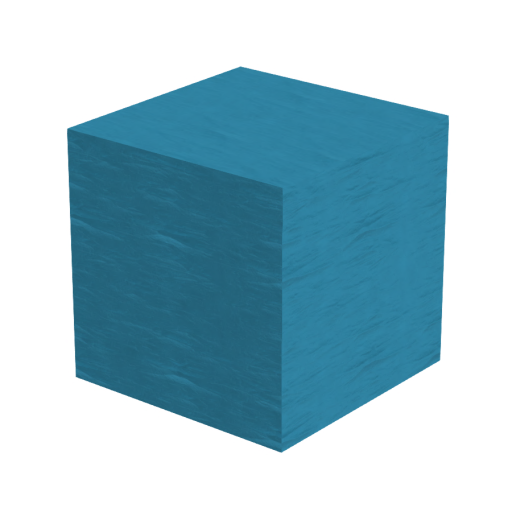
Soil Grass Greenery Water Water with mist Snow Trunk Leaves
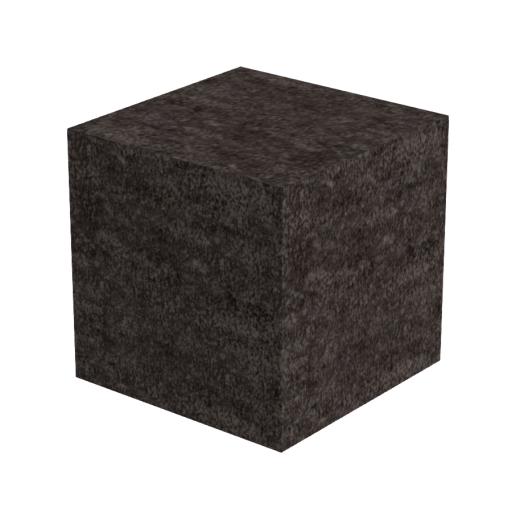
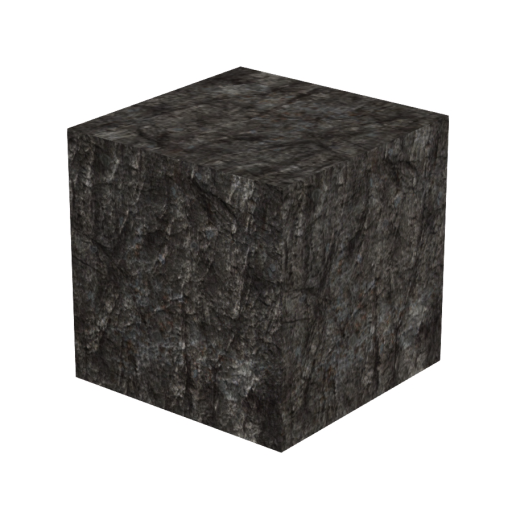
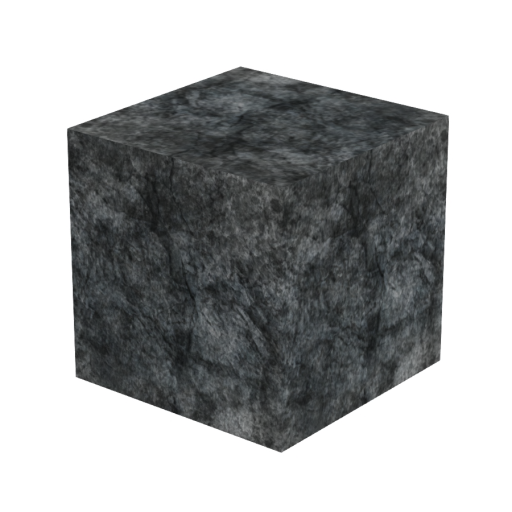
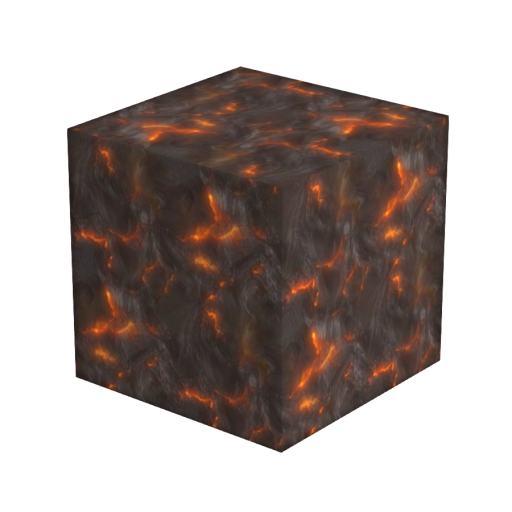
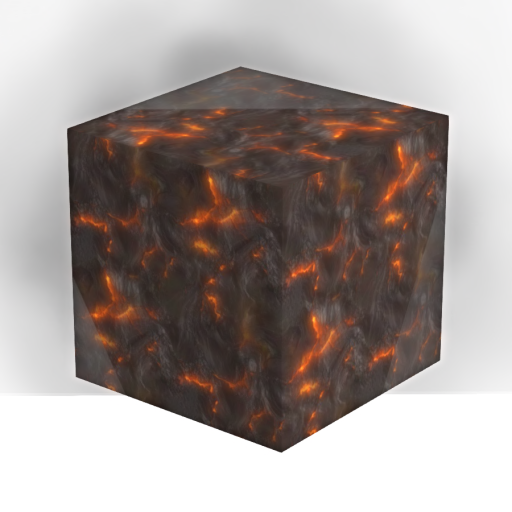
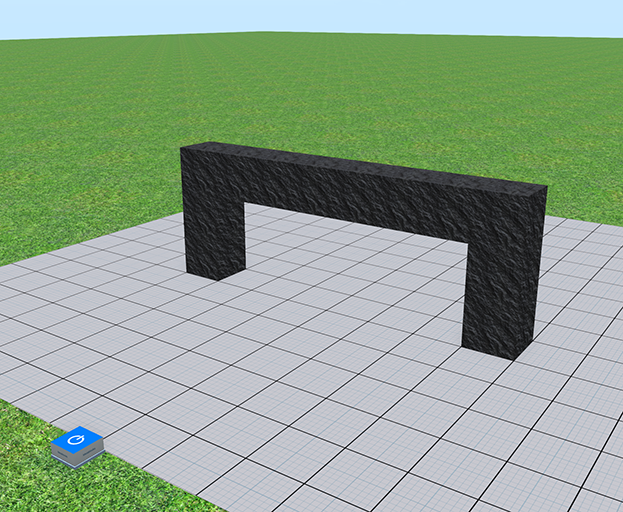
Rock
(Not included in Smartblocks Edition)|
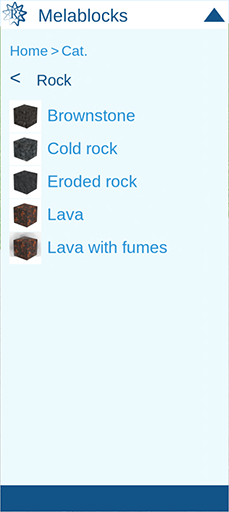
These blocks give you a choice of seamless rock textures.
Brownstone Cold rock Eroded rock Lava Lava with fumes

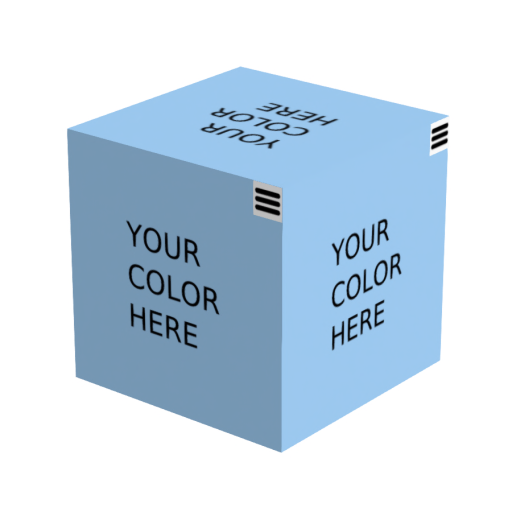
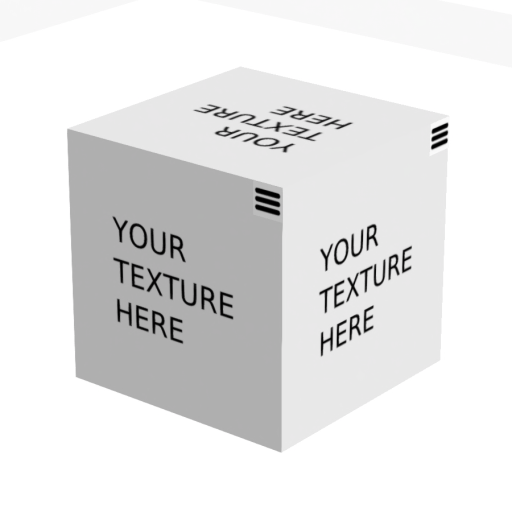
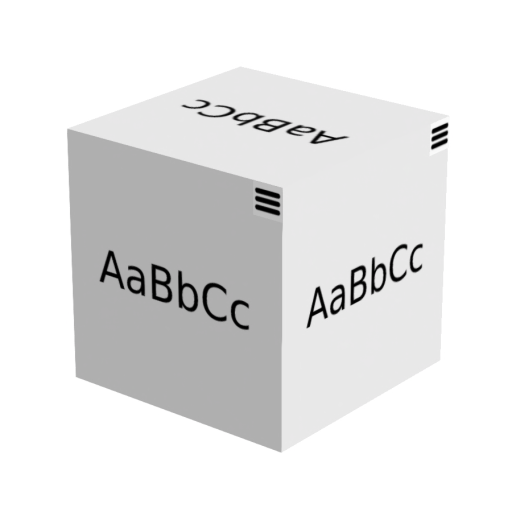
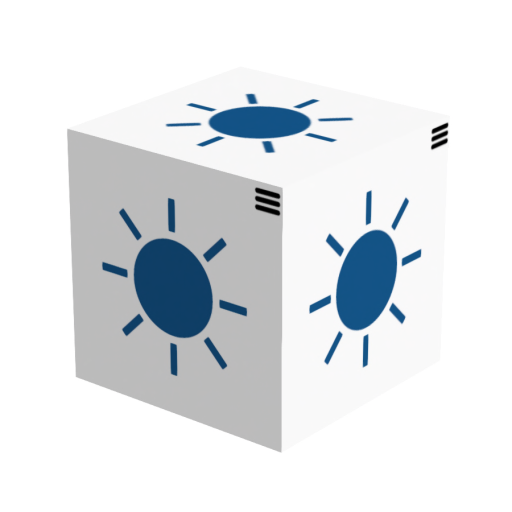
Smart blocks
(Not included in Basic Edition)|
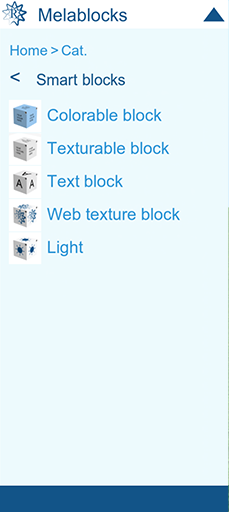
These blocks are all interactive. While you’re signed into the App, you can control the appearance of each block by clicking the “hamburger” icon (three horizontal lines) on the top right of each face.
The hamburger icons are only available while you are signed into the App. When you sign out, they disappear, leaving the scene looking more attractive – but you won’t be able to click the icons without signing in.
For details about how to use each smart block, please see the separate guide Using Smart blocks.
Colorable block – Block that you can color Texturable block – Block that you can texture Text block – Block with text Web texture block – Block with web-based image Light – Controllable light source

Layout Tools
(All Editions)
The last category in the Create menu is Layout Tools. These are standard objects used in many RezMela Apps to make it easy to position objects precisely.
You don’t need to use Layout Tools to create basic scenes using Melablocks, because the blocks will position themselves automatically. However, there may be cases where these come in useful, such as building a structure that starts in several different places and comes together as one.
To learn how to use Layout Tools, go to the separate guide here.
Scenes included
Your Melablocks App comes with several pre-made scenes.
Let’s look at each of these.
Pre-loaded scenes
These scenes are pre-loaded into your App, and can be accessed by clicking File -> Load on your HUD.
Starter scenes (8m, 16m, 32m)
Unlike the other scenes, these three are already loaded into your App:
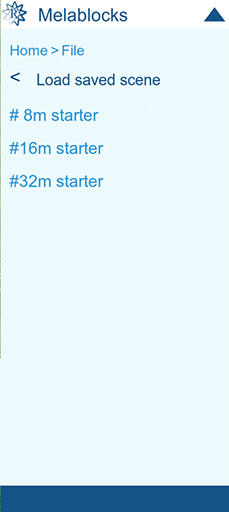
These are simply layout grids of those sizes, placed in a convenient location on the base.
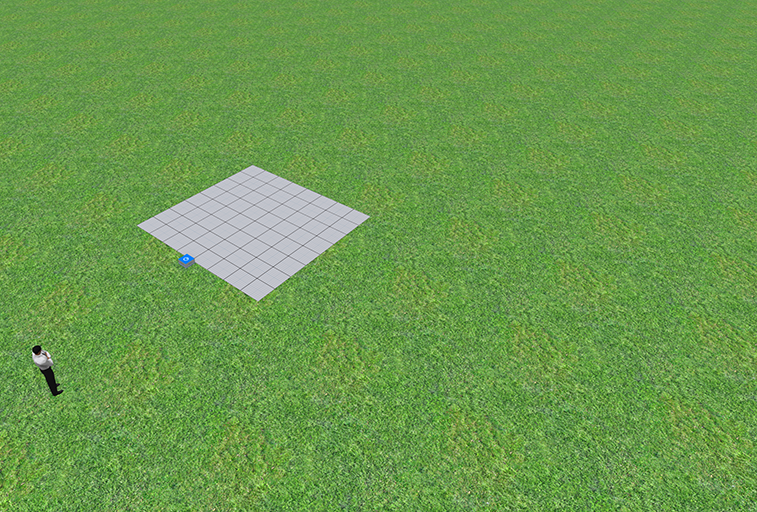
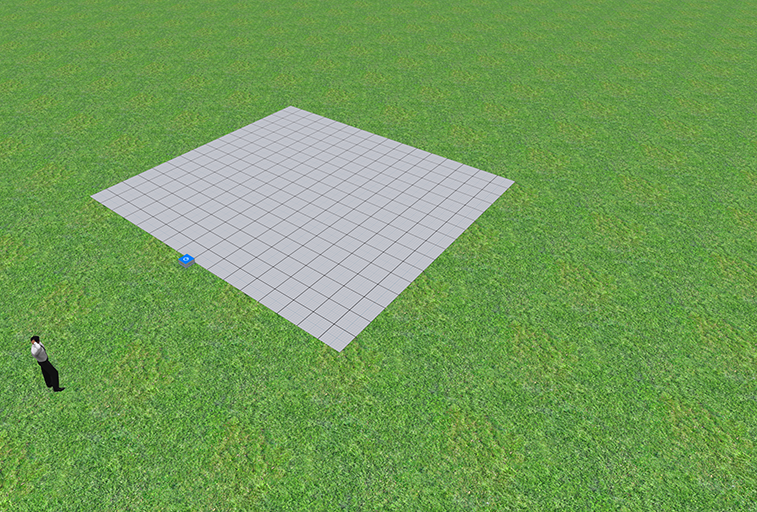
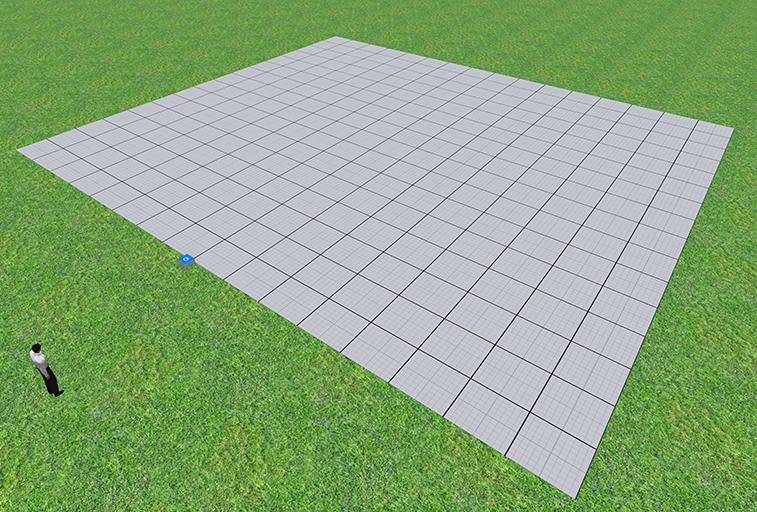
You can use these to get started quickly on creating a scene. As these grids have “snap-to-grid” functionality, you can start in different places on the base grid and have them line up.
For the 8m and 16m grids, keep the blocks inside the black squares on the grid, and they will always line up perfectly. The black squares are twice the size in the 32m grid.
The other included scenes are not inside your App in order not to clutter up the save files there.
Extra Scenes
These scenes are in the sub-folder “Scene files” inside your Melablocks folder in your inventory. To use them, select File -> Import from your HUD and follow the instructions.
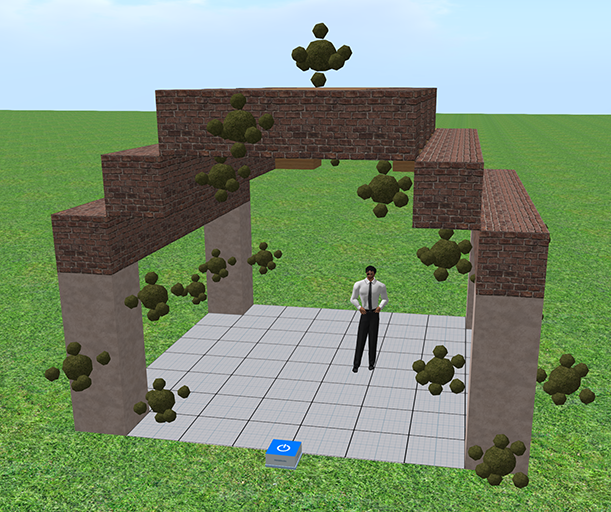
Pergola
(Standard Edition only)
Small Pergola
(Not in Smartblocks Edition)
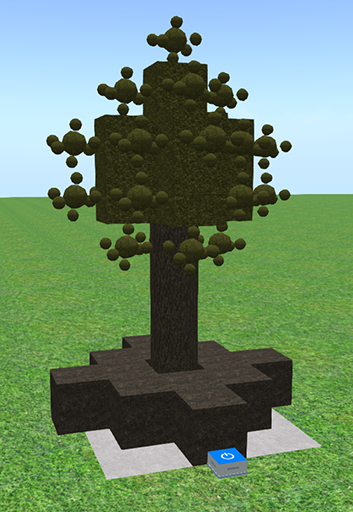
Simple Tree
(Not in Smartblocks Edition)
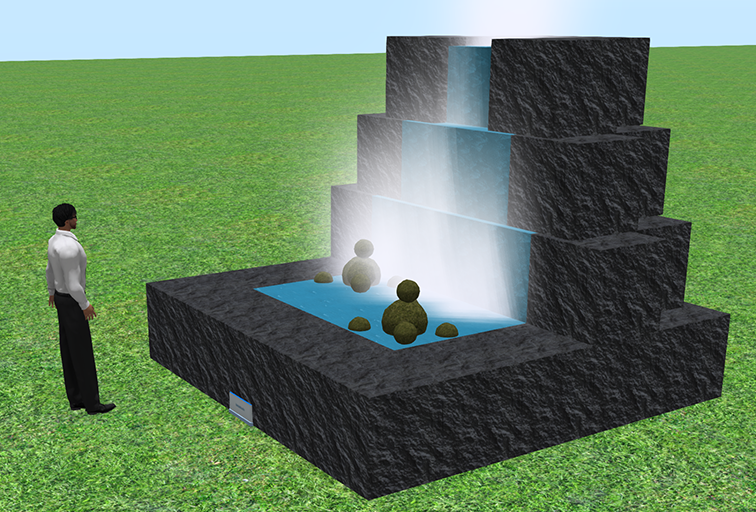
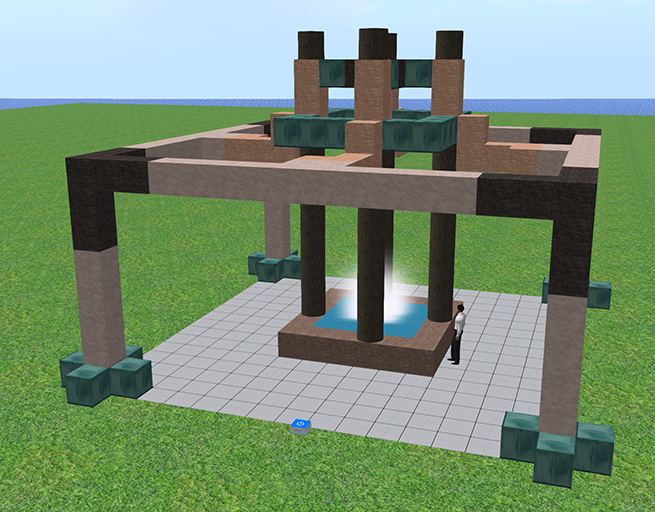
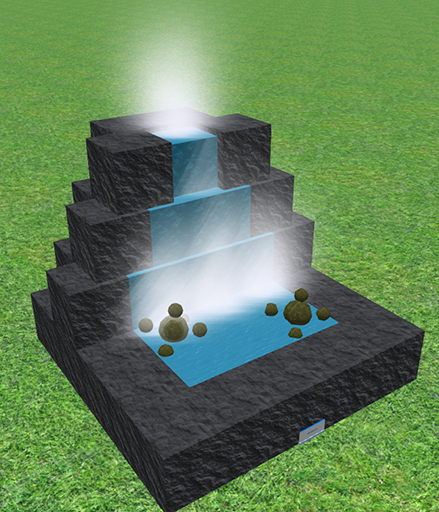
Water feature
(Not in Smartblocks Edition)
This is a simple scene depicting a waterfall:
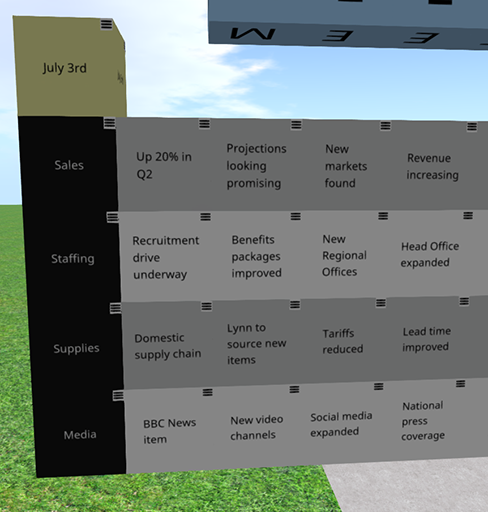
Meeting Notes
(Not in Basic Edition)
This scene comprises a number of Text Blocks arranged to form an application that can be used to record key points in a meeting.
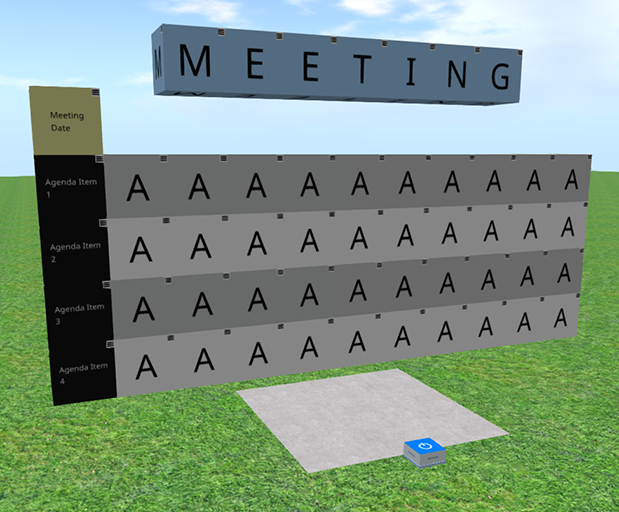
By clicking on the hamburger for each Text Block, you can fill in the information required.
Periodic Table
(Not in Basic Edition)
This scene shows the Periodic Table of Elements.
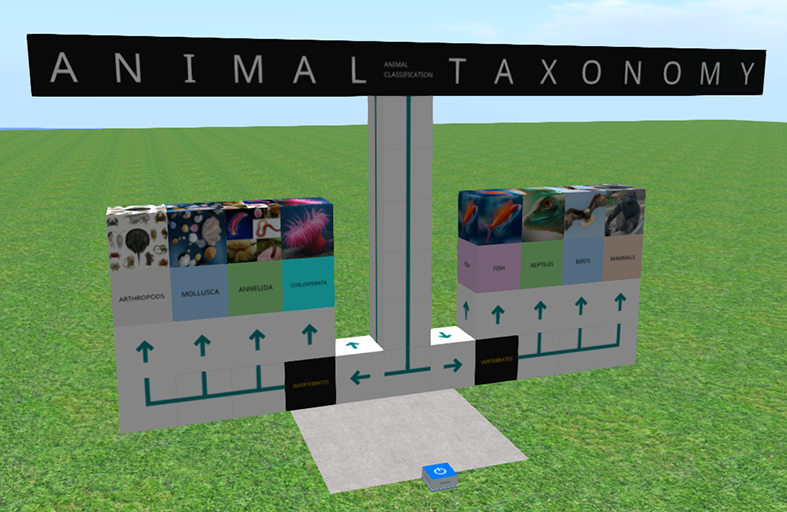
Animal Taxonomy
(Not in Basic Edition)
Buddha (Fragmented and Composed)
(Not in Basic Edition)
These two scenes can be used with the File -> Rearrange option to demonstrate how objects can be moved around without having to clear and load a different scene.
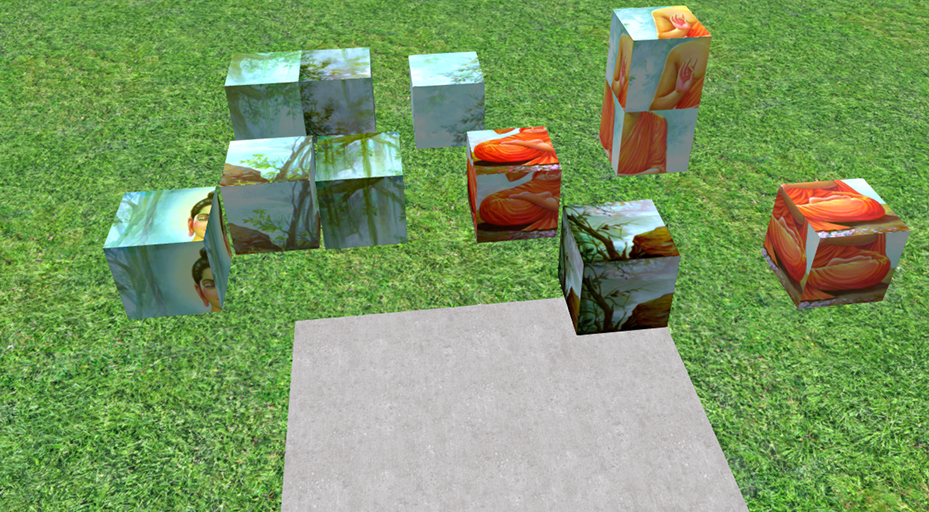
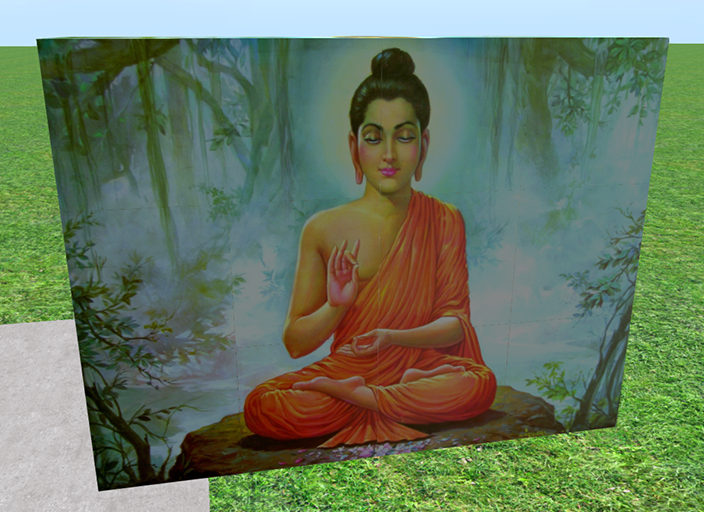
A note on Rearrange:
You can rearrange objects in a scene to create new scenes that can capture the various configurations of objects. In this example you would load the Fragmented Buddha scene normally. Next, through File -> Rearrange, you can load Composed Buddha. The objects from the previous scene will be moved and oriented in order to create the Composed Buddha scene. This creates a neat ‘morphing animation’ converting one scene to another. Using File -> Rearrange does not create new objects; existing objects are rearranged.
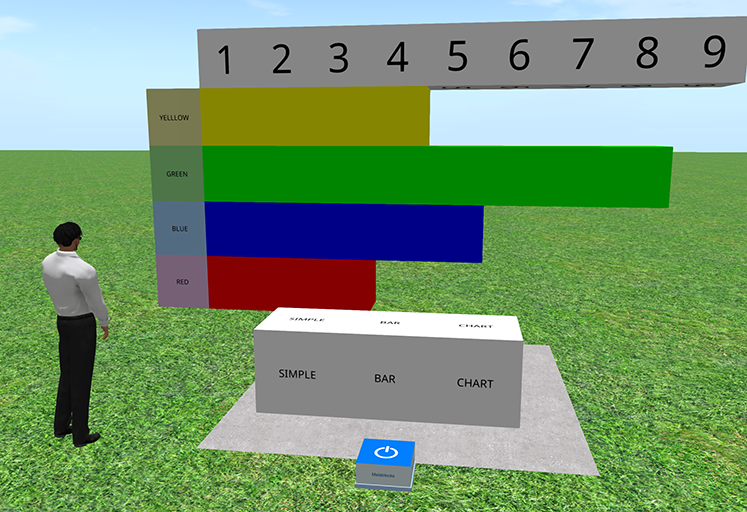
Simple Bar Chart
(Not in Basic Edition)
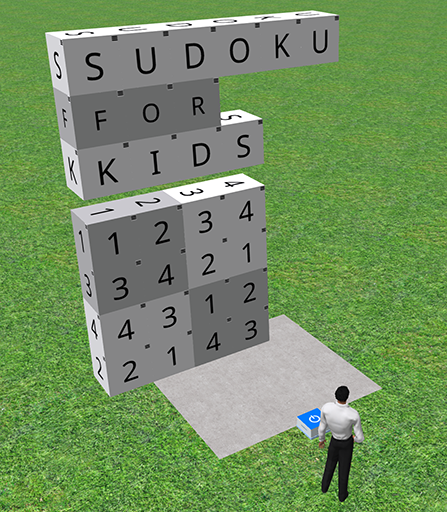
Sudoku (problem and solution)
(Not in Basic Edition)
Like the Buddha scene, these can be used with the File -> Rearrange option.

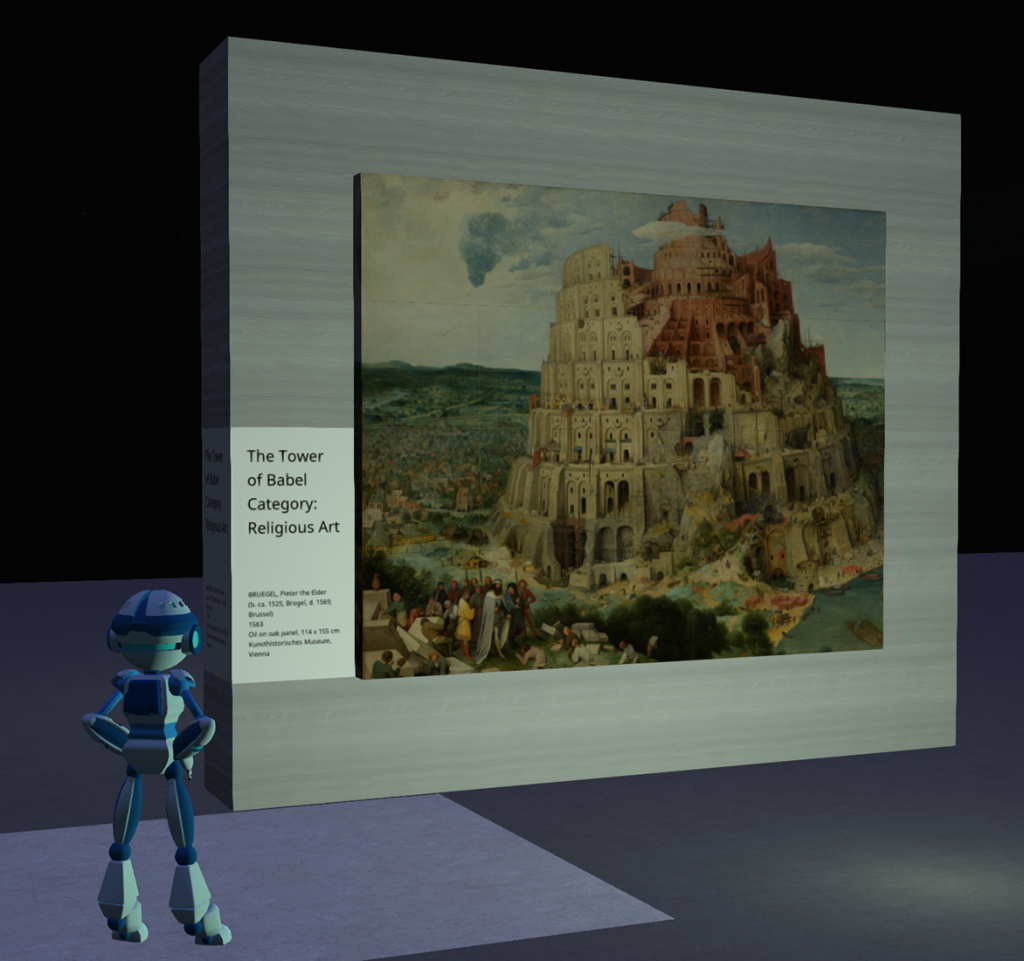
Tower of Babel Framed
(Not in Basic Edition)
This scene demonstrates the extremely high resolutions achievable using tiled blocks with 1024×1024 textures.
Wood/metal pixel art (1, 2 and 3)
(Not in Smartblocks Edition)
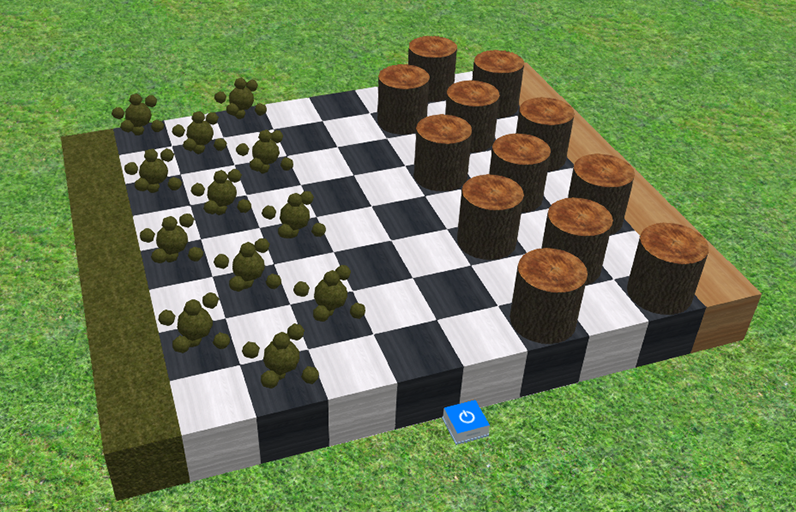
Checkers Game
(Not in Smartblocks Edition)
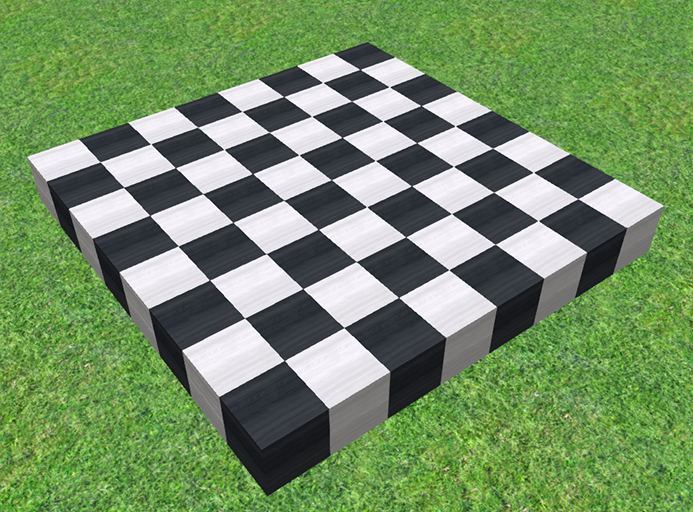
Chessboard – B/W
(Not in Smartblocks Edition)
You must be logged in to post a comment.