This document has been superseded by the guide here: https://rezmela.org/image-tools-and-signs/
This guide covers two sets of objects which can display text in your scenes:
- Image Tools
- Image Signs
Both work in very similar ways, and the differences are mostly cosmetic.
Depending on the Apps you have, you might have one or both of these sets of objects.
Let’s have a quick look at them both before we describe how to use them.
Overview
Image Tools
The Image Tools module is a group of objects designed to display web-based images. You can enter the URL of an image and it will be displayed on the object or projected onto a surface.
Here are the available objects:

All but the Image Projector are nearly identical rectangular object with different aspect ratios.
The term “Aspect ratio” refers to the shape of the rectangle, in particular the relative lengths of the horizontal and vertical sides.
You can chose the aspect ratio best suited to the image you want to display. The numbers in the object names refer to the ratio – for example, “4:3” means that if the horizontal dimension is 4m, the vertical dimension will be 3m.
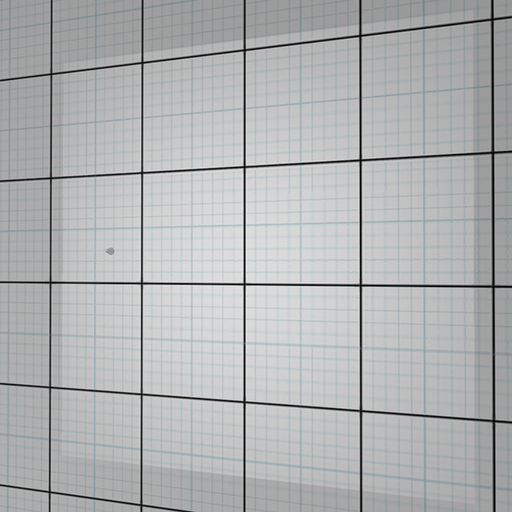
Here is an example – the 1:1 Image:

When first created, it displays the RezMela logo.
Image Signs
The Image Signs set consists of the following objects:
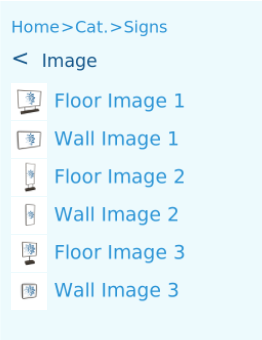
Here are the six different objects:
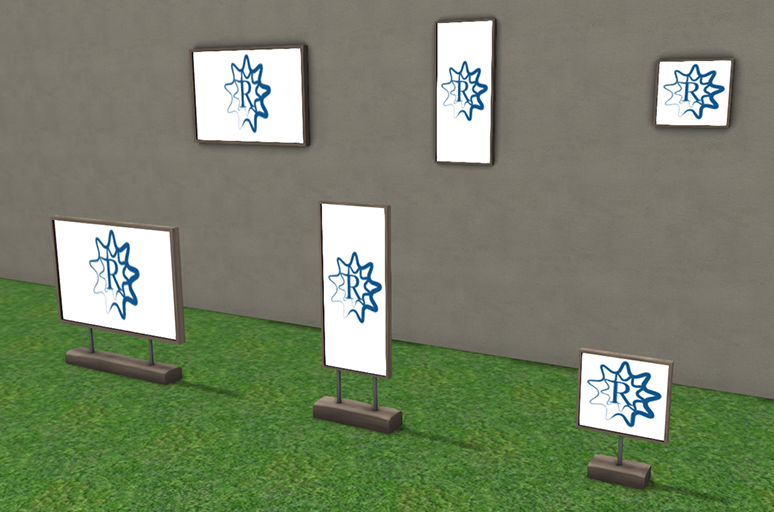
The Wall Image signs are best placed against vertical surfaces such as this wall, and Floor Image signs can be placed on horizontal surfaces such as the ground.
All these objects display the RezMela logo when first created.
The three different shapes of the image rectangle are suitable for different aspect ratios of images.
Displaying an image
The method of entering the URL of the image you want to display differs between Image Tools and Image Signs:
Image Tools
While the RezMela App is active, there is a “hamburger” icon (three horizontal lines) at the top right of each Image Tools object (or in the case of the Image Projector, on the back of the projector object).
When you make the App inactive, the hamburger disappears.
Clicking on the hamburger allows you to enter the image URL.
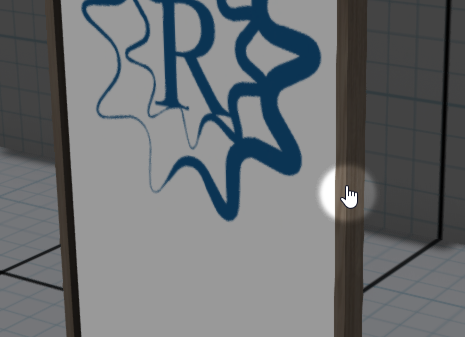
Image Signs
You can enter the image URL by clicking the base or on the frame surrounding the object:
Entering a URL
Both Image Tools and Image Signs object give you a dialog that allows you to enter the image URL:

You can enter the URL by typing it in, or you can copy and paste the URL from a browser. To paste, either use Ctrl+V or right-click in the input box and select “Paste”:

When the URL is in the box, click “Submit”:

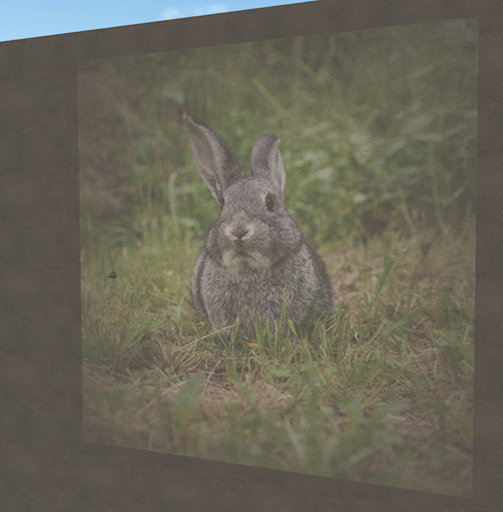
and the image will be displayed — here on an Image Tools 1:1 object:

and here on an Image Signs object:

Image Tools objects only: Note that when you deactivate the App, the hamburger disappears and only the image itself is visible (here shown in an object placed on a wall):

The Image Projector
The Image Projector object is part of the Image Tools set, and looks like this:
When you click to place it, it will appear about 4m in front of the surface you clicked, and project light onto that surface:
When you enter an URL into the projector, it will project that image onto any surface in front of it – in this example, a wall:
You can select the projector object and use the Nudge feature of the RezMela HUD to move the projector towards or away from the surface. The closer it is to the surface, the smaller and brighter the image; when the projector is moved away from the surface, the image will become larger and dimmer (to the point where it’s no longer visible at long distances).
The sample URL used in this guide is: https://storage.needpix.com/rsynced_images/rabbit-2437088_1280.jpg
You must be logged in to post a comment.