Some RezMela Apps allow you to make changes to the environment in various ways. The overall term used for these features is Climate.
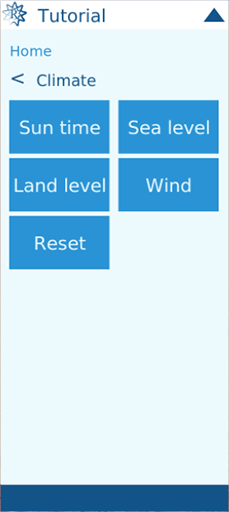
Depending on your App’s configuration, you may or may not have a Climate menu on your HUD like this:

It is the App creator who decides whether or not to include Climate controls in their App, and if not, that option will not be there. The rest of this guide assumes your App has this option enabled.
If you select the Climate button, you will see a menu like this:
Note that the Land level button is also optional, and the App creator might not have included that option in the App.
Let’s look at each of those buttons in turn.
Sun time
As you might know, the sun and moon in OpenSim follow a daily cycle, with the sun rising in the east, traversing the sky towards the west, where it sets. At its midpoint it is directly overhead. It’s always a full moon, so the moon follows behind along the same path, rising as the sun sets and setting as the sun rises.
During this simulated day, the appearance of the world changes. If you have shadows enabled, you will see them being affected by the sun and moon’s position, in both direction and length.
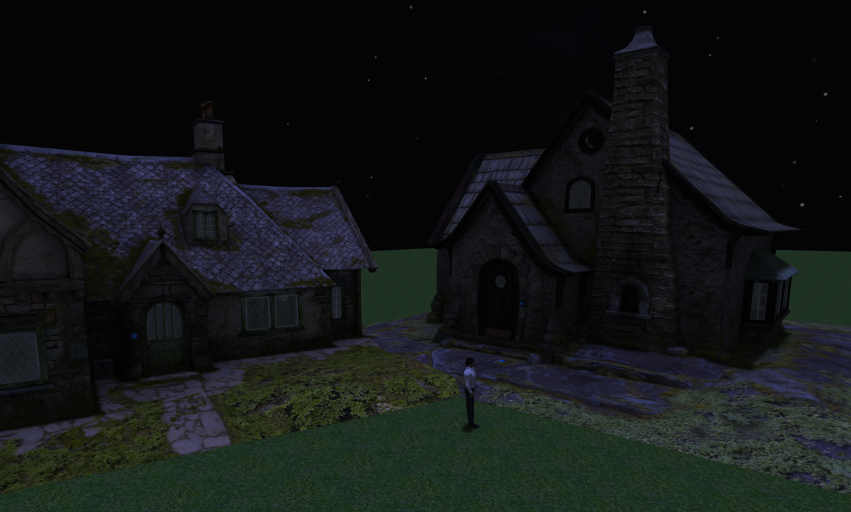
At night, the sky is dark and stars (as well as the moon) are visible. At dawn, the sky lightens to blue and there is a pinkish hue cast on the clouds and on objects in the world. As the sun climbs into the sky, the pink color dissipates and the light is much whiter. And as the sun sets, an orange-red color is cast, until the sun goes below the horizon and it is night again.
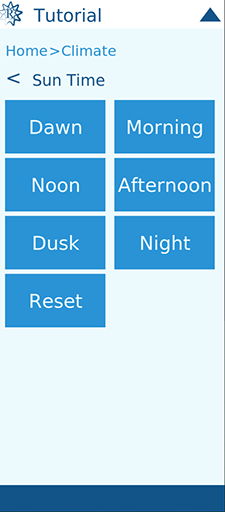
RezMela gives you a choice of six preset times of day. Here’s the Sun Time menu:
And here is an example scene as it looks at each of the available times of day. Note how the shadows change as well as the colors:
Dawn: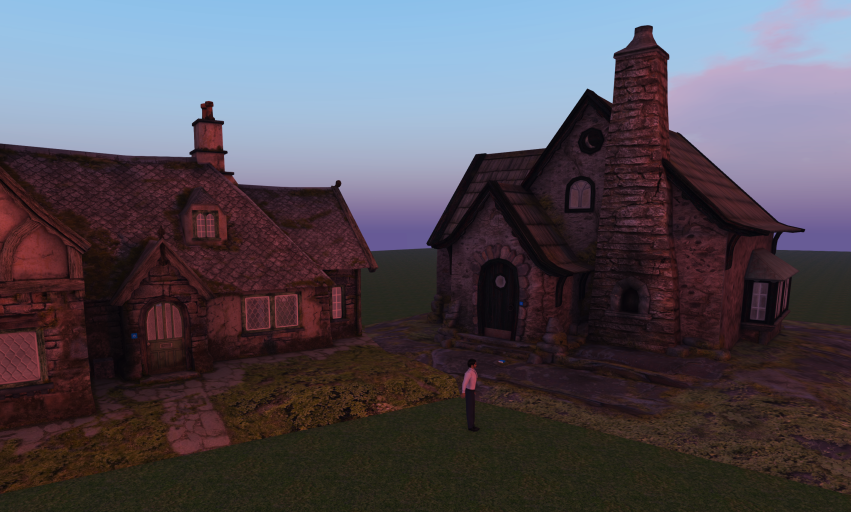
Morning:
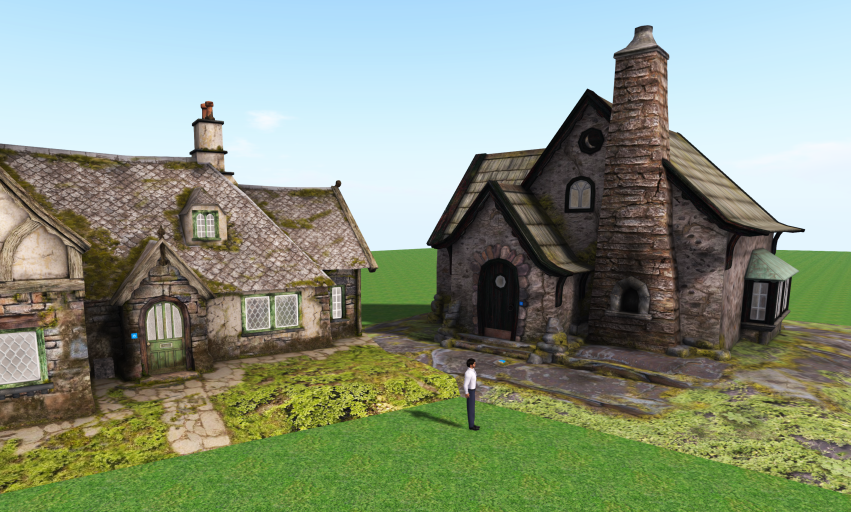
Noon:

Afternoon:

Dusk:
Night:
The Reset button returns control to OpenSim, so the sun and moon will follow their normal course (depending on the configuration of your land).
If you set a Sun Time and save your scene, that setting will be saved, and loaded again when you load that scene.
Clearing the scene will remove any Sun Time that you might have set, similar to clicking Reset.
Sea level
The Sea level menu has three options:
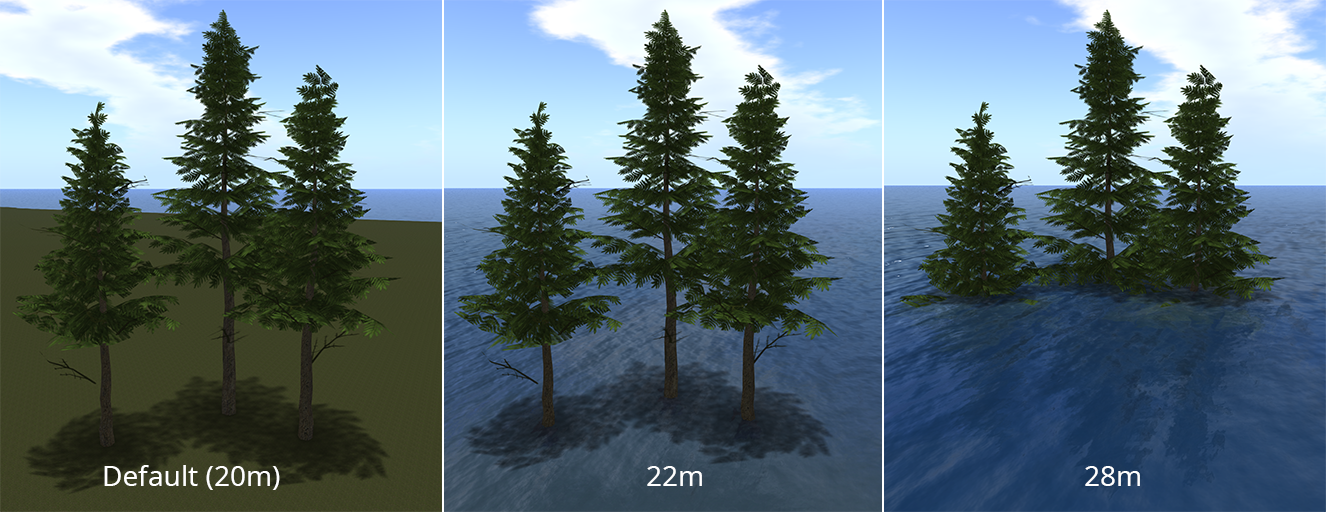
The +1m and -1m buttons raise and lower the sea level by 1m at a time, and the Reset button returns the sea level to the default value of 20m (the default value of land is 21m, so the sea is covered by land).
At any time, the current height of the sea is displayed at the bottom of the HUD.
Like all the Climate options, changes in sea level affect the whole region. Here are some examples of different sea levels:
Land level
Note that you may not have this option, depending on whether the App creator decided to include it in their App.
Note also that using this option will overwrite permanently any “terraforming” (manual modification of land height) that has been done in the region. Use with care!
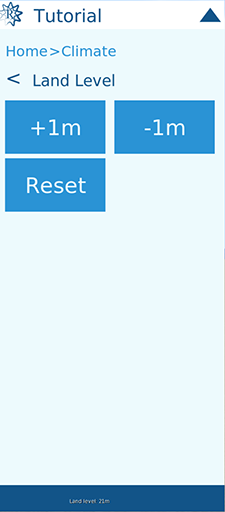
These are the options in the Land level menu:
Very similar to the Sea level menu, these raise and lower the land in 1-metre increments. The current height of the land is displayed at the bottom of the HUD.
The Reset button restores the land to its default height of 21m.
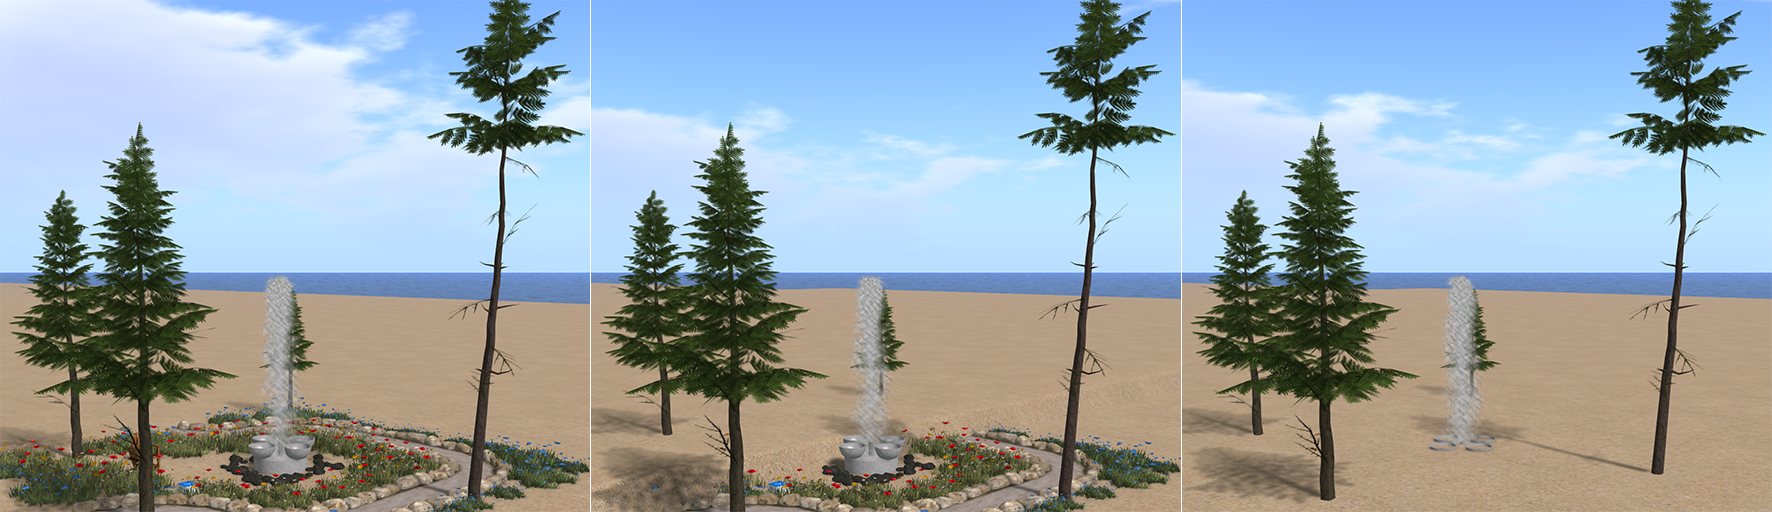
When the level of the land is changed, unlike the instant change you see with Sea level, it takes a while for the whole region’s land to be modified. The change works like a wave, starting in the west of the region and making changes to the land as it travels to the east.
These images show a garden scene being swallowed by the land (note that in the middle picture, the “wave” is just starting to move across the garden):
As with Sea level changes, Land level is stored when you save a scene, and that value is used when you load the scene again. Also, the Clear option on the main menu restores the land to its default height.
Wind
It is possible to control the wind direction and strength too. Normally these fluctuate at random, simulating real-life wind changes, but sometimes you might want to make the wind blow in a particular direction and with a particular strength in your scene.
Wind in OpenSim doesn’t actually affect much. The main effects you will see will be with certain particle systems (e.g. smoke) if they are programmed to follow the wind. Also, some sailing vessels are scripted to react to the current wind speed and direction.
The Wind menu looks like this:
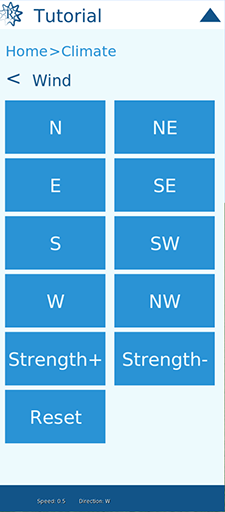
So you can set the wind direction to any of the eight directions. Remember that the direction of a wind, as in the real world, is given as the direction the wind is coming from, not blowing towards.
You can also change the Strength (speed) of the wind in increments of 0.5. This figure doesn’t relate to any particular measure in OpenSim.
The current speed and direction of the wind are shown at the bottom of the HUD.
The Reset button returns the wind to its default state.
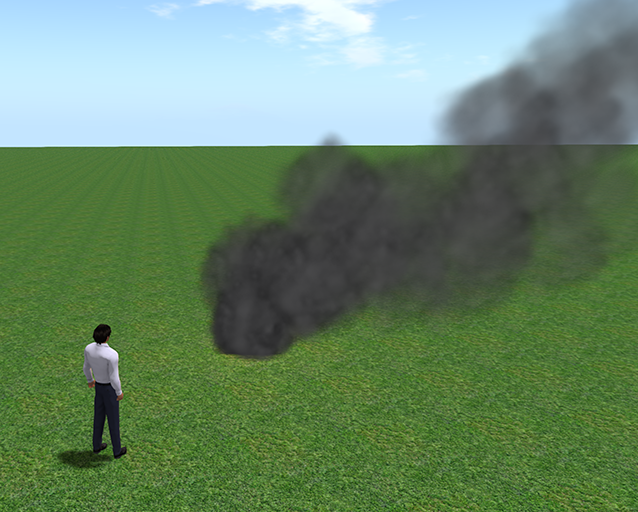
Here’s an illustration of the effects of wind strength and direction on a particle smoke emitter. The camera is facing roughly north in these pictures.
By default, a gentle breeze can affect the smoke slightly:

But setting the Strength of the wind to 2.5, and specifying W as a direction (for a westerly wind), generates a strong effect that blows the wind to the east:
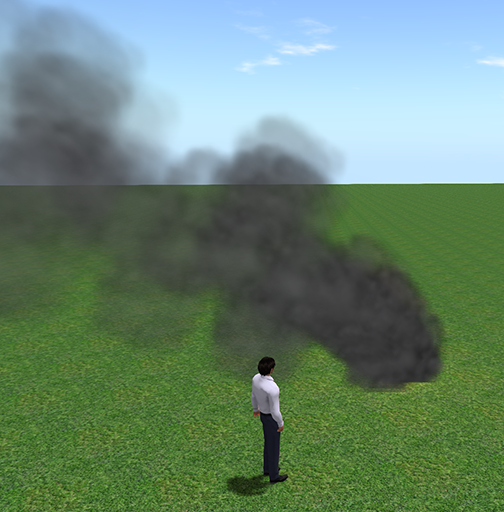
Likewise, changing the direction to E reverses the effect and the wind blows from east to west:
Reset
Lastly, the Reset button on the Climate menu resets all parameters. It’s the equivalent of clicking the Reset button on each of the sub-menus.
You must be logged in to post a comment.